As we progressed through another galaxy season, I was constantly fighting to find a guide star that keeps my target framed. With my remote controlled off-axis guider (OAG) setup, if I can’t find a good star in the guide camera field of view (FOV) when the target is centered, my only option to shift the entire image position looking for a star, since I can’t rotate or otherwise move the guide camera relative to the target FOV. Thus I started thinking about upgrading from my QHY5L-II M to a new guide camera, ideally with both a larger FOV and higher sensitivity. Looking at the new crop of guide cameras, this led me to looking at cameras based on the Sony Starvis (star visibility) IMX178 sensor. Comparing with the MT9M034 sensor in the QHY5L-II, the IMX178 sensor has just over twice the total area (7.4 x 5 mm vs. 4.8 x 3.6 mm or 2.09x), but with 5x the pixel count. In addition to improving my guiding, another advantage to this 6.3 MP camera is that it would be a reasonable entry-level imager for narrow band imaging (e.g. H-alpha solar imaging, etc.).
After some online discussions with others on Cloudy Nights and elsewhere, but otherwise very little feedback on the best choice for my application, I ended up putting together a comparison table between the monochrome sensors currently being targeted for guide cameras. The following table is in order of increasing price. The IMX290 sensor has the best sensitivity in the new Starvis line, but with the 1080P 16×9 form factor, it suffers the same limitations I discovered when I tried using the ZWO ASI290MC for my all sky camera. It basically has the same area as the QHY5L-II, but with a less practical form factor (16×9 vs 4×3), so while I’d expect the sensitivity to help considerably, it wouldn’t increase the usable FOV. On the other hand, the IMX174 is a much bigger sensor, which presumably explains why cameras based on it are considerably more expensive, but it’s also based on older technology and has a much lower resolution. By simple virtue of the large pixel size, it can be expected to be more sensitive than the QHY5L-II, but the potential loss in guider resolution, not to mention the much higher cost, make this an impractical solution.
| MT9M034 | IMX290 | IMX178 | IMX174 | |
| Size (mm) | 4.8 x 3.6 | 5.61 x 3.18 | 7.37 x 4.92 | 11.34 x 7.13 |
| Relative Area | 1x | 1.03x | 2.1x | 4.7x |
| Pixel Size (μm) | 3.75 | 2.9 | 2.4 | 5.86 |
| Relative Pixel Area | 1x | 0.60x | 0.41x | 2.44x |
| Pixel Count (WxH) | 1920 x 960 | 1936 x 1096 | 3072 x 2048 | 1936 x 1216 |
| Total Pixels (MegaPixels) | 1.2 | 2.1 | 6.3 | 2.4 |
| Relative Pixel Count | 1x | 1.7x | 5.1x | 1.9x |
That really just leaves the original IMX178 I started looking at, which also happens to be the color sensor in the ZWO ASI178MC I finally integrated into my all sky camera. That just took me back to the original choice I was trying to decide between which camera vendor to use, QHY or ZWO. My imaging camera and previous guider are QHY, but I tried ZWO for the all sky camera, partly due to a better overall price point. However, the other factor here was the camera form factor. While both QHY and ZWO make cameras in the mini guide camera form factor, for this particular sensor, only QHY made a mini similar to the QHY5L-II I was replacing. For ZWO I’d have had to go with the same form factor as the all sky camera. While that’s essentially the same form factor as the StarShoot AG I’d been using before the QHY5L-II, I had reason to want to stay with the mini form factor, for weight if nothing else. Thus, even though it was about 10% more expensive I chose to go with the QHY5LIII178M over the ZWO ASI178MM. Only after receiving my new camera did I finally get some feedback from someone that the QHY version has better fixed pattern noise due to some additional circuitry QHY adds! Hopefully that justifies the added cost.
Unpacking
I ended up ordering from High Point Scientific simply because they had it in stock and OPT didn’t. Both were running the same 5% NEAF discount on top of QHY’s NEAF sale. High Point shipped it after one business day by USPS and it arrived two days later. High Point was also asking customers to create unboxing videos, so this is the first time I’ve attempted to capture video footage in addition to photos of the process.
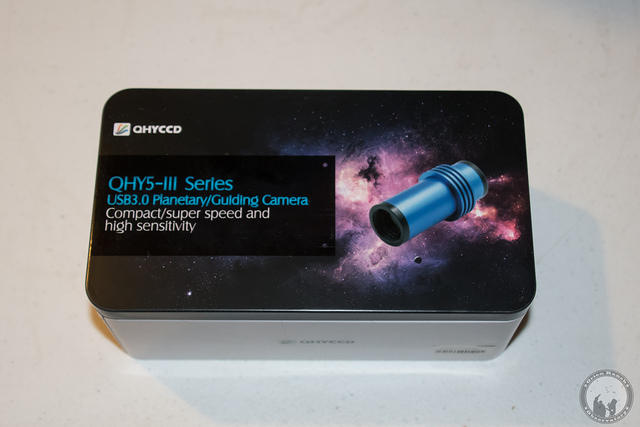
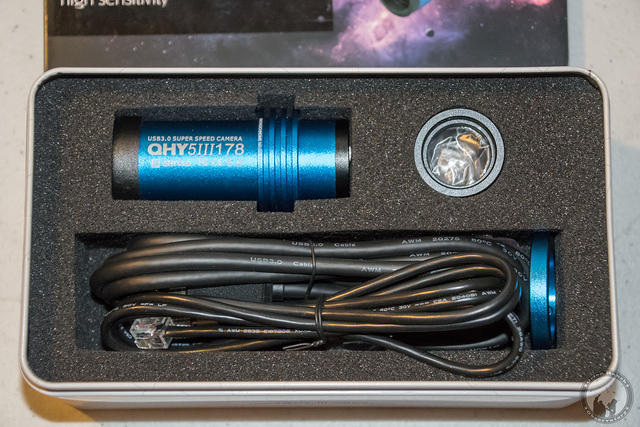
The camera arrived nicely packaged in a “collector can” similar to that for the QHY5L-II.
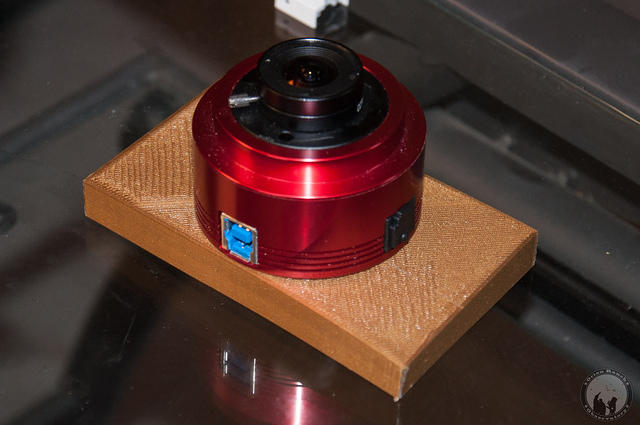
The camera is a nice pretty blue anodized package.
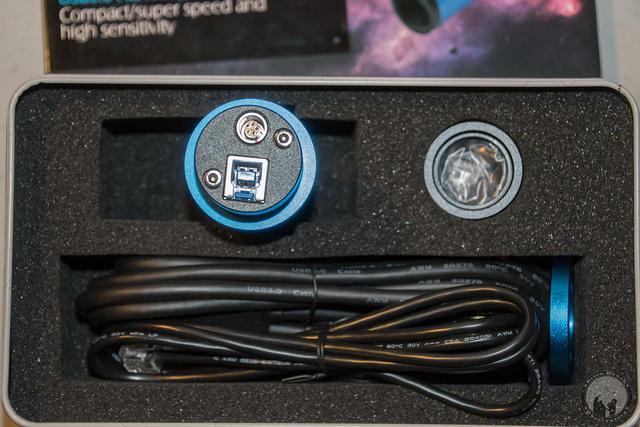
The connector end of the camera has a USB 3.0-B style connector and a non-standard LEMO connector for the guide port due to the limited space. Given the compromise ZWO was making for this form factor by going to a micro USB 2.0 interface, I’d much rather have a USB-B connector than a USB 3.0 micro connector and a standard RJ-11 socket for the guide port.
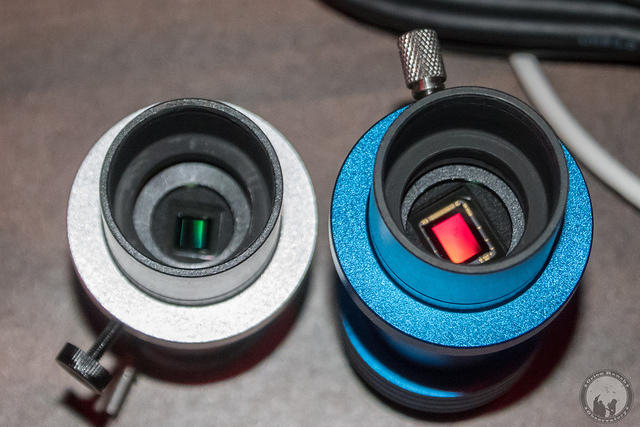
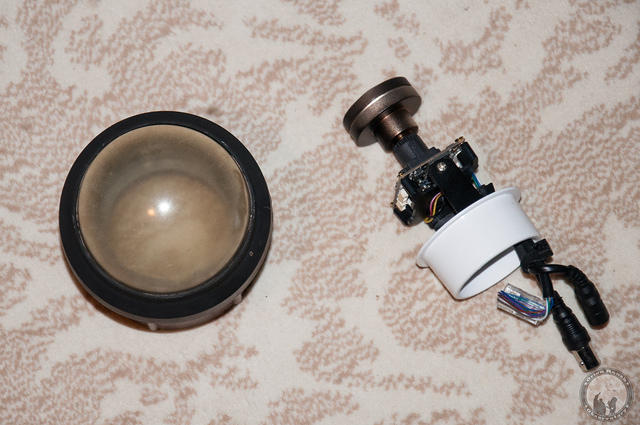
I didn’t get the best of focus, but here’s my attempt o compare the size of the two sensors. You can see how much bigger the new IMX178 sensor is. The distance from the tube front appears the same, so adjusting the confocal ring on the new camera to the same distance from the front of the nosepiece had it almost perfectly focused when I put it into the OAG.
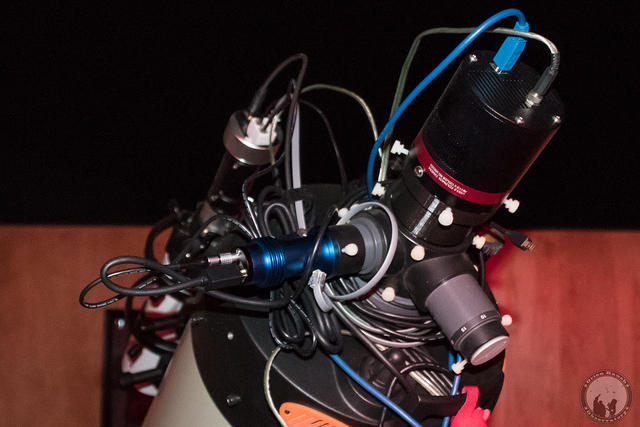
Here it is installed on the OAG. I forgot to take the picture while I was using it, so this was after parking. I definitely need to work on cleaning up my cables!
Sensitivity and FOV Testing
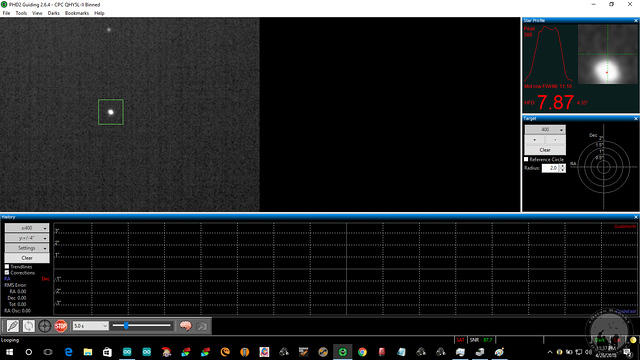
Before swapping cameras, I did a few tests to try to get an idea of the relative sensitivity of the two cameras. With the exception of the IMX290 and IMX178, which are in the same Starvis series, there was precious little comparable sensitivity data for the sensors, so this was the first chance to find out if I really gained anything in sensor sensitivity. I’d previously been imaging M81 and knew I had one good guide star visible there with the QHY5L-II. At one second exposure, that single star is visible in the FOV.
At five seconds, a second star is visible if I adjust the gamma to pull it out of the background.
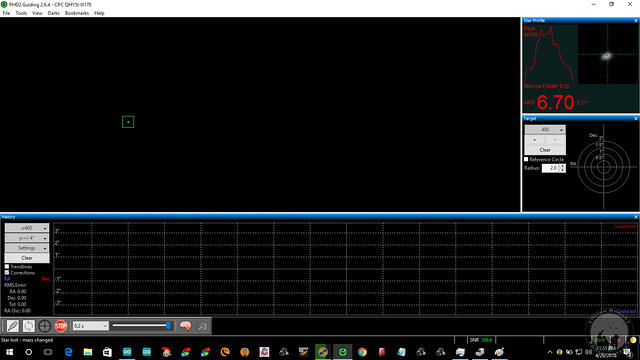
That’s really the limit of usable guide star exposure length, but doubling it to ten seconds didn’t change anything. Swapping to the QHY5LIII178M, that first star is clearly visible at 0.2 second exposure. The star profile is a bit noisy, but part of that is because the camera’s not perfectly focused at this point. You can see how tiny the star is given PHD2 shows the entire FOV, so the scale here is smaller due to the much higher resolution.
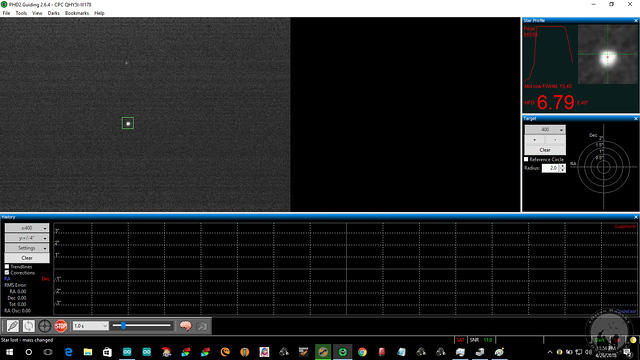
At one second, the second star becomes visible. This image also gives you an idea of how much larger the overall FOV has become.
At two seconds a third star becomes visible, although it’s easier to see in this four second exposure.
At this point there’s some background noise becoming visible and the image became unusable at a five second exposure. In hindsight I believe this was due to having left the observatory monitoring cameras enabled so that their IR lights were creating a strong background lighting. I may add some new test images to the gallery later, but the general observation is that despite the smaller pixel size, the QHY5LIII178M is at least five times more sensitive than the QHY5L-II. From Sony’s documentation, the IMX290 is twice as sensitive as the IMX178, but at that point chances are good I would be sky glow limited in some cases!
Hopefully this will help anyone else researching a new autoguider camera. For more information, you can check out these threads on Cloudy Nights and the PHD2 forum.

