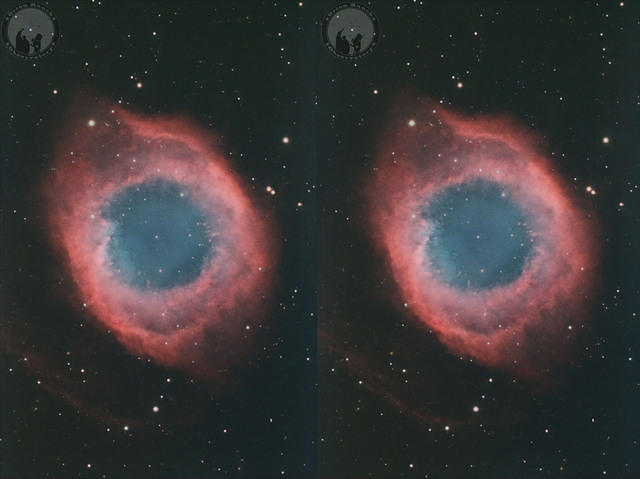
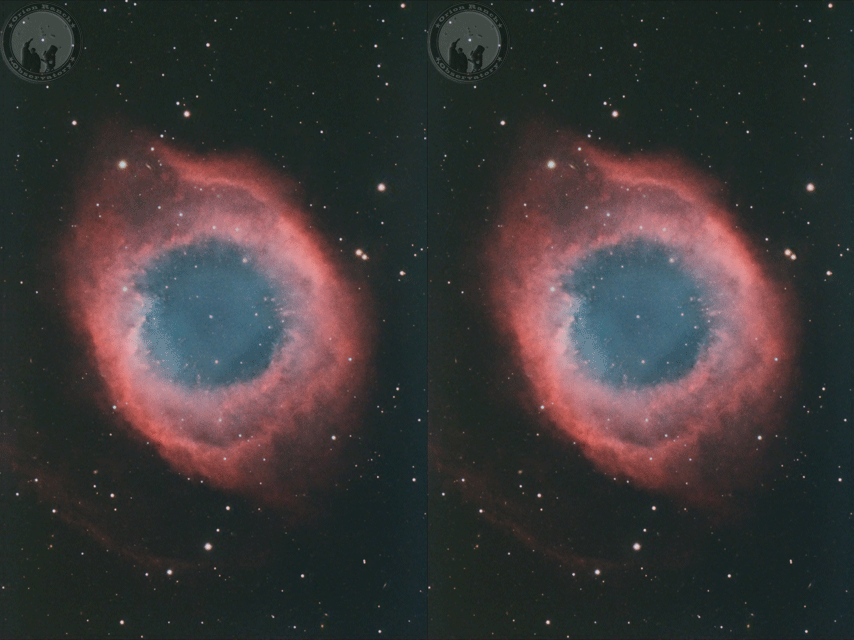
Today I’m introducing another artistic astrophotography processing gallery. Through a rather complicated and painstaking process, it’s possible to convert a standard astrophoto into a 3D image. The actual 3D appearance is artificially created, but it still gives an idea of what the object might look like. The stars are removed from the background nebula (in Photoshop, this is a completely manual process using the spot healing tool to avoid rings around the removed star) and then the new star-less background is subtracted from the original to give the star field itself. After noise reduction, sharpening, and other post processing steps, the two parts of the image are split into left and right eye images. Then one of the two images is adjusted, star by star, to move them further apart or closer together. The goal is to bring the brighter stars to the foreground and varying distances and push things like small galaxies into the background. A separate trick is used to change the perspective on the nebula itself giving a sense of depth in 3D. The result is below.
Try crossing your eyes as you stare at the image above from a couple feet away from your monitor. Eventually you should be able to get it to pop into a 3D view. Note that you’re not really crossing your eyes, but rather trying to get them to look far away but focus on something close. You want your left eye centered on the left image and the right one on the right image but focused close up.
I don’t know how often I’ll go through this process, but I plan to post multiple versions of these images for different viewer approaches. The default is just the two side-by-side images that can be used with the “crossed eyes” focus method, or in a Google Cardboard or other stereo viewer. The second will be with the images squashed to a 2:1 aspect ratio which will allow you to view them on a standard 3D TV (e.g. Samsung) in the side-by-side mode. I’ll also post a red/blue anaglyph version that you can view with retro 3D glasses. Finally, an animated GIF will bounce between the two images giving you a feeling for rotation.
I hope you enjoy this latest addition to the site.








2 Responses to Introducing 3D Astrophotography