
I’m running behind on my posts relative to the pictures I’ve been uploading and sharing on Cloudy Nights, so I’m going to merge a number of different related posts into one here. I’d posted on my new business cards for the observatory and the 3-D printed card holder I’d made, and that was more or less the start of a series of 3-D printing efforts that have culminated in quite a few changes.
The used Celestron 8SE I picked up off of Craig’s List (and finally sold after finishing this) was missing the leg spreader/eyepiece holder, so I finally decided to try designing and printing my own. I didn’t have one handy as a reference (my other was out in the observatory) so I found a picture online and scaled from that to get suitable dimensions and then just kind of eyeballed everything else. I wasn’t sure if I’d have a big enough footprint on my printer, but I knew there was a reason I bought the largest I could get for the price! The design itself is pretty simple, so I was able to put it together pretty quickly. The only problem was tolerance on the eyepiece holes, since the width of the print trace tends to shrink the holes a bit.

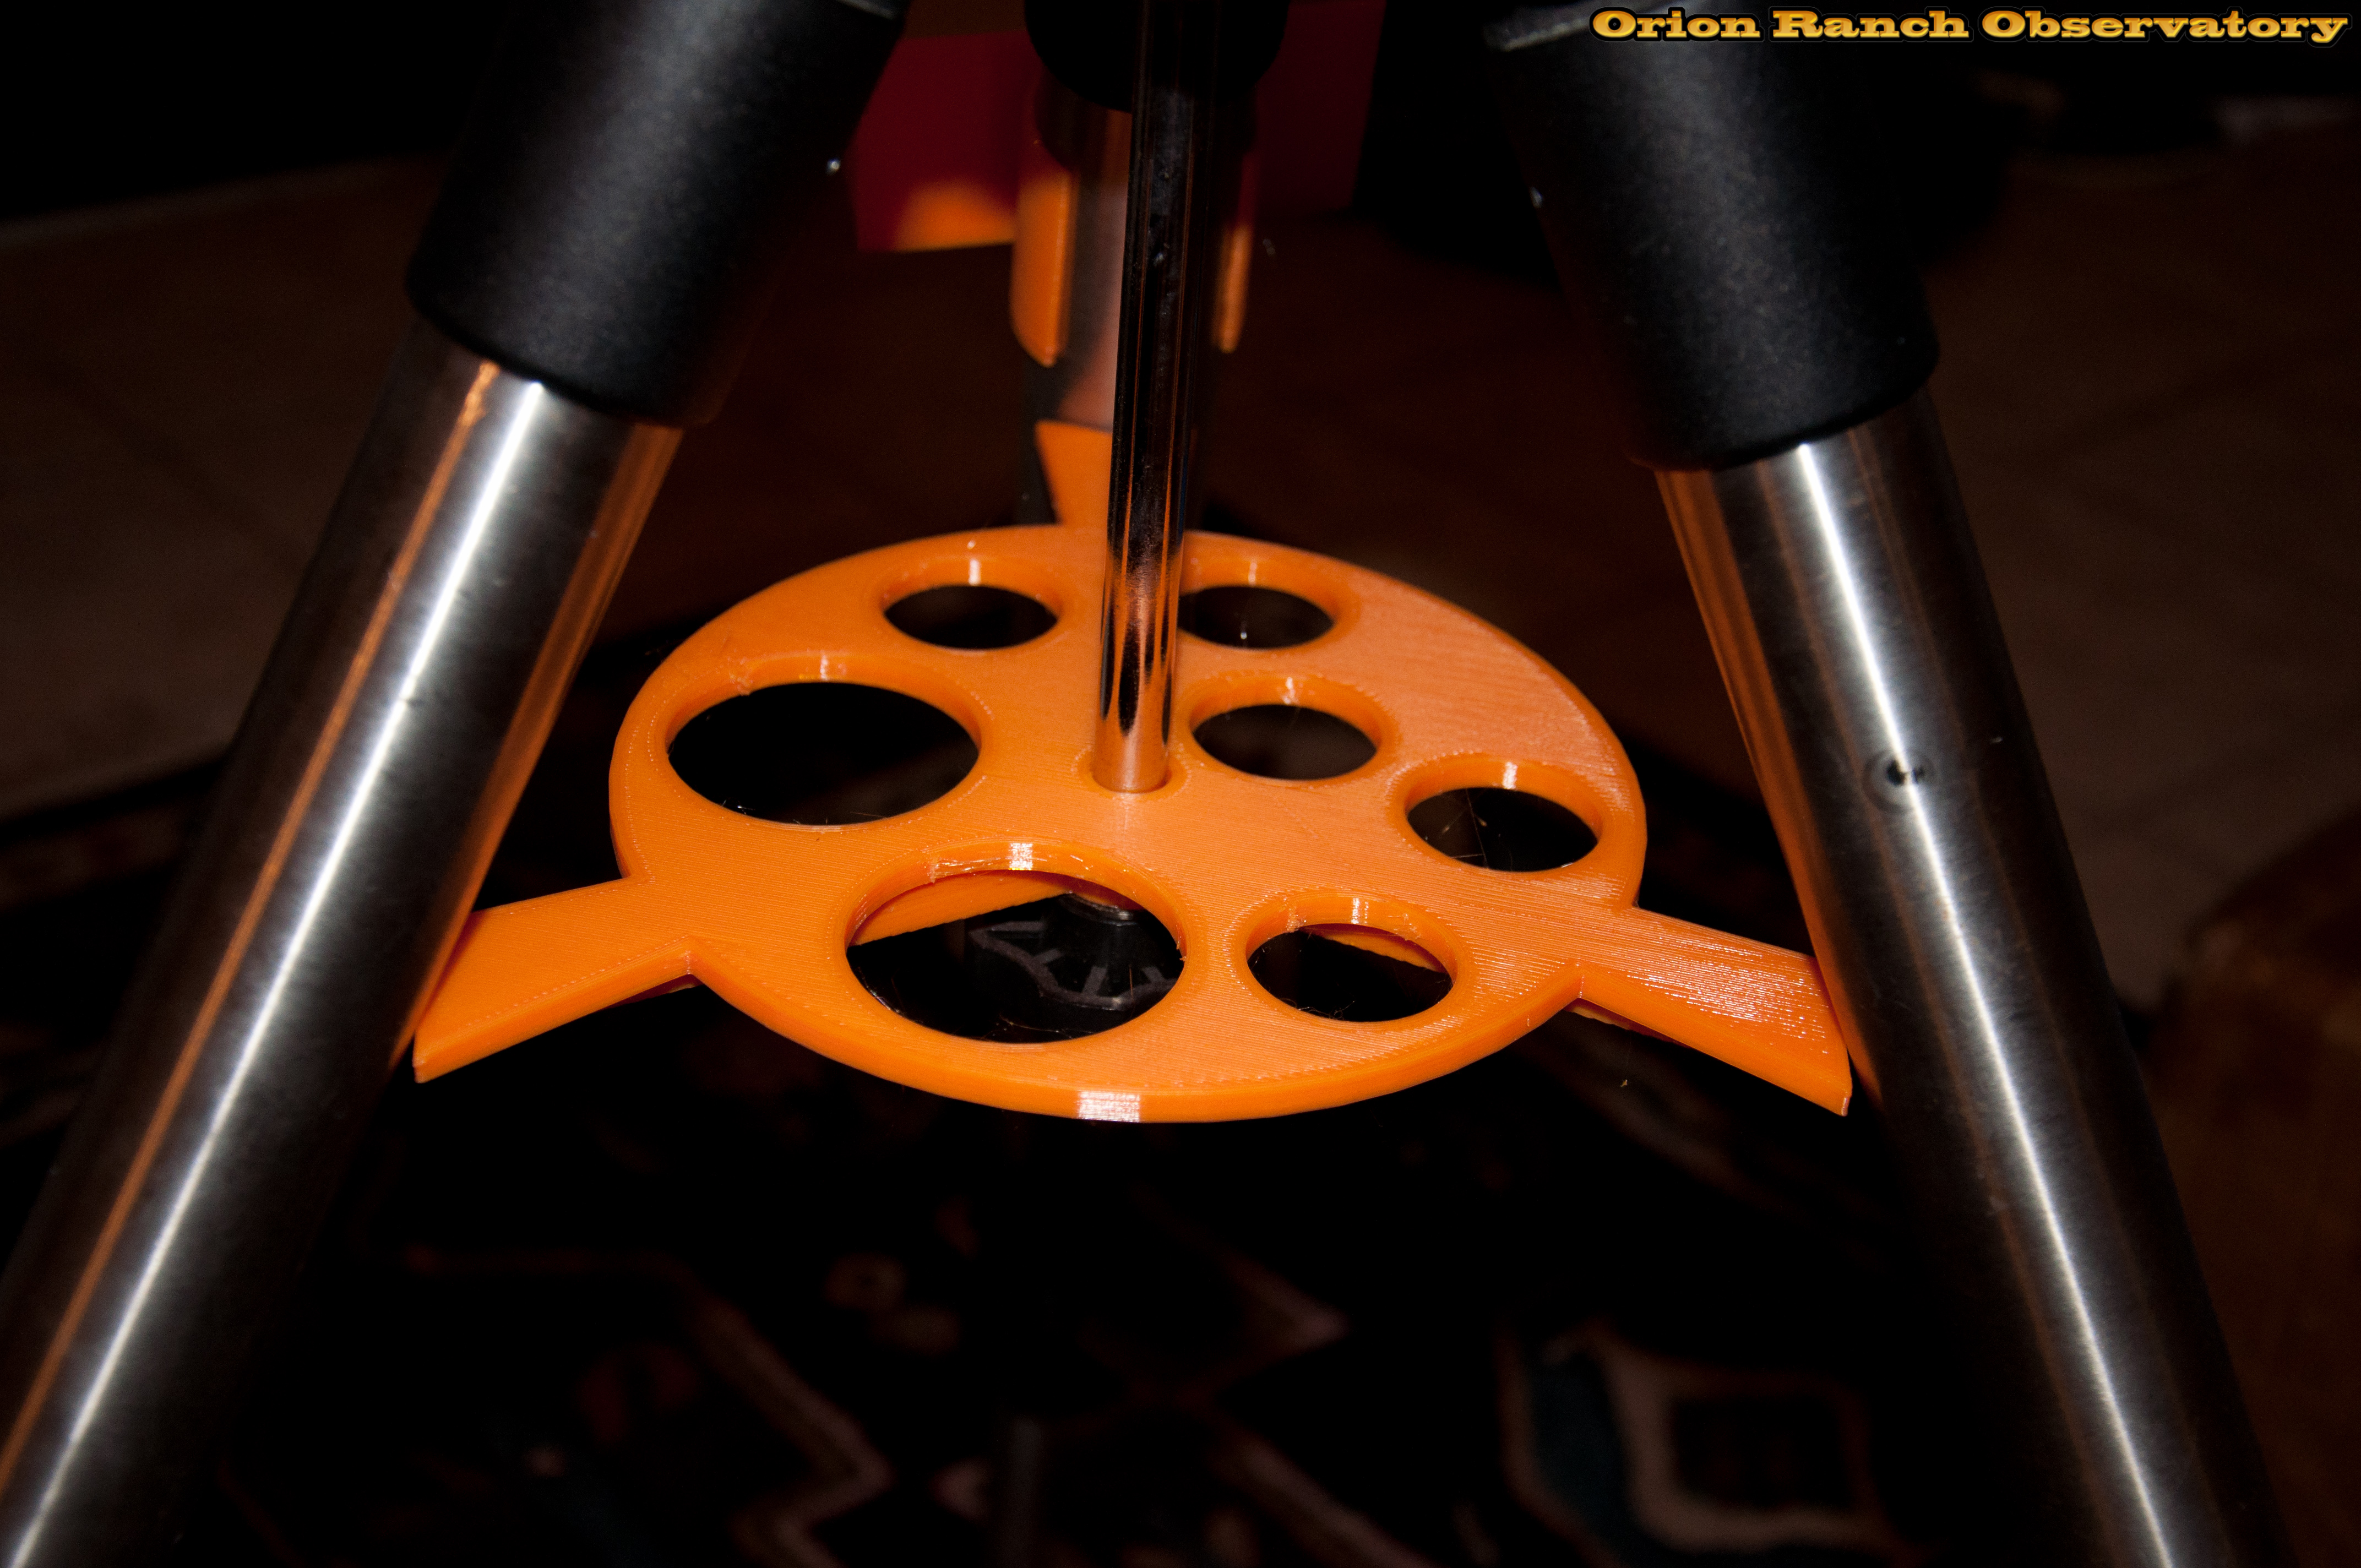
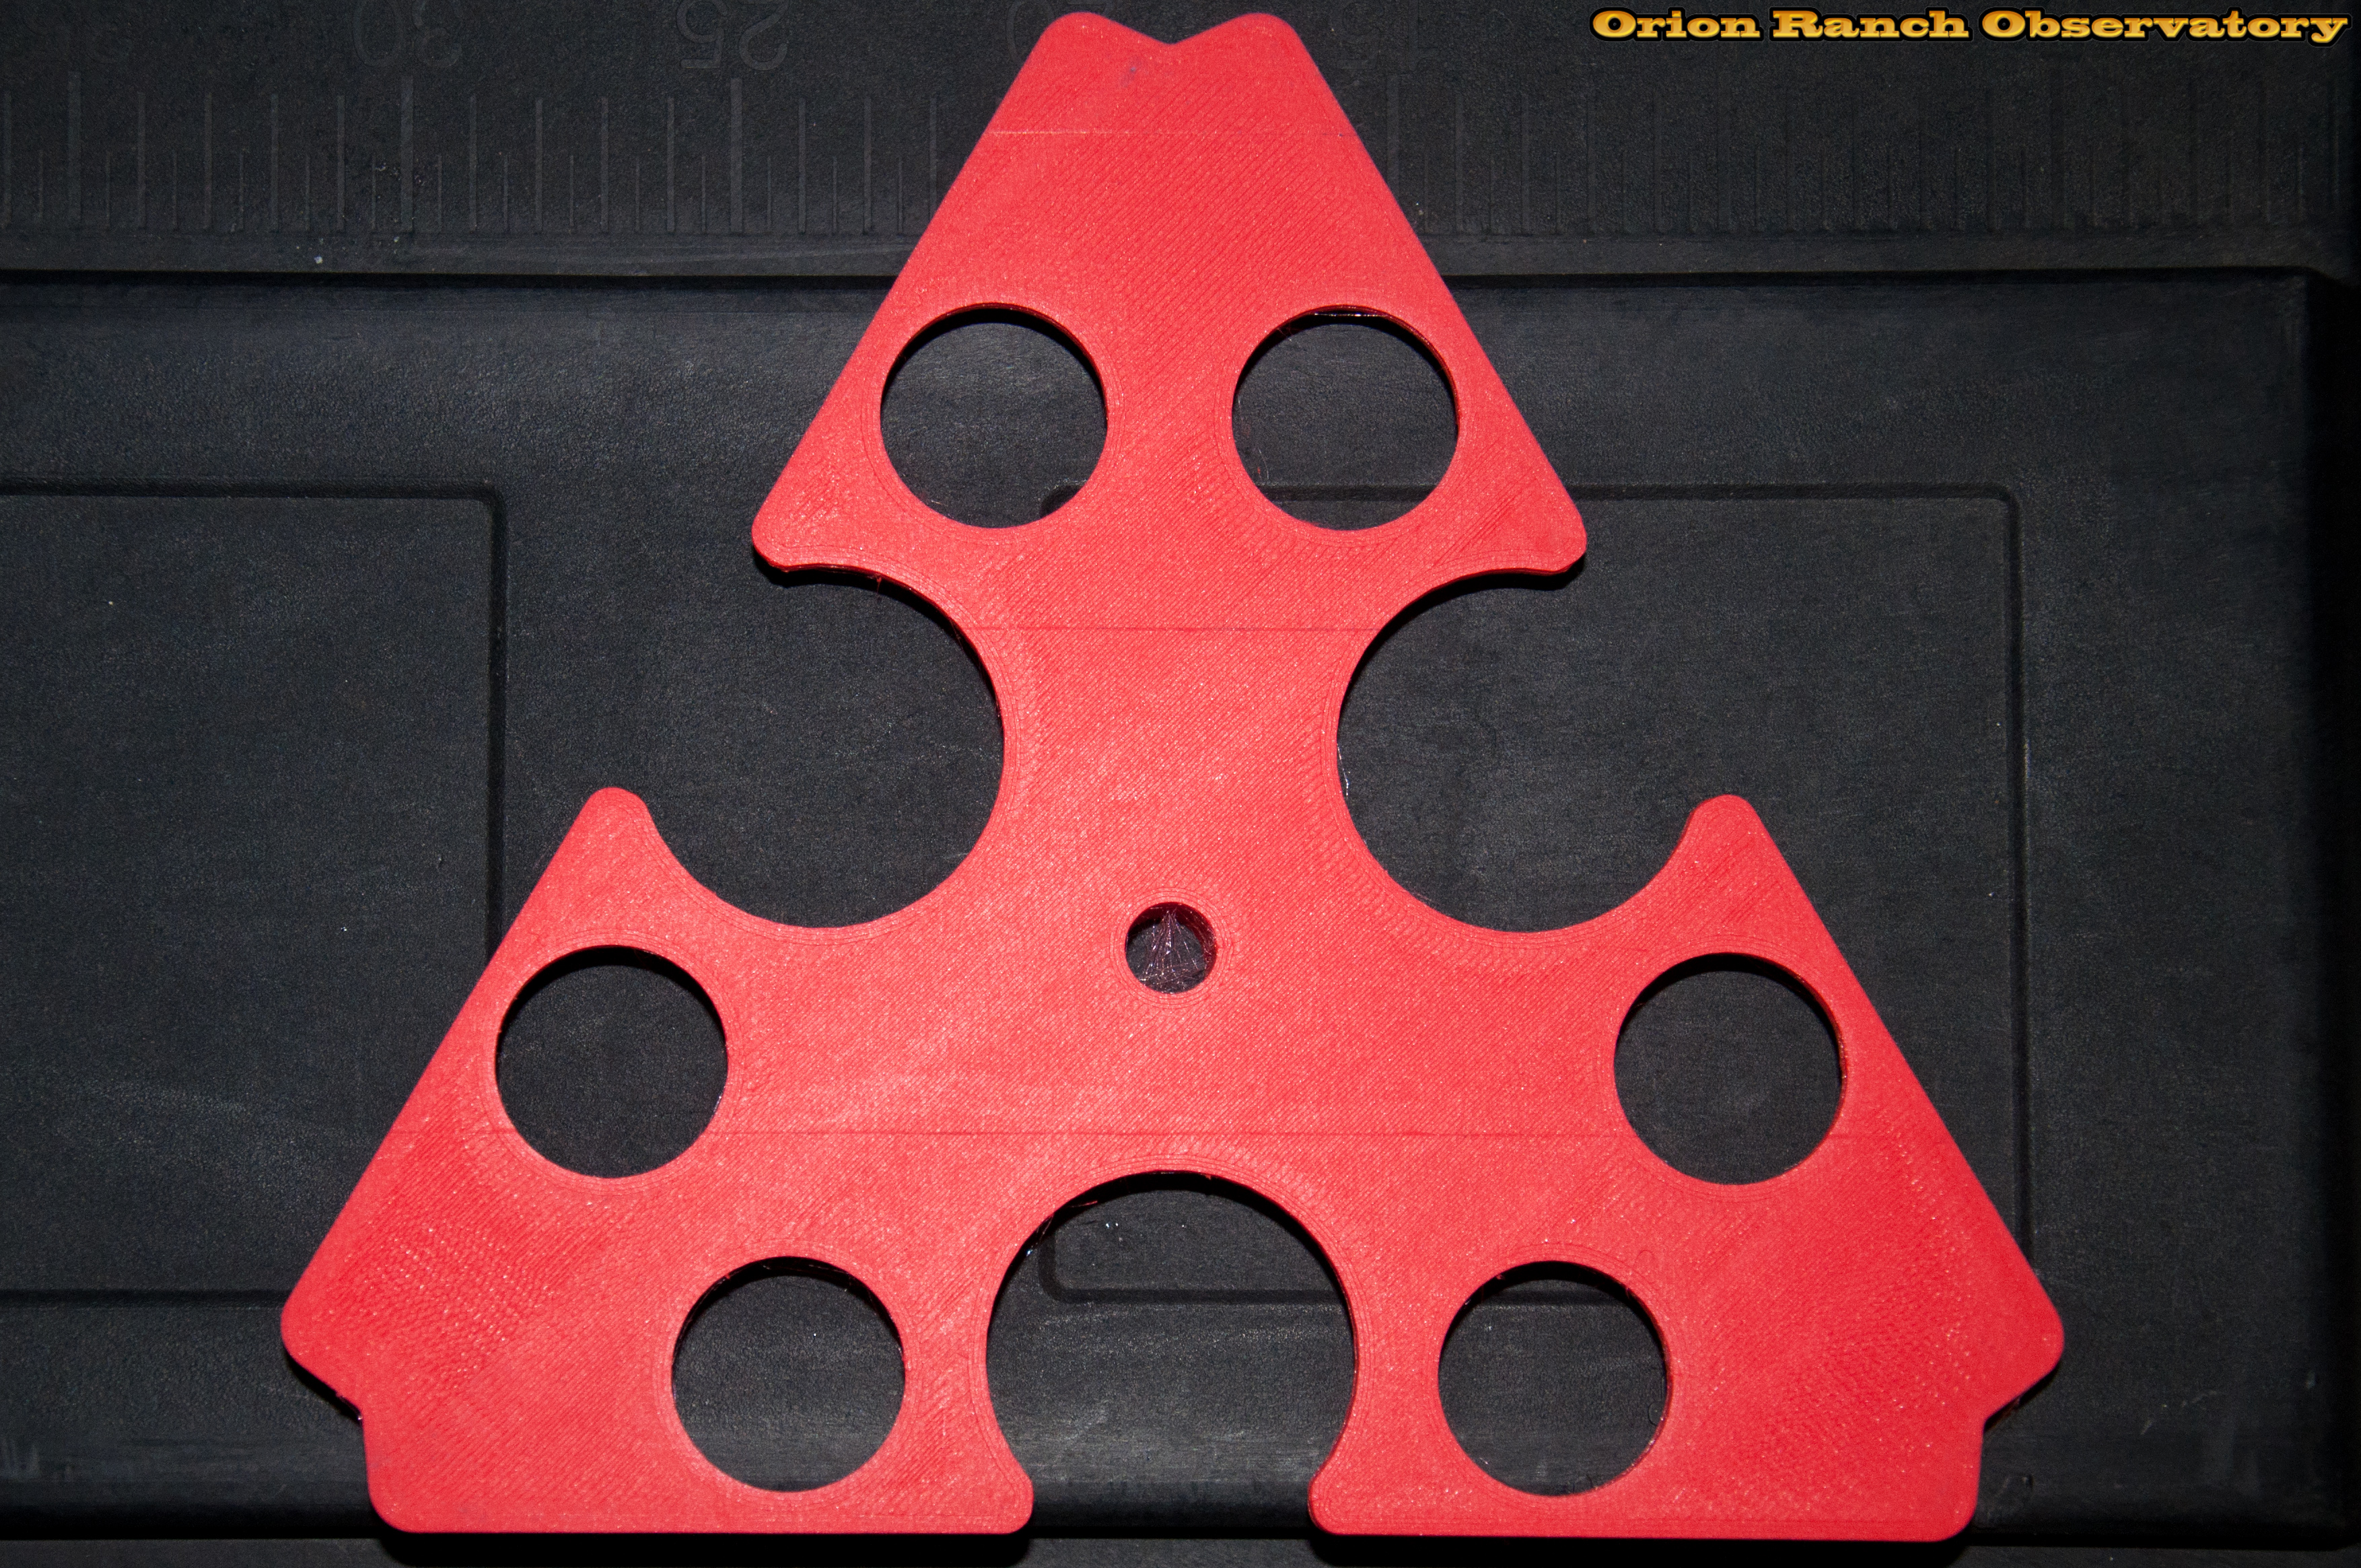
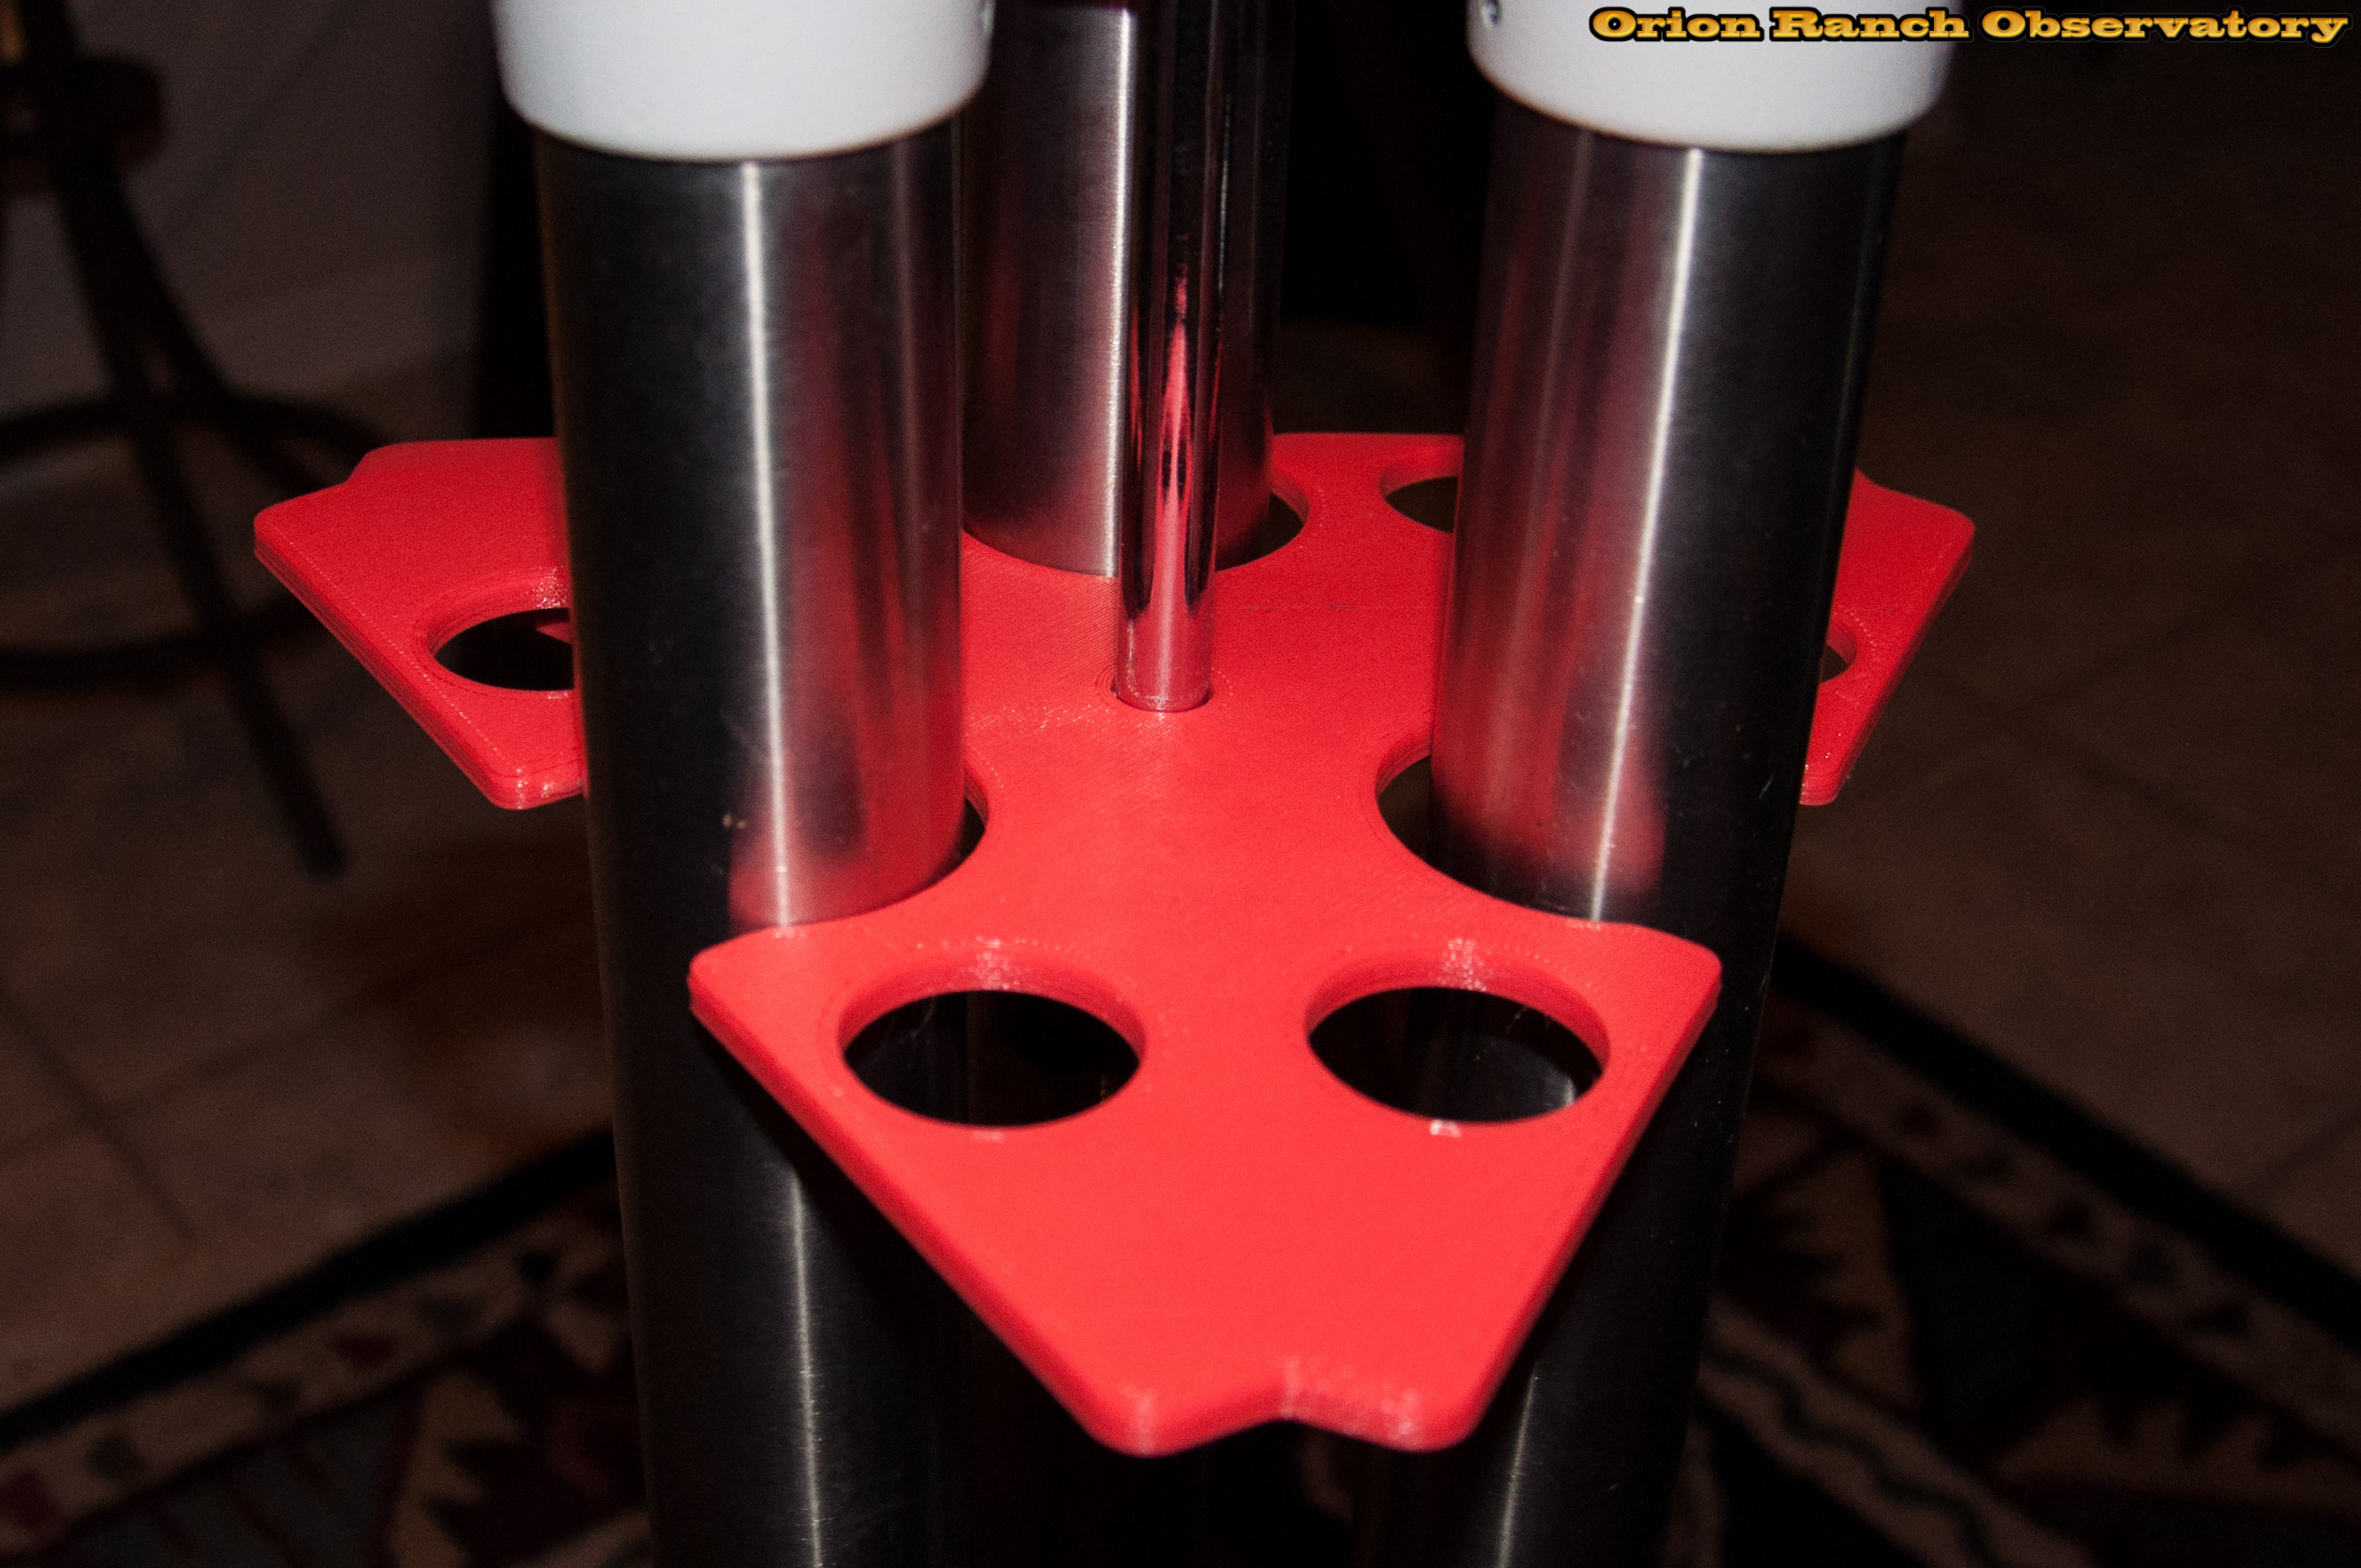
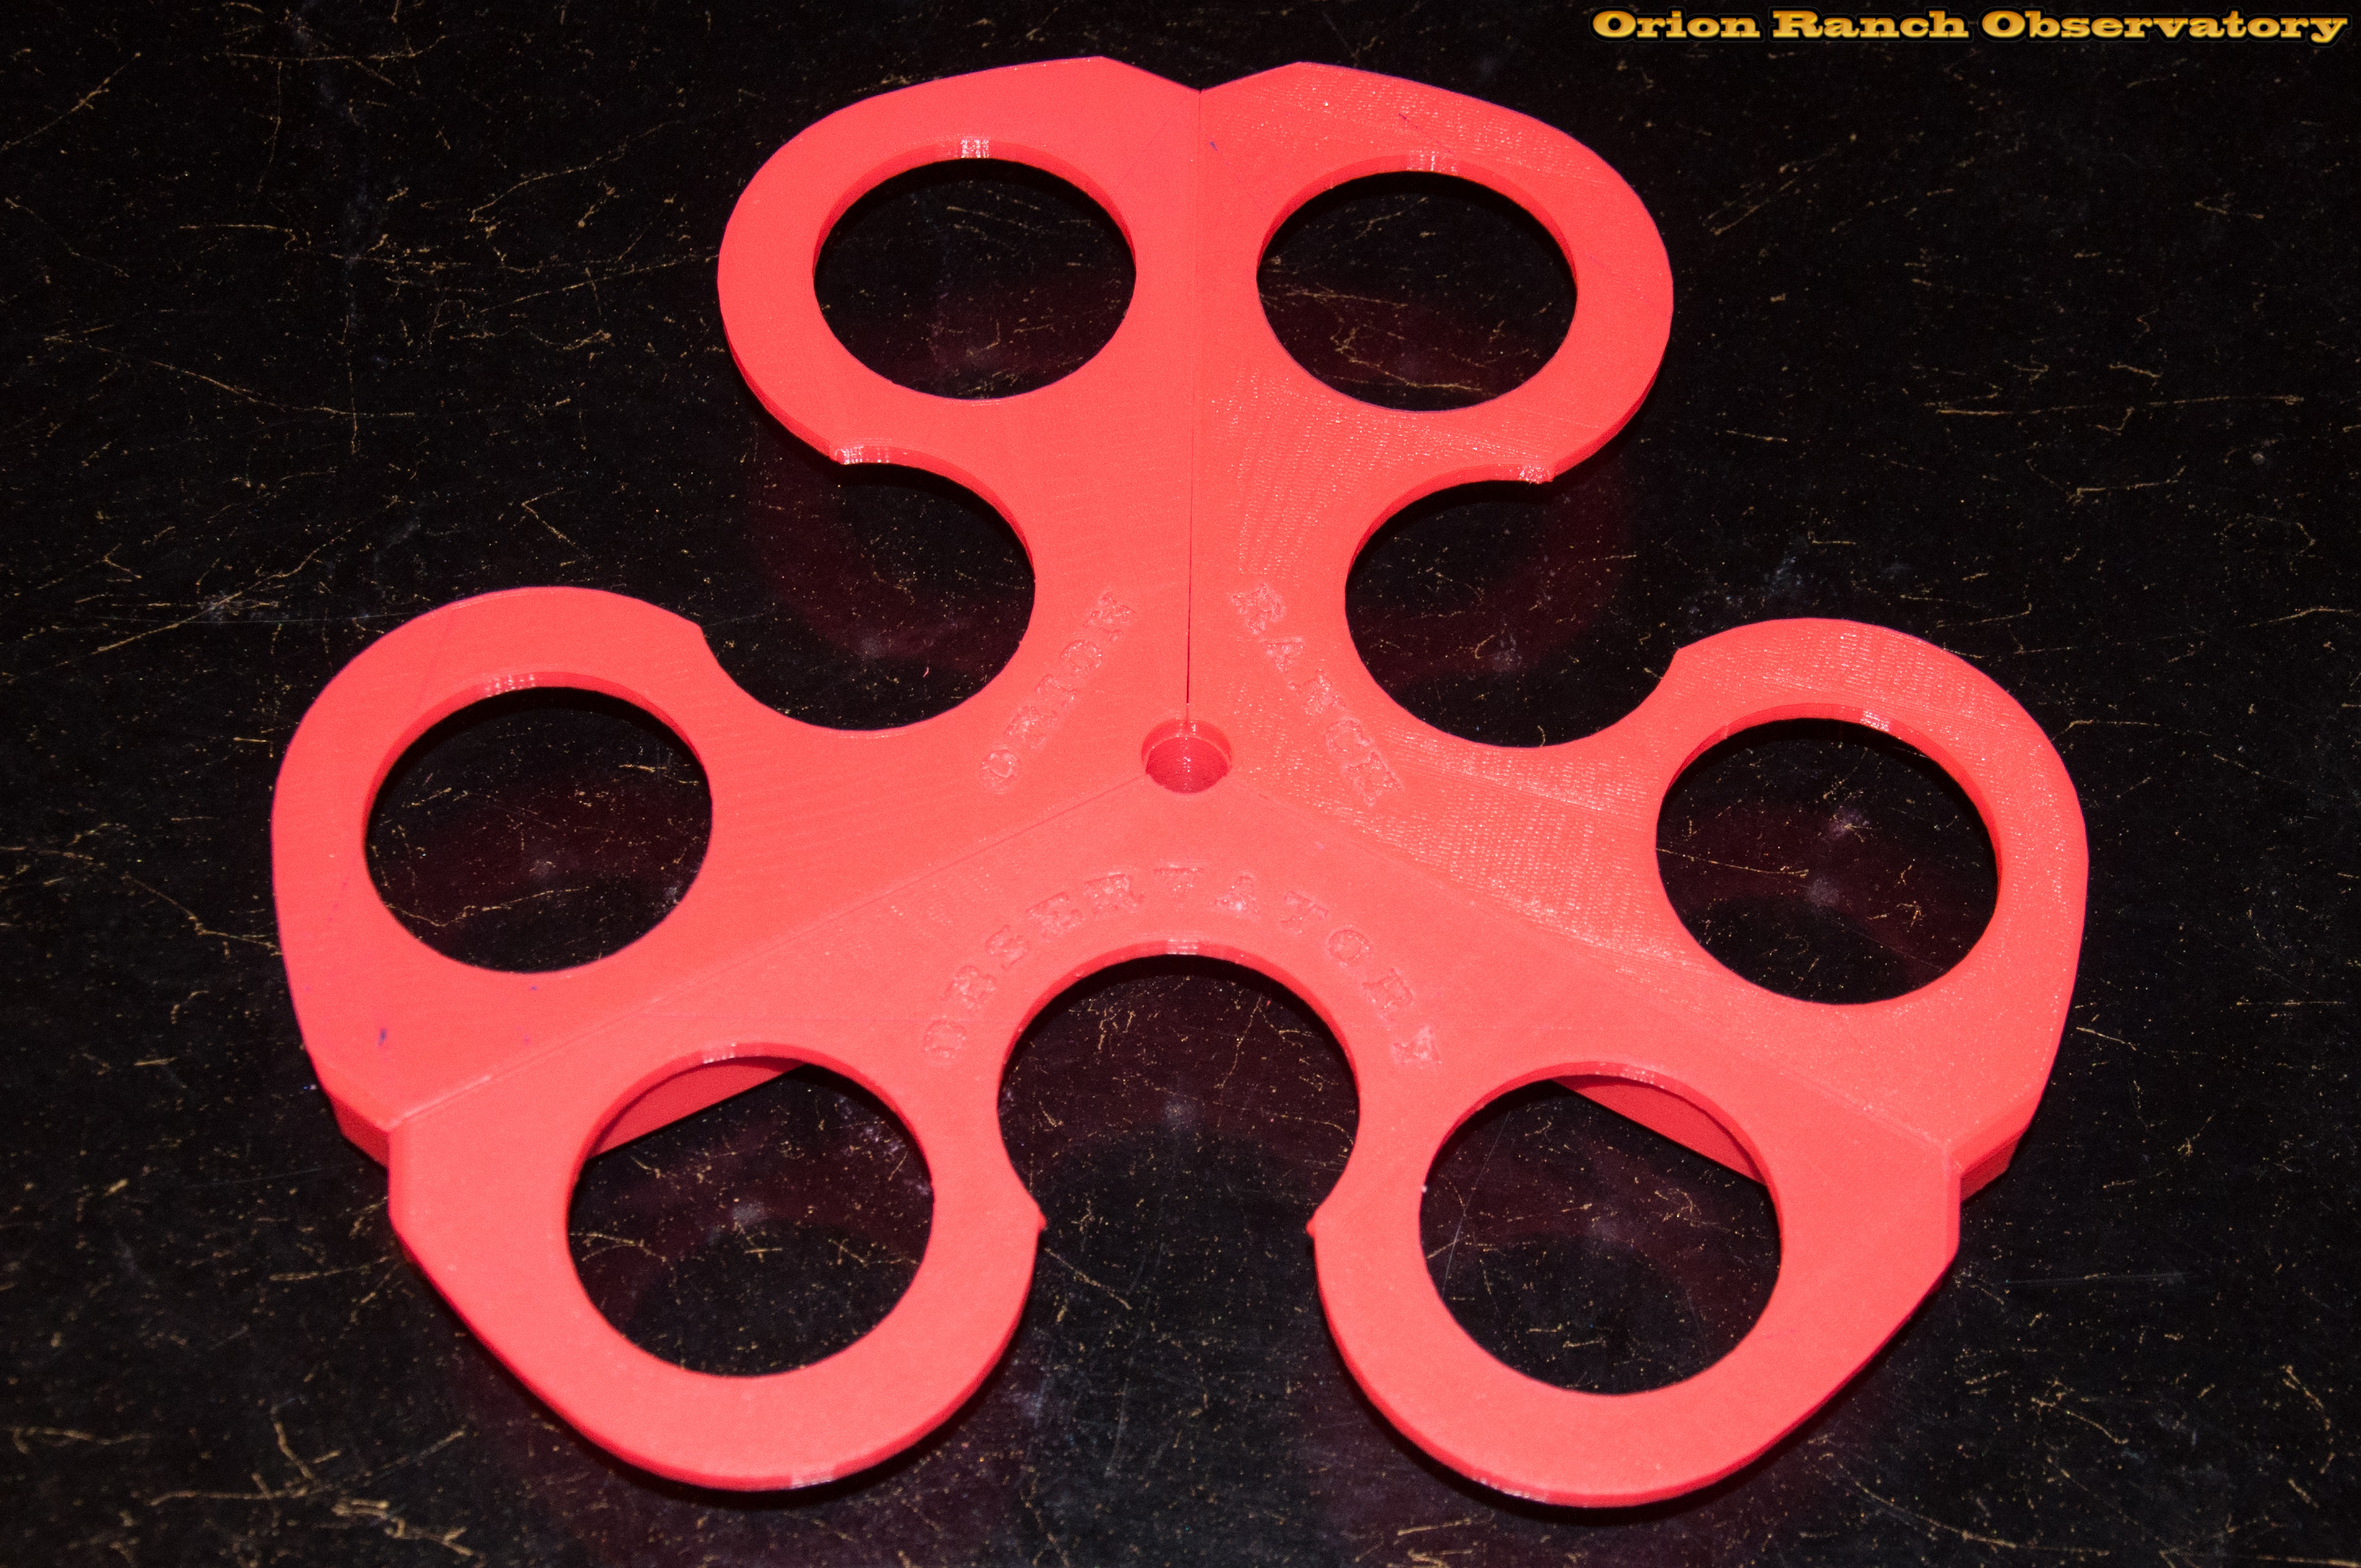
At any rate, it turned out pretty good and worked great, but was still just the same as the original Celestron spreader, which was pretty limited. I’d also decided the center column was too short, requiring more turns than necessary to clamp down. I figured I could do better. Thus I designed my initial version of a delta shaped leg spreader that provided six 1.25″ and three 2″ eyepiece holders which were slotted to do double-duty and allow the legs of the tripod to close completely without having to remove the spreader from the tripod.

In the meantime I wanted to see how well the printed spreader would hold up, so I tested the strength of one of the first prototypes by screwing the nut to the bottom of the thread. It flexed, but there was no evidence of cracking or failure. Upon release, it went back very close to its original shape, and at this point I couldn’t tell you which of the two I’d printed was the one I tested.

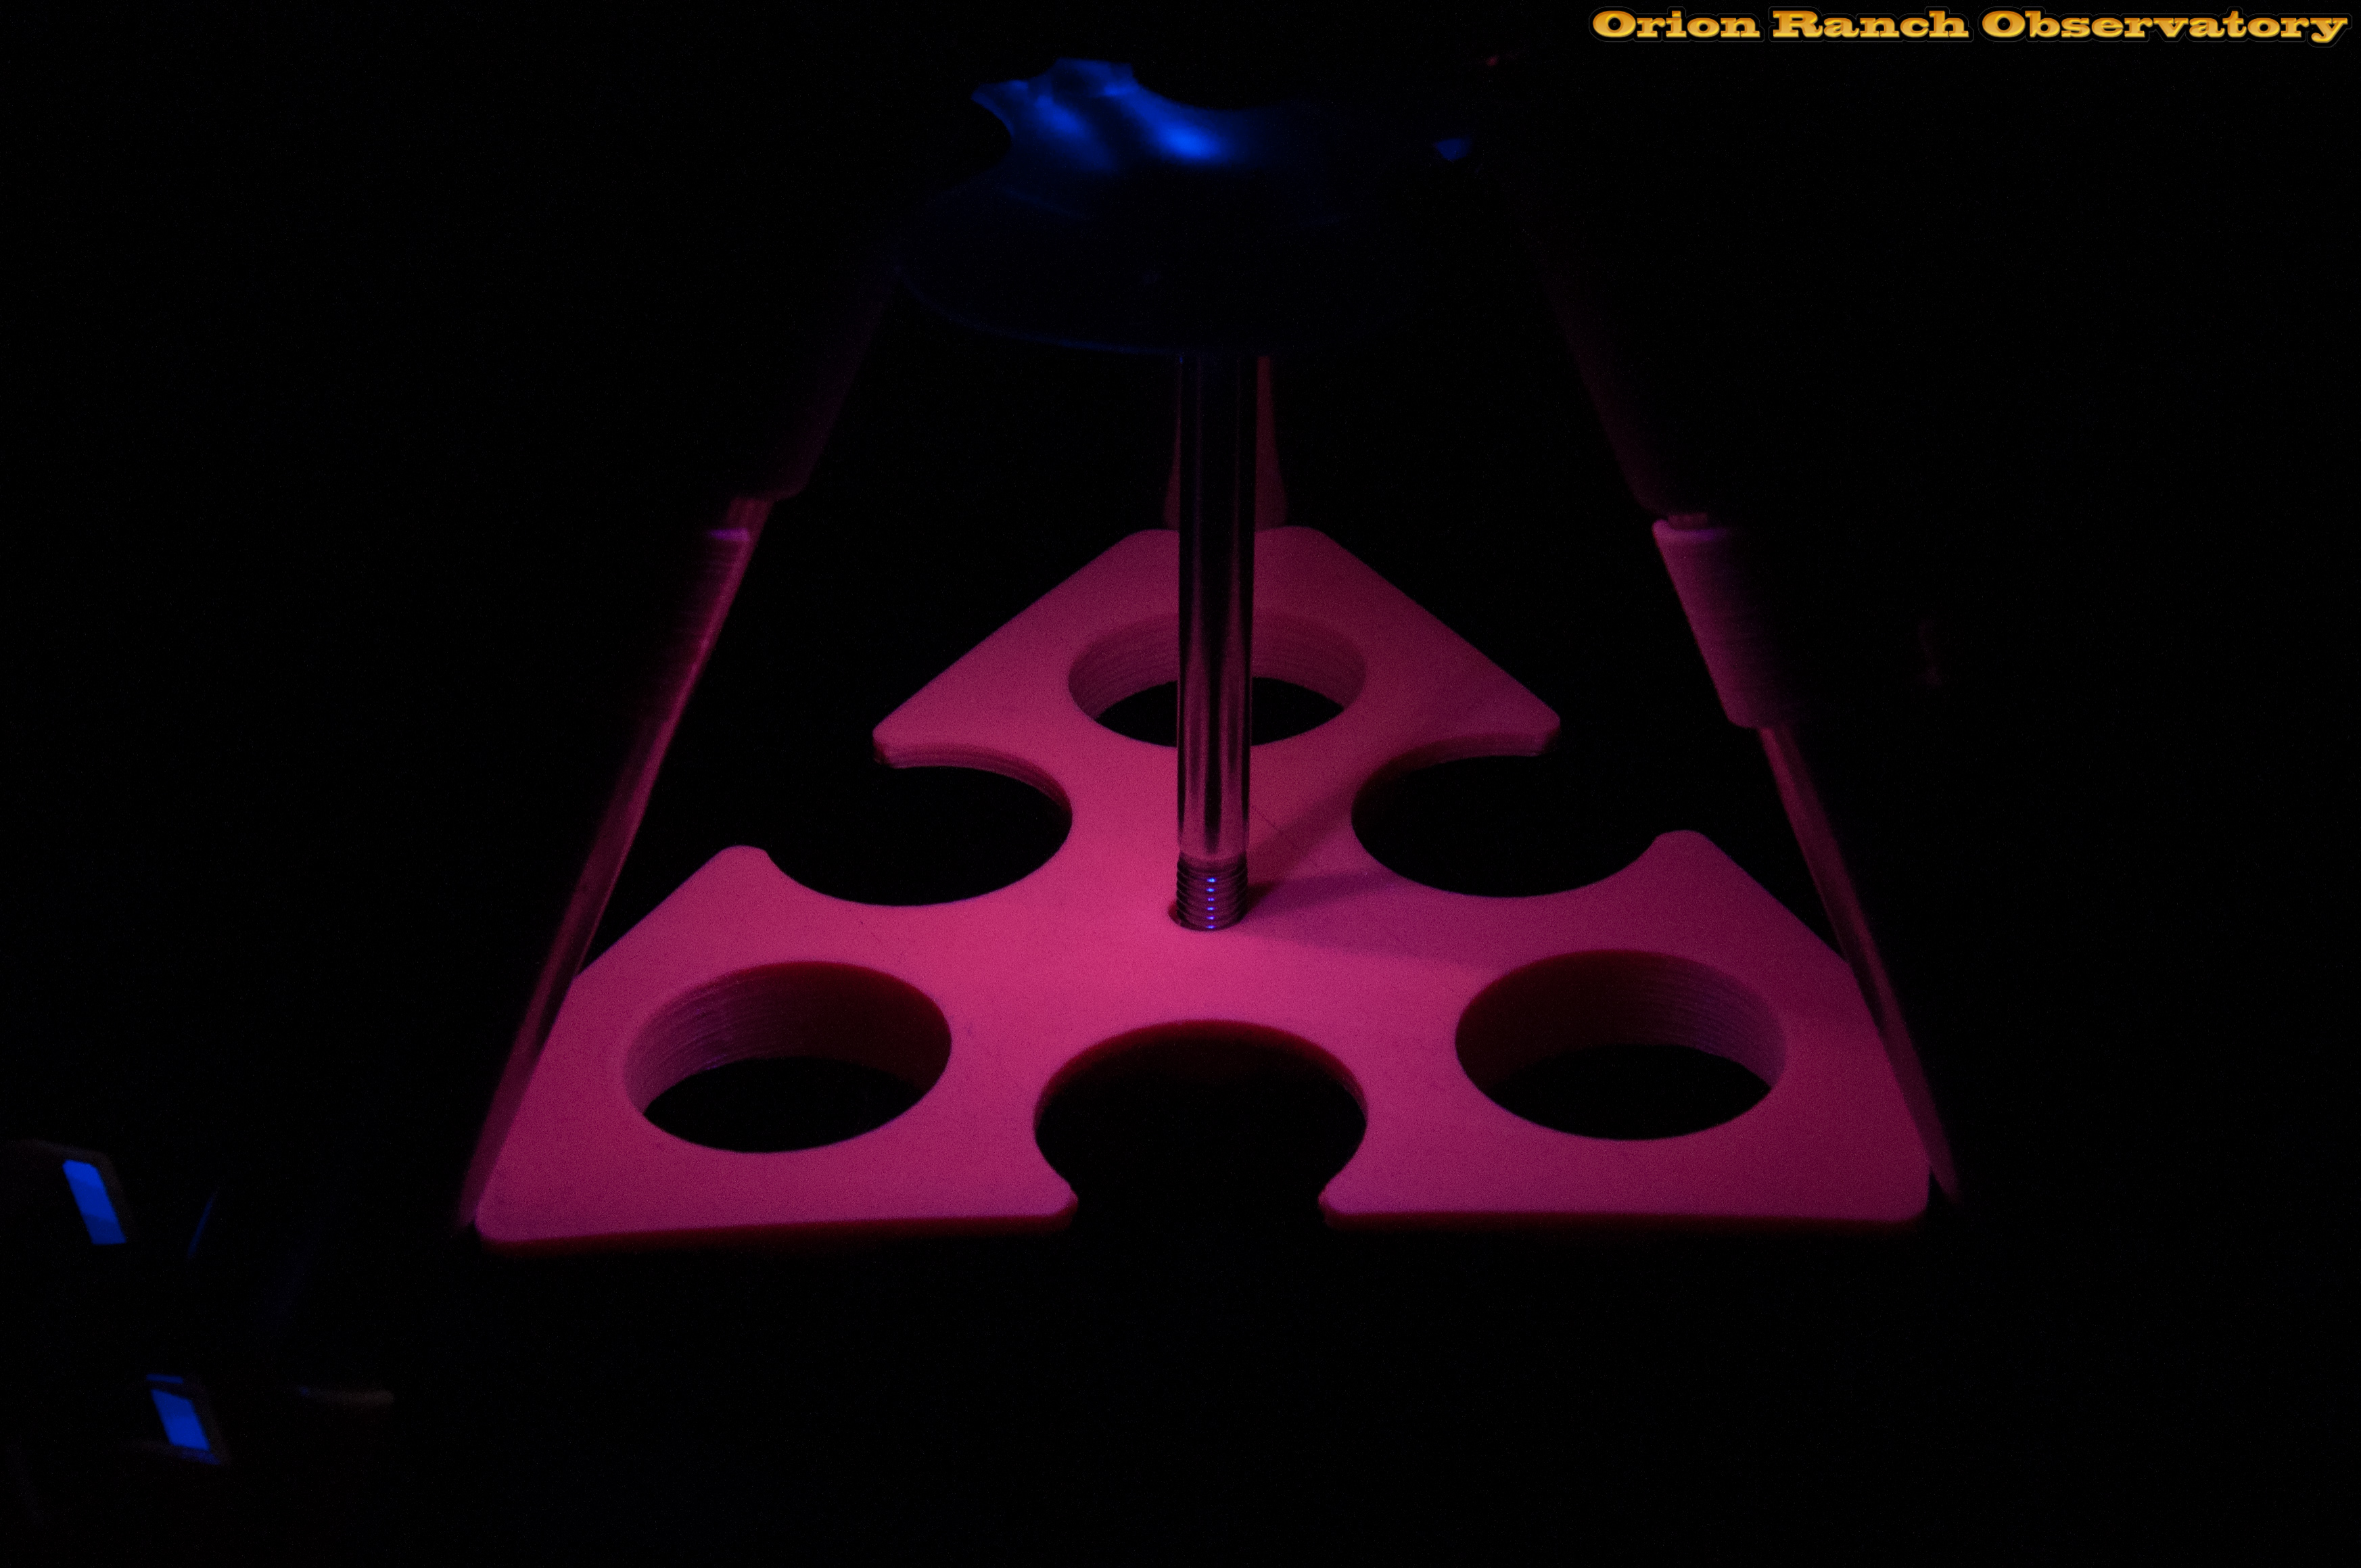
I then tried out a new glow-in-the dark red filament, that actually tends to look closer to the Celestron orange of the 8SE OTA than does the orange filament. The material was a pain to print with as you have to run hotter and slower than typical PLA material, so a print like this took about 19 hours! This image is with the camera at auto-exposure just after charging, so is pretty close to what you’d see visually. After a few hours, you’ll have to be in really dark skies to see anything. Notice too the hand controller clip I designed based on the clip for the business card holder.

With a thirty second exposure it looks really cool!
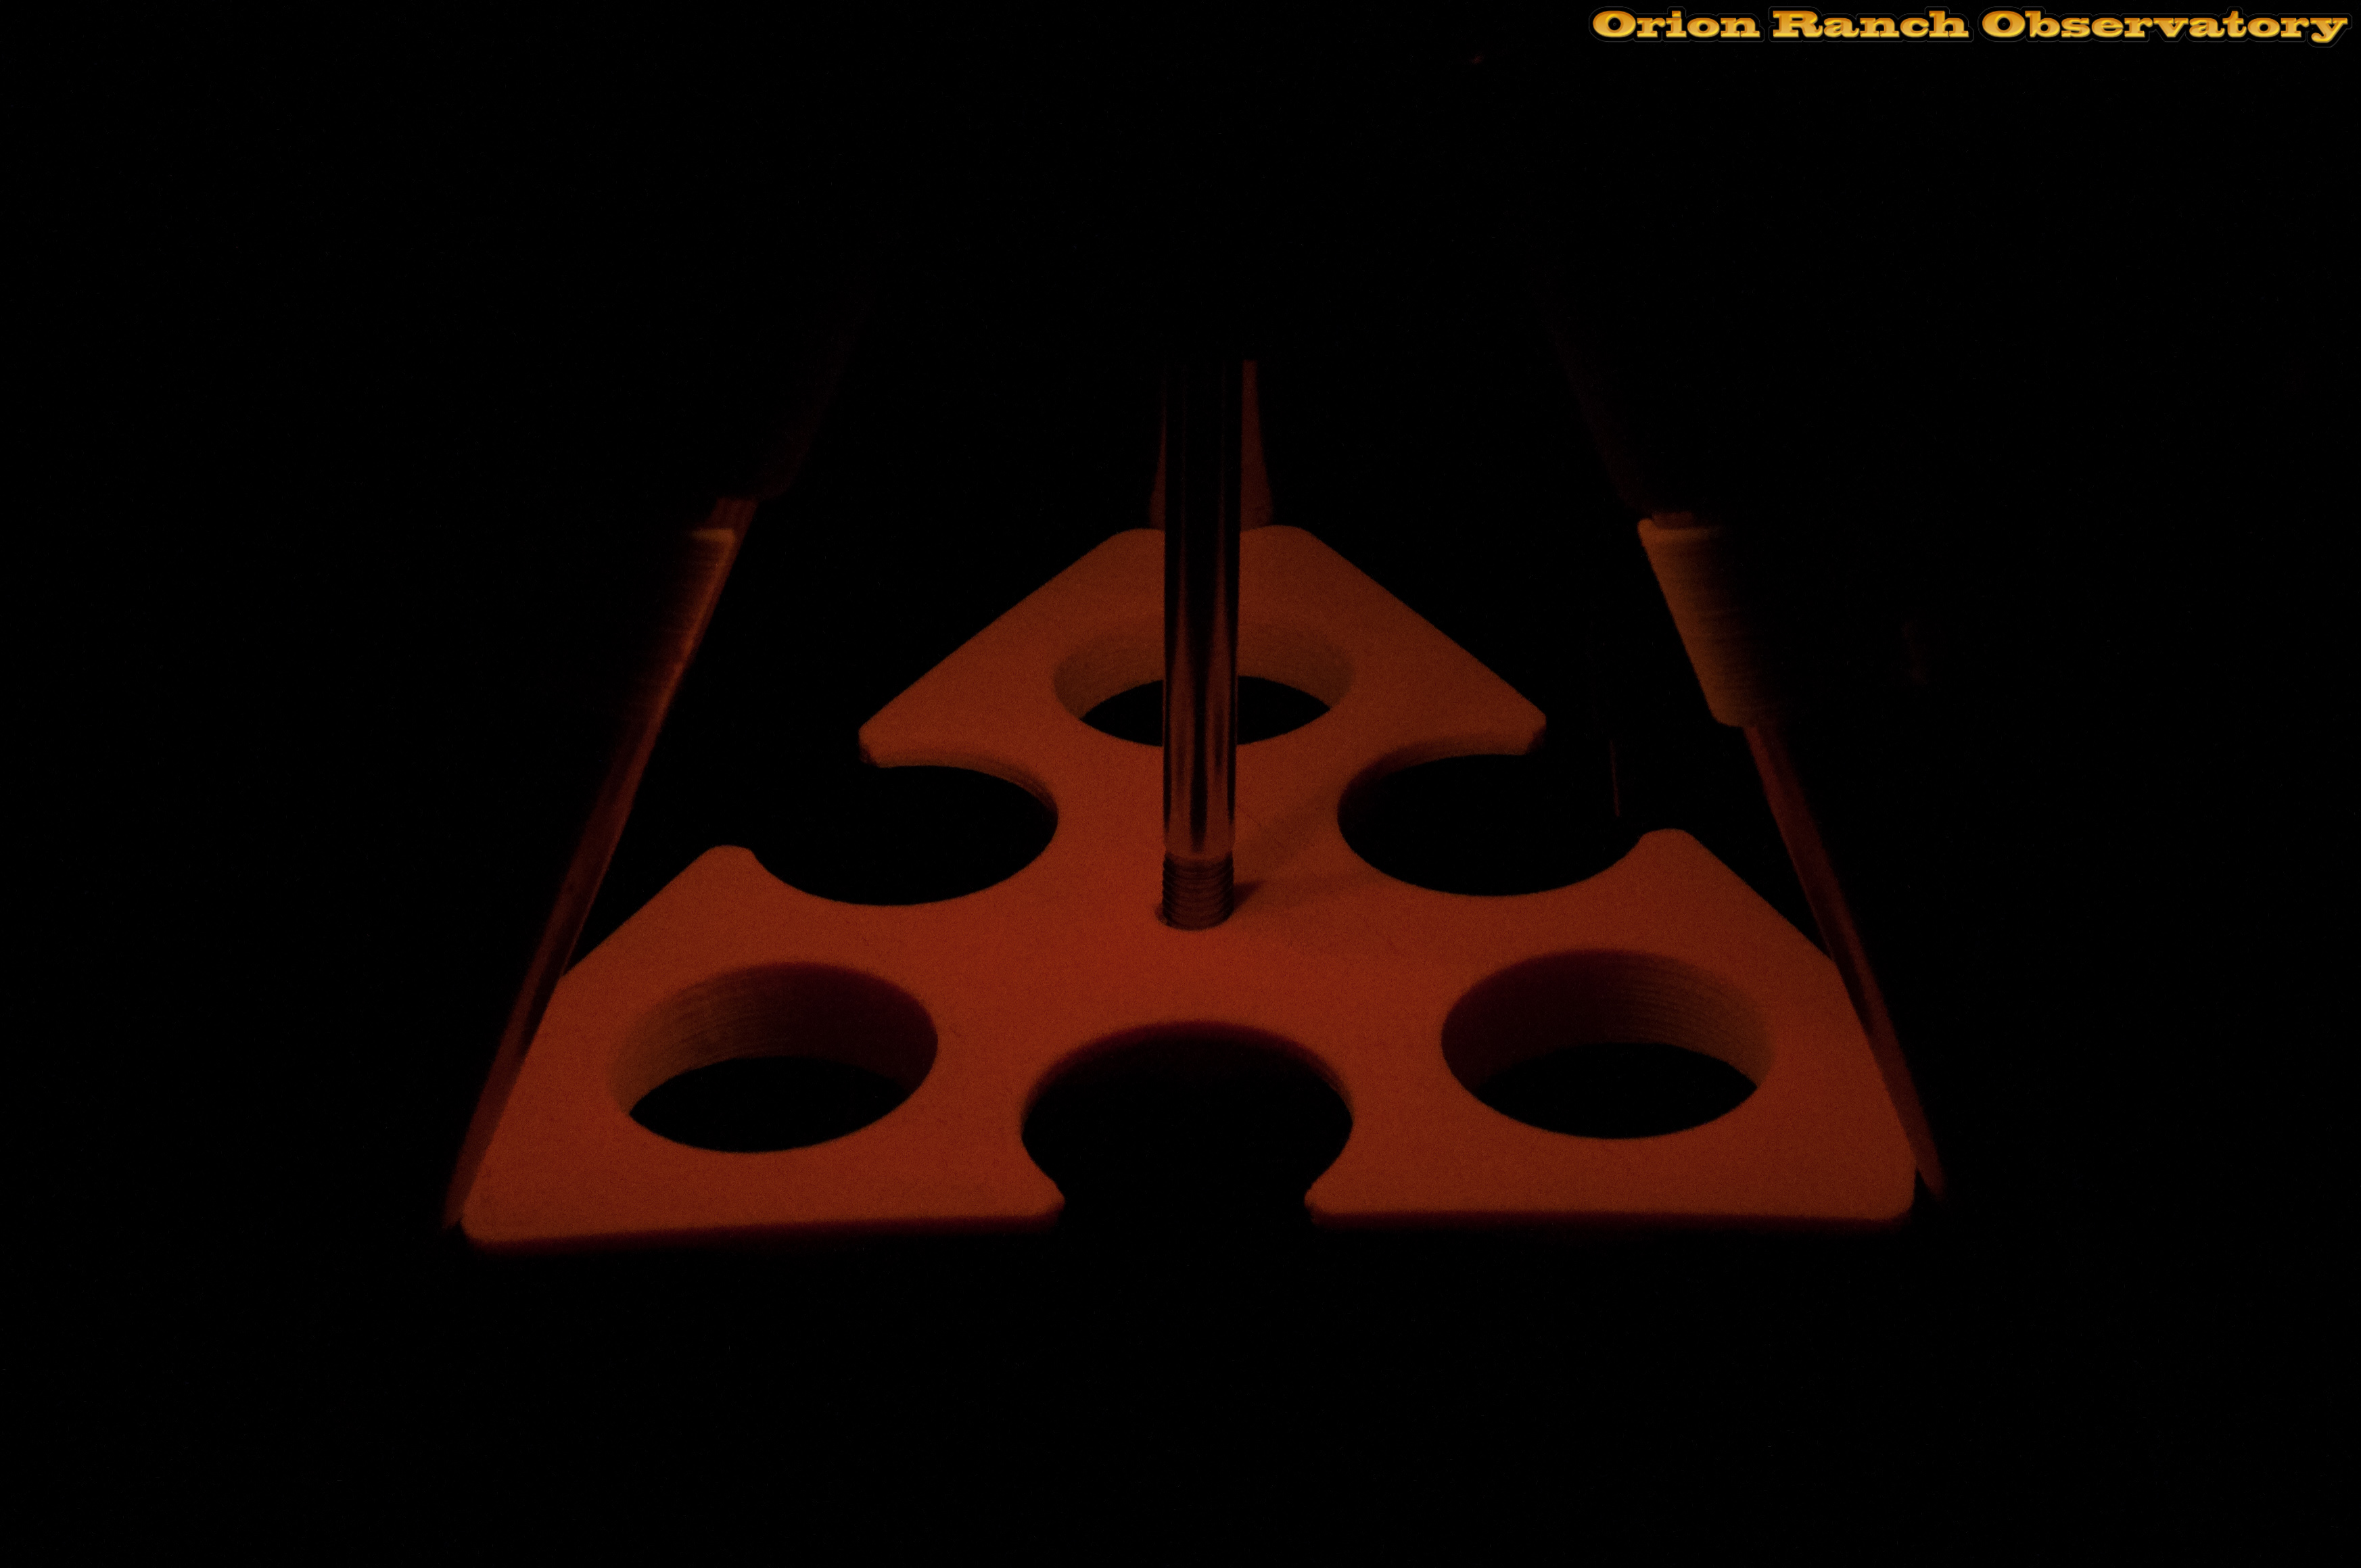
Unfortunately, it just doesn’t last that long. I’ve come up with a solution for that as well, but that’s somewhat out of order! As mentioned, the glow in the dark material doesn’t work all that well (at least in my printer) and I had a lot of failed attempts trying to get it to work. Along the line I also discovered problems with the Y axis of the printer now that I was trying to use the full build volume. The original Robo 3d design uses drawer slides that over time start to bind as the bearing moves out of center. Normally in a drawer you just pull a little harder and re-seat them, but the stepper can’t overcome the additional friction. On top of that, the range of motion is limited by the drive limits and cabling, so the only way to reset it is to partially disassemble the bed. Before I figured all that out, I had a lot of disappointing if somewhat entertaining results.

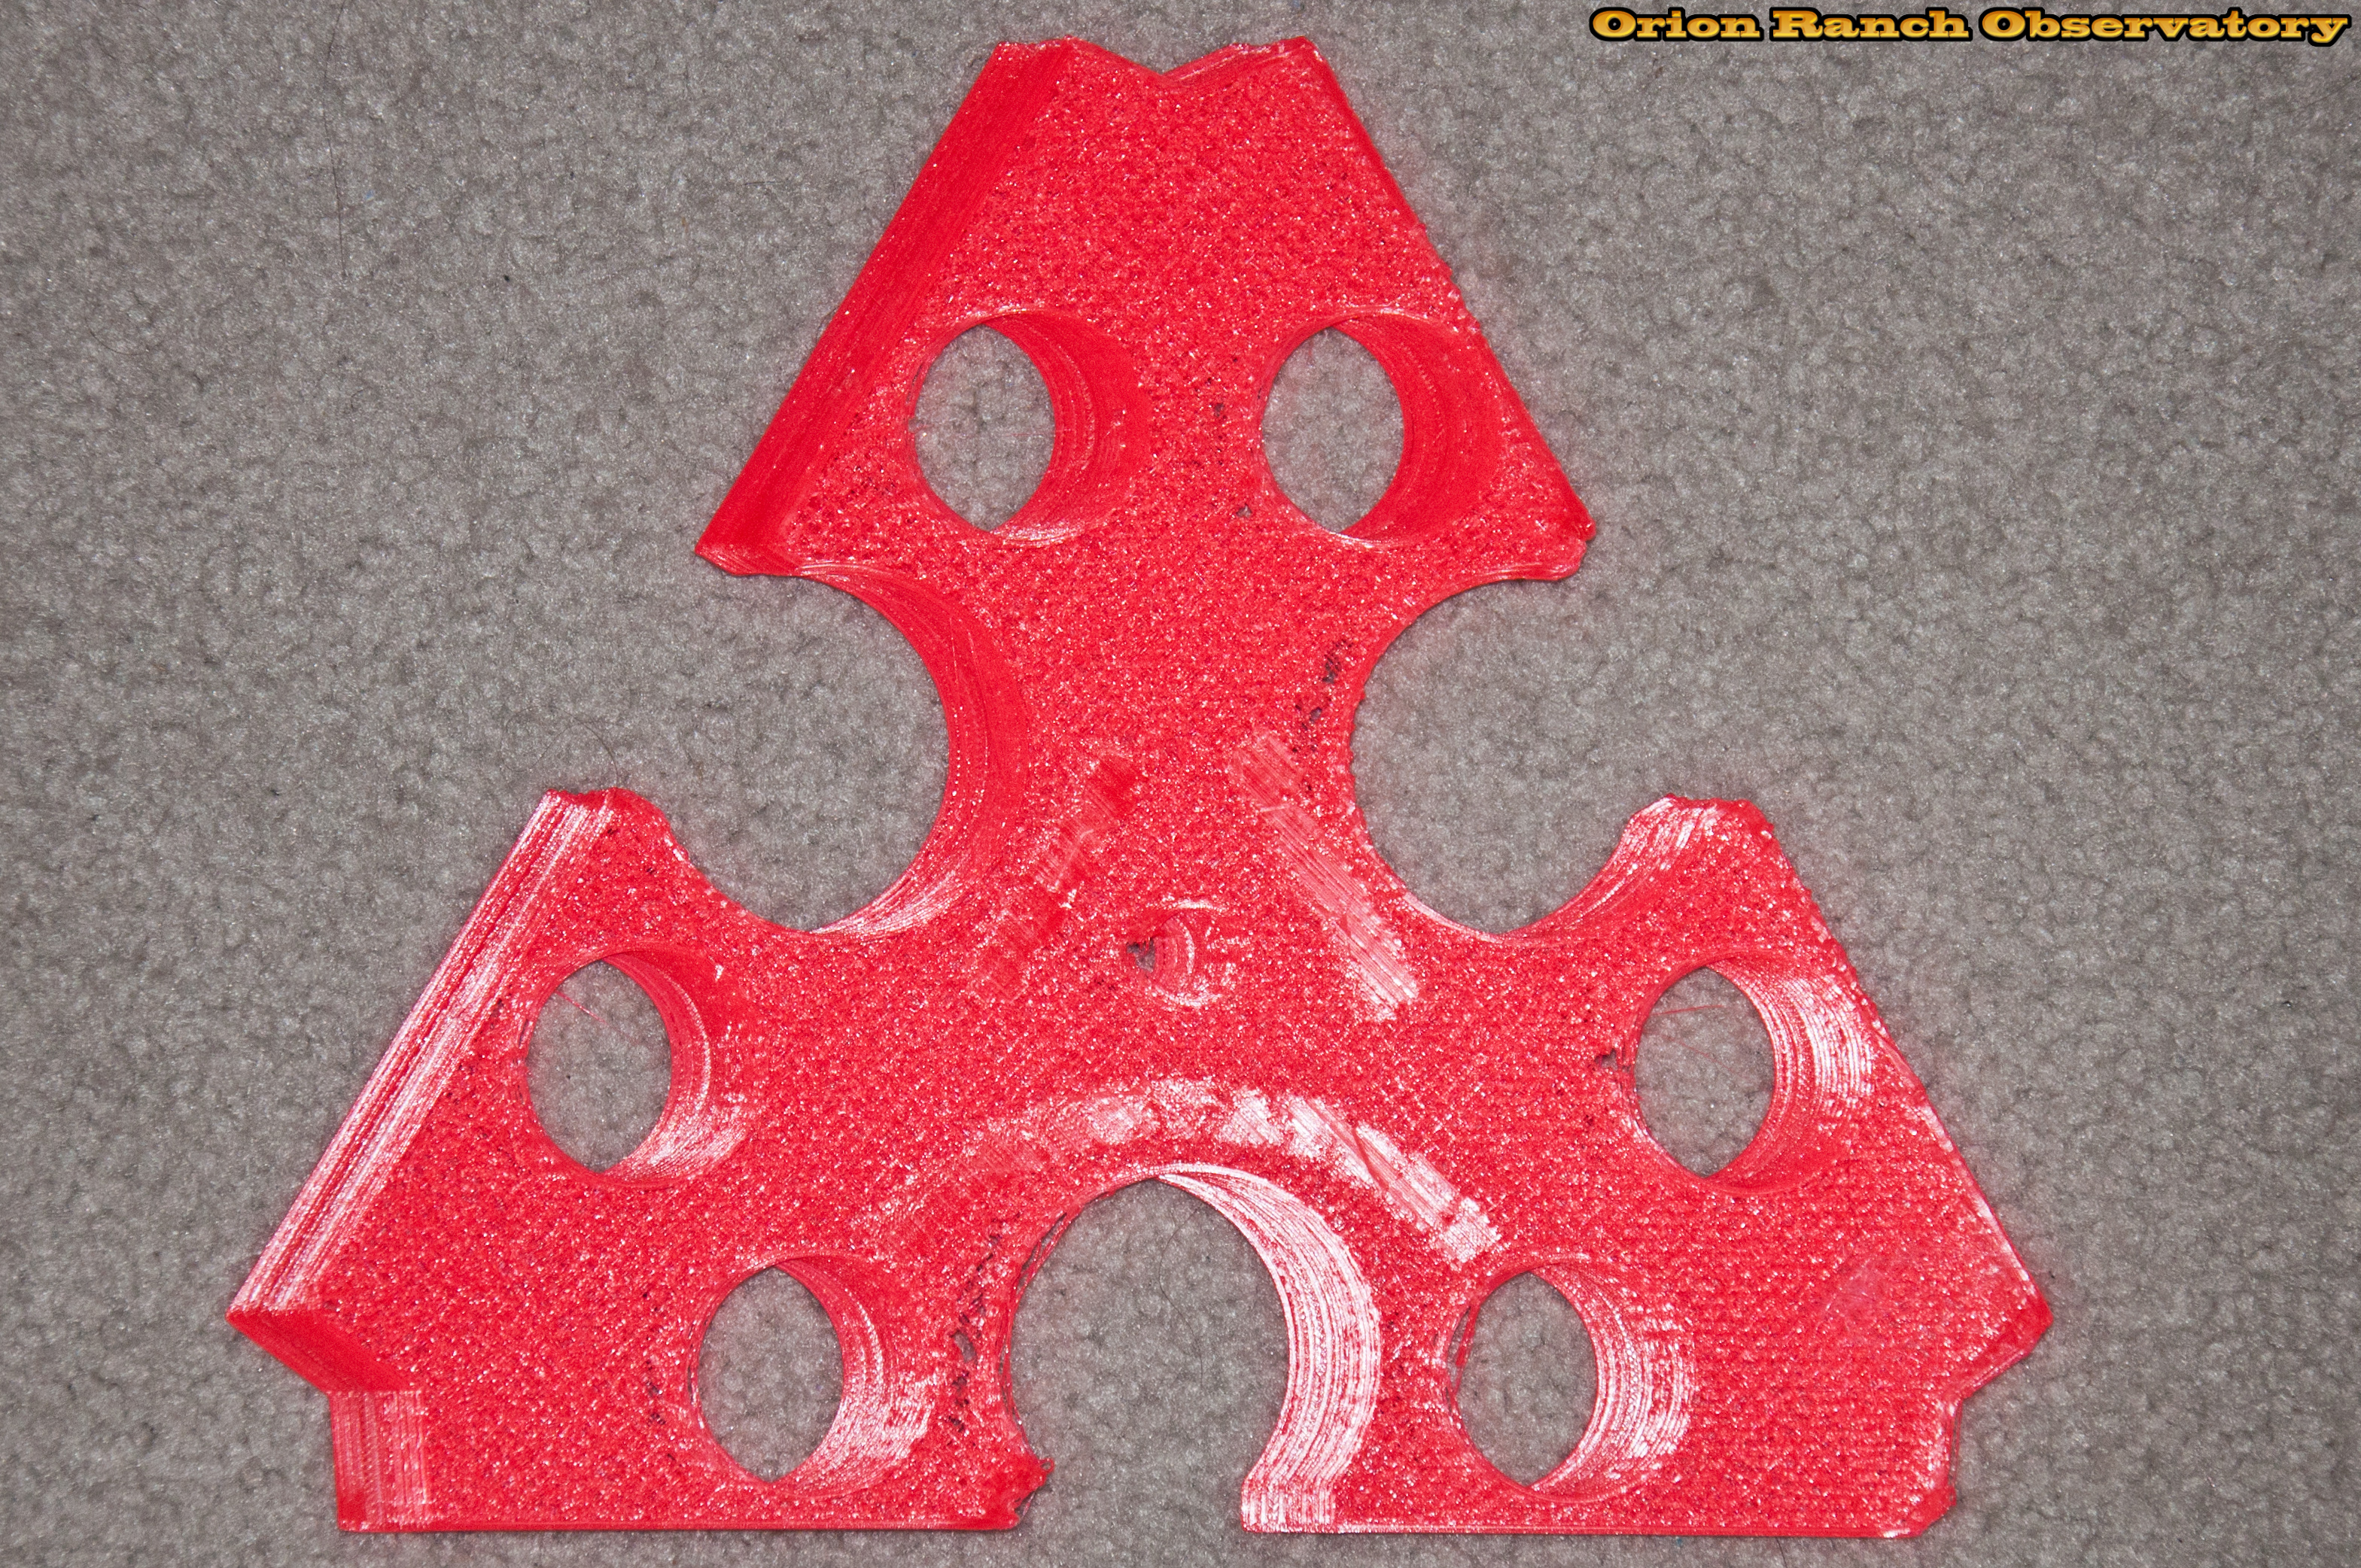
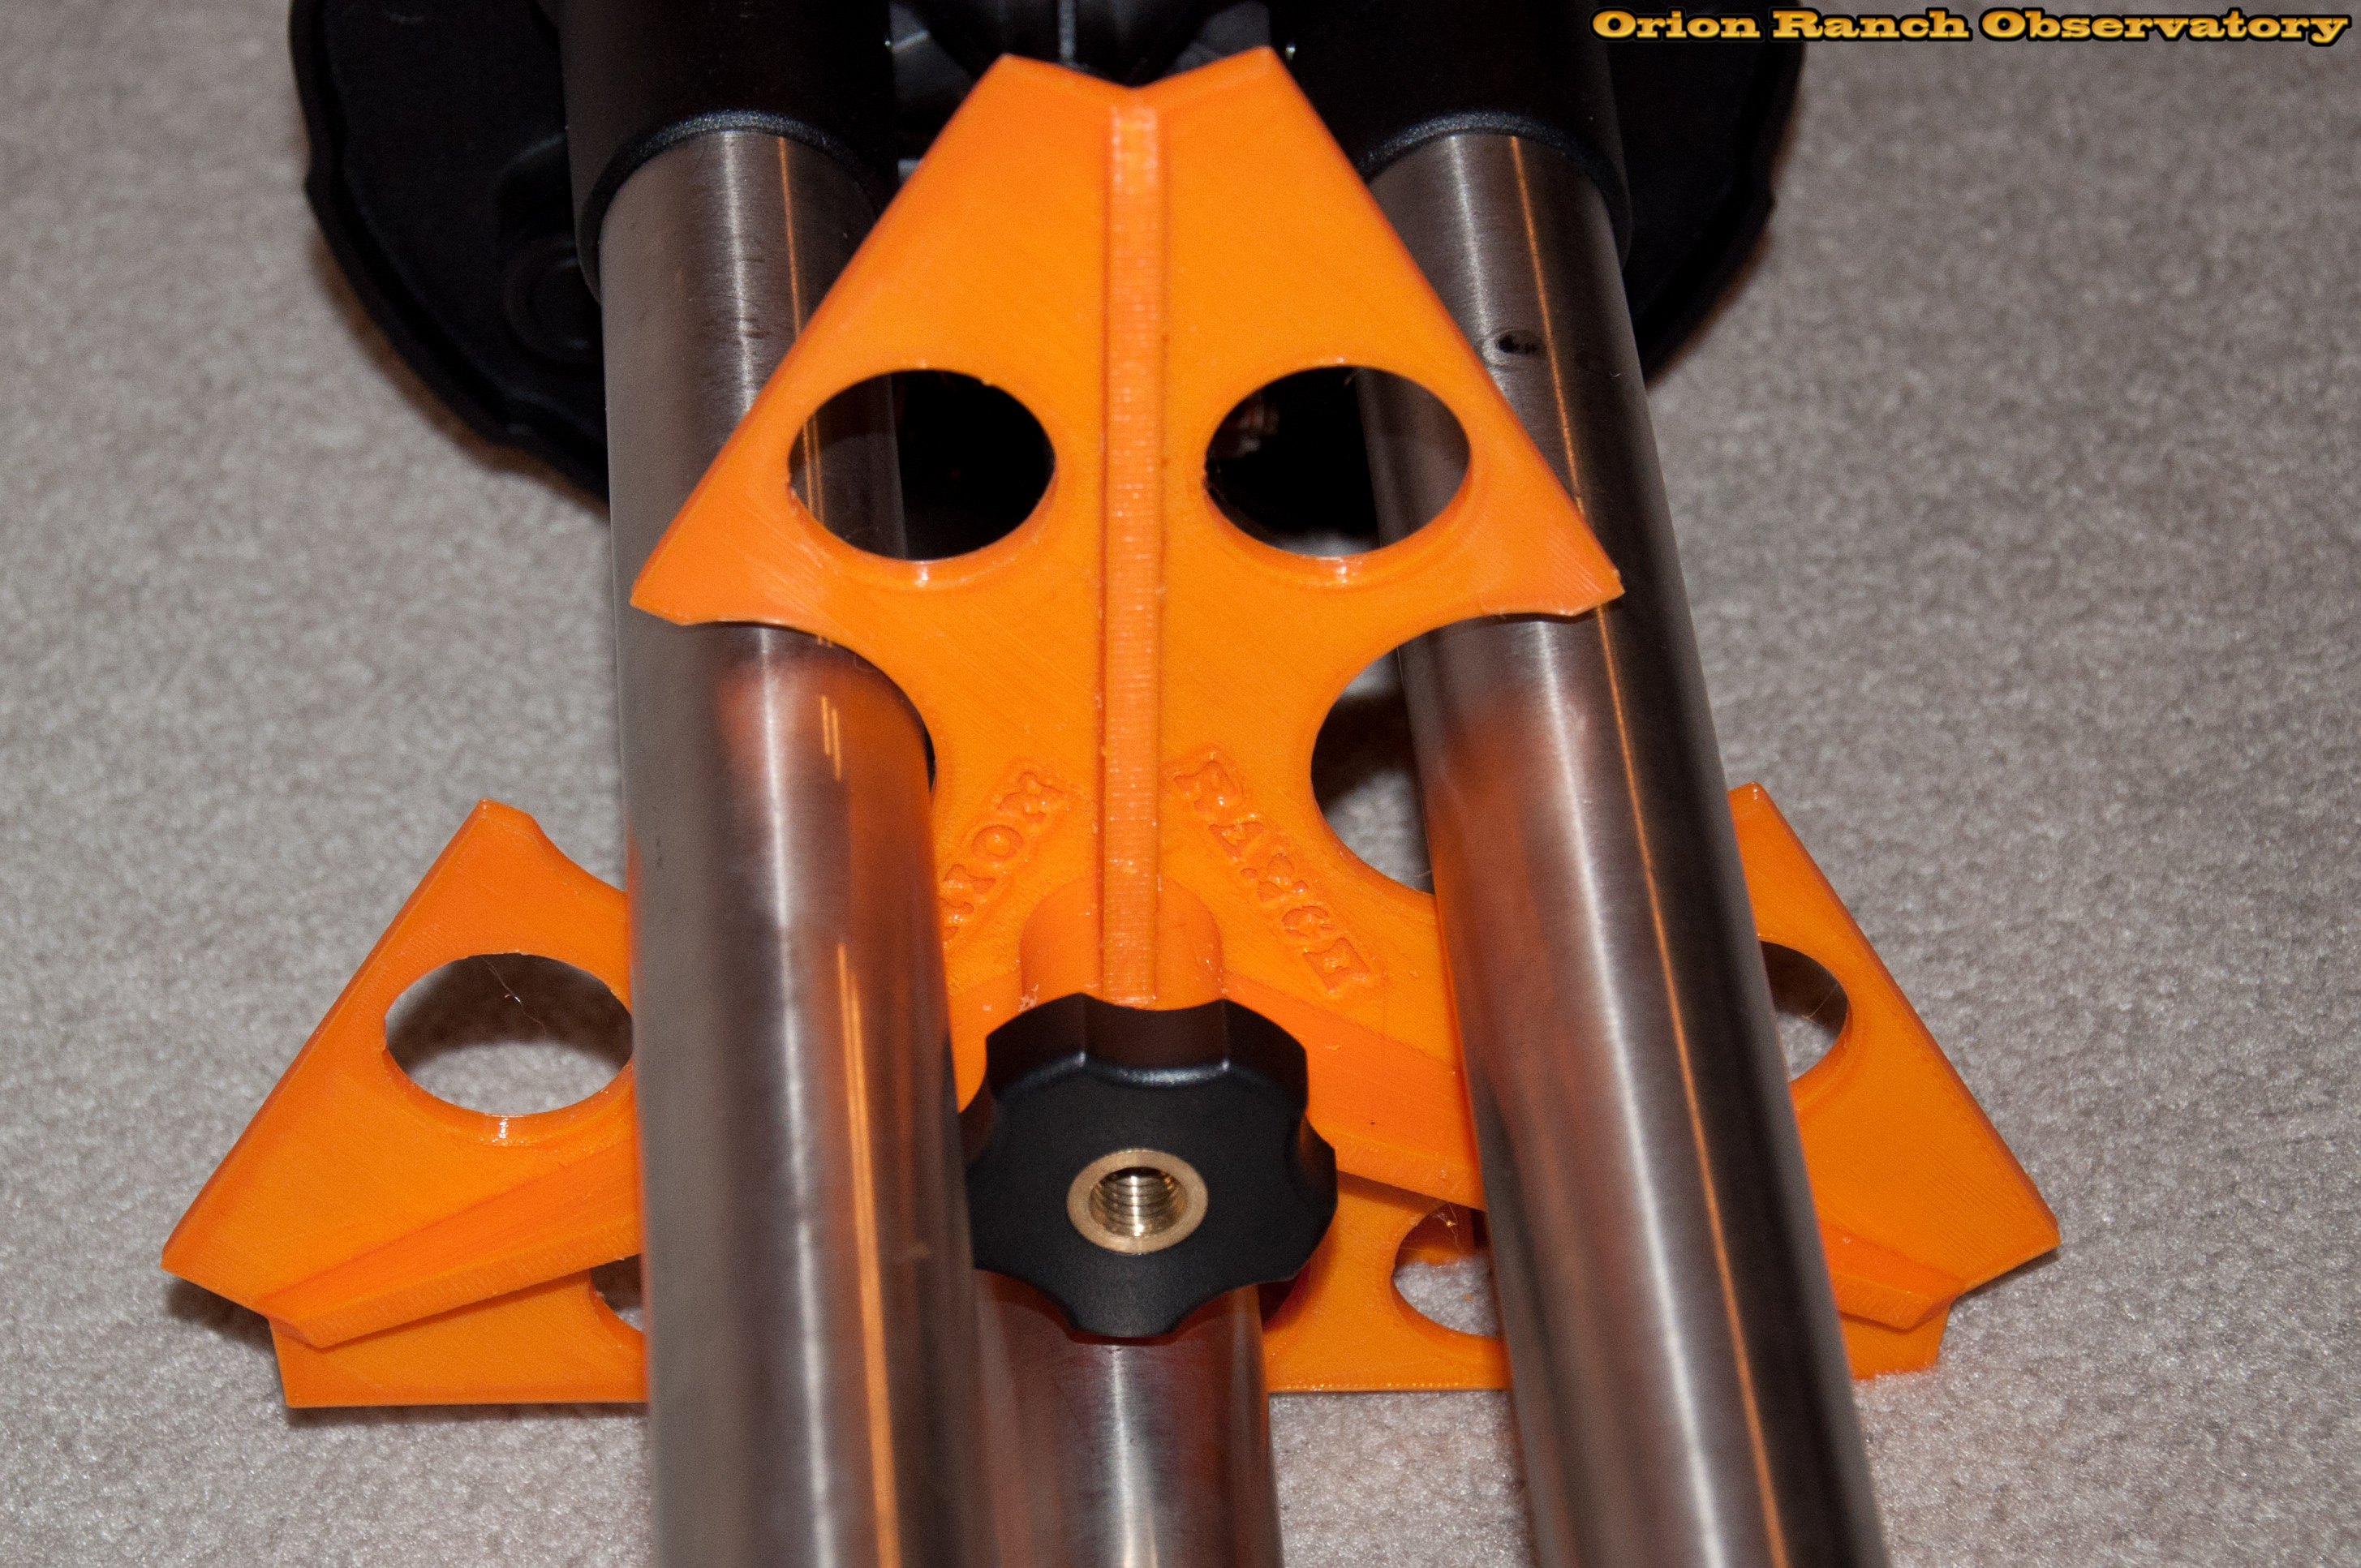
The delta design eventually evolved into something a little nicer, with curved edges and a set of retention bumps to allow the legs to snap into place when closed. That took a few attempts to get right. I was also having problems with warping due to the large size.

I even developed a version for the larger 1.75″ legs of the Celestron CG-4 and equivalents.

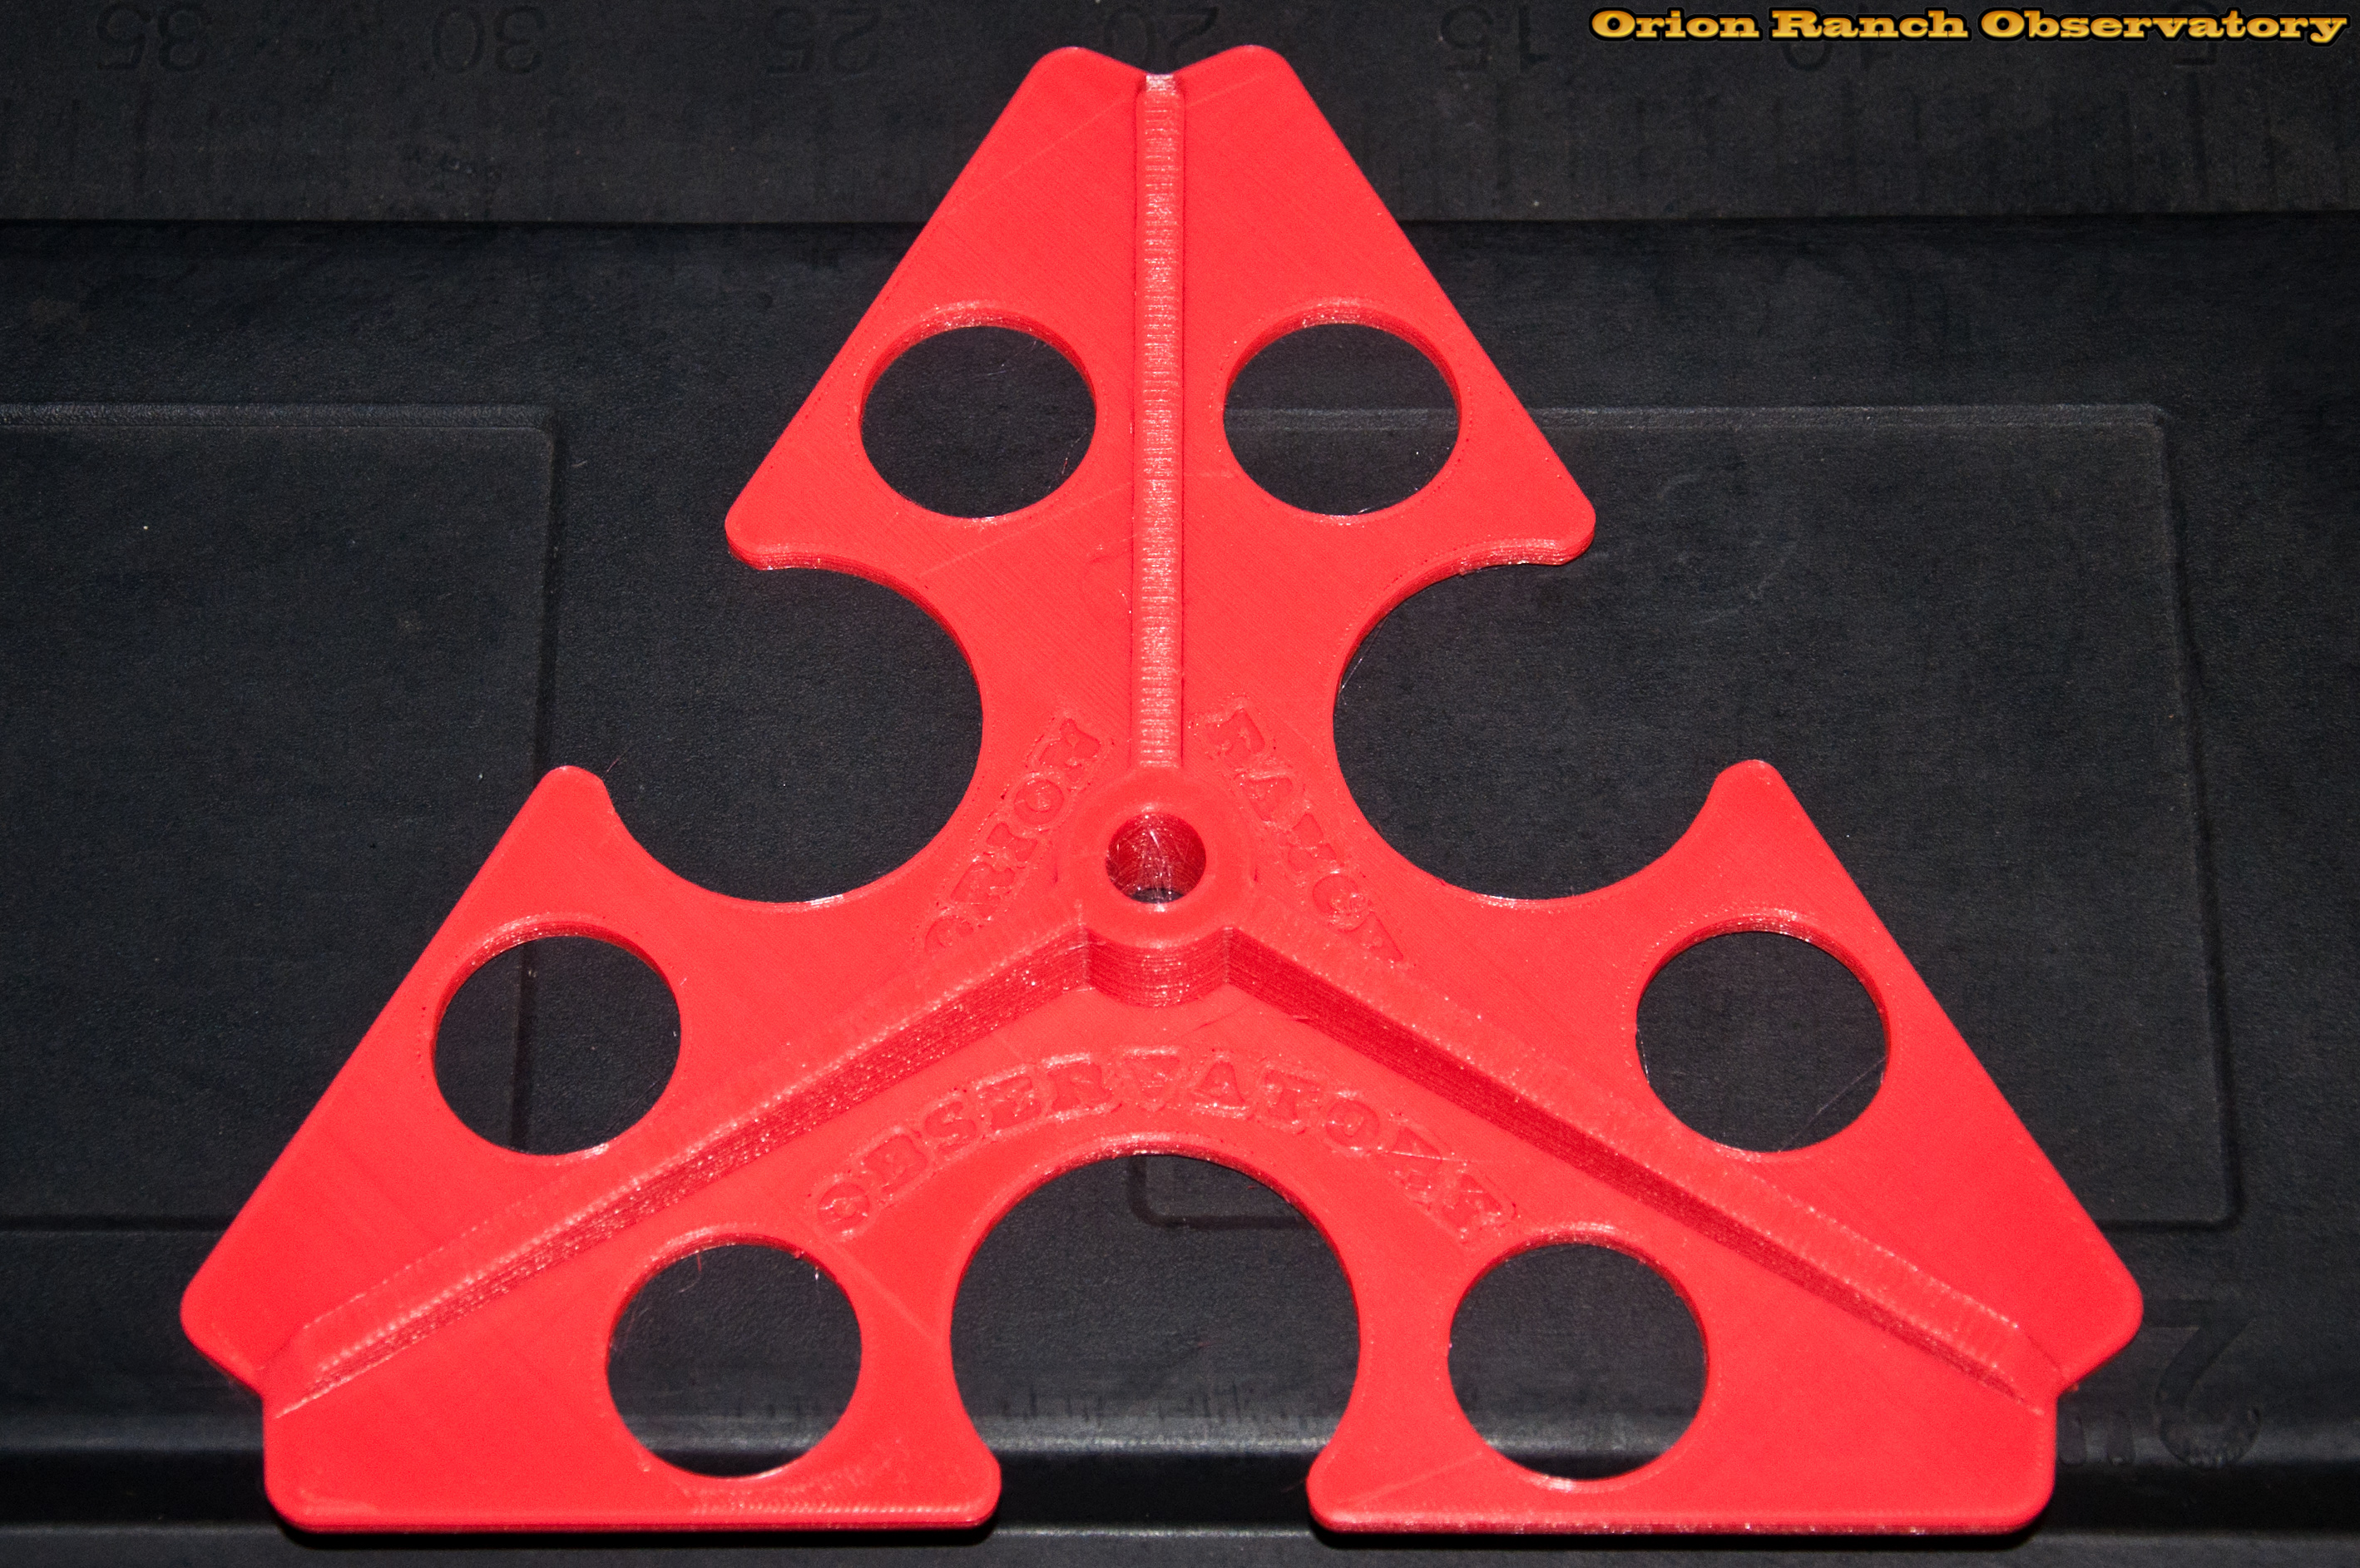
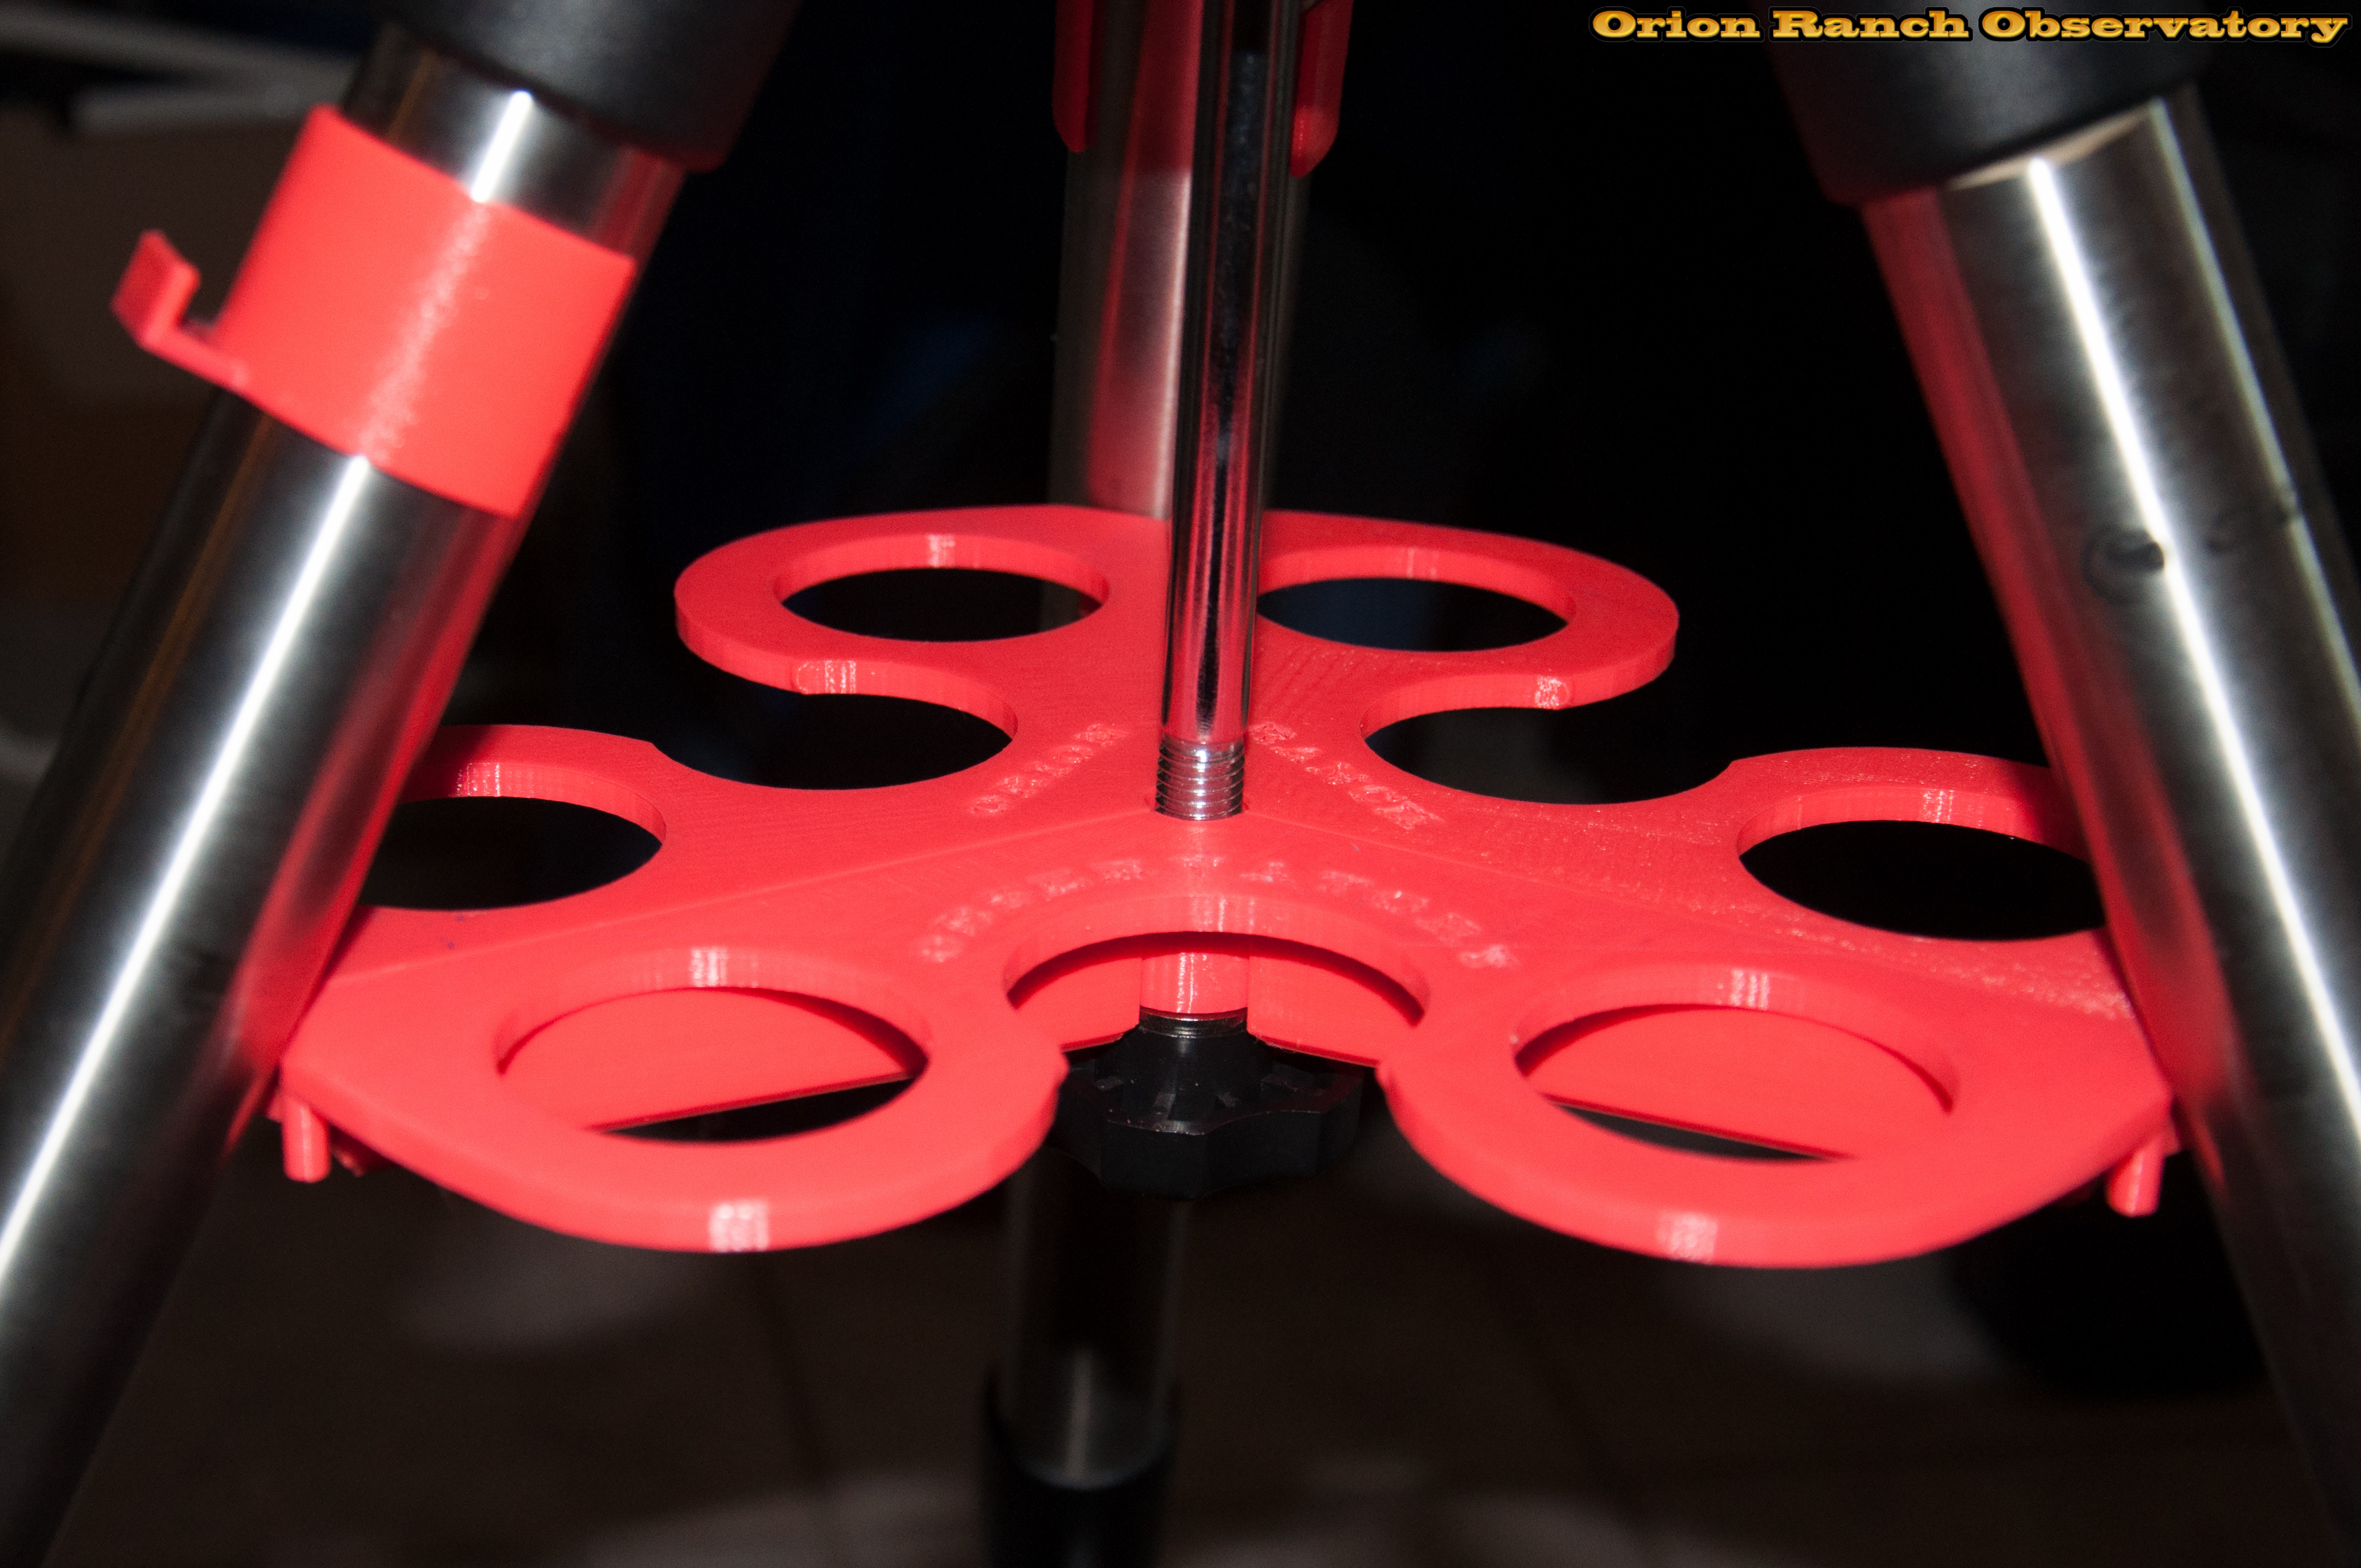
Here’s a closeup of that leg retention mechanism.
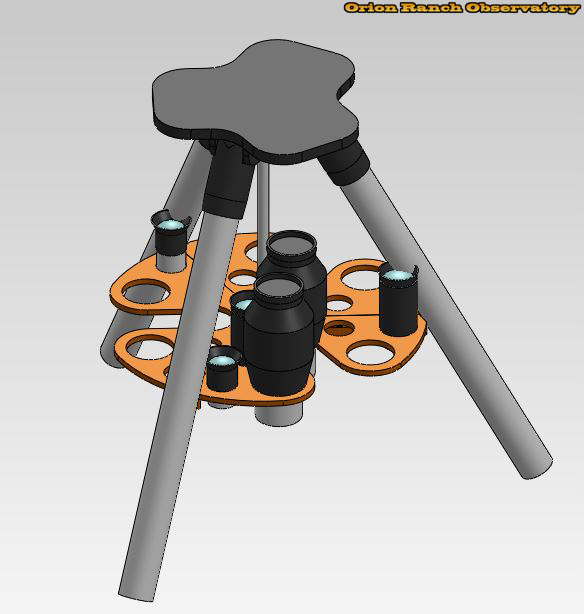
I then set my sights on making a spreader version that had more 2″ eyepiece holders since that’s generally what I use exclusively. In the “check it before you build it” category, I came up with a really cool looking design that just didn’t work!

I was afraid of this when I designed it, but didn’t take the time to model the whole tripod or even check using my existing delta design. The problem is that you can’t put anything tall under the legs due to the angle. Thus, even my smallest 2″ eyepiece won’t fit.
It’s not a total loss though. I can still use it for caps.
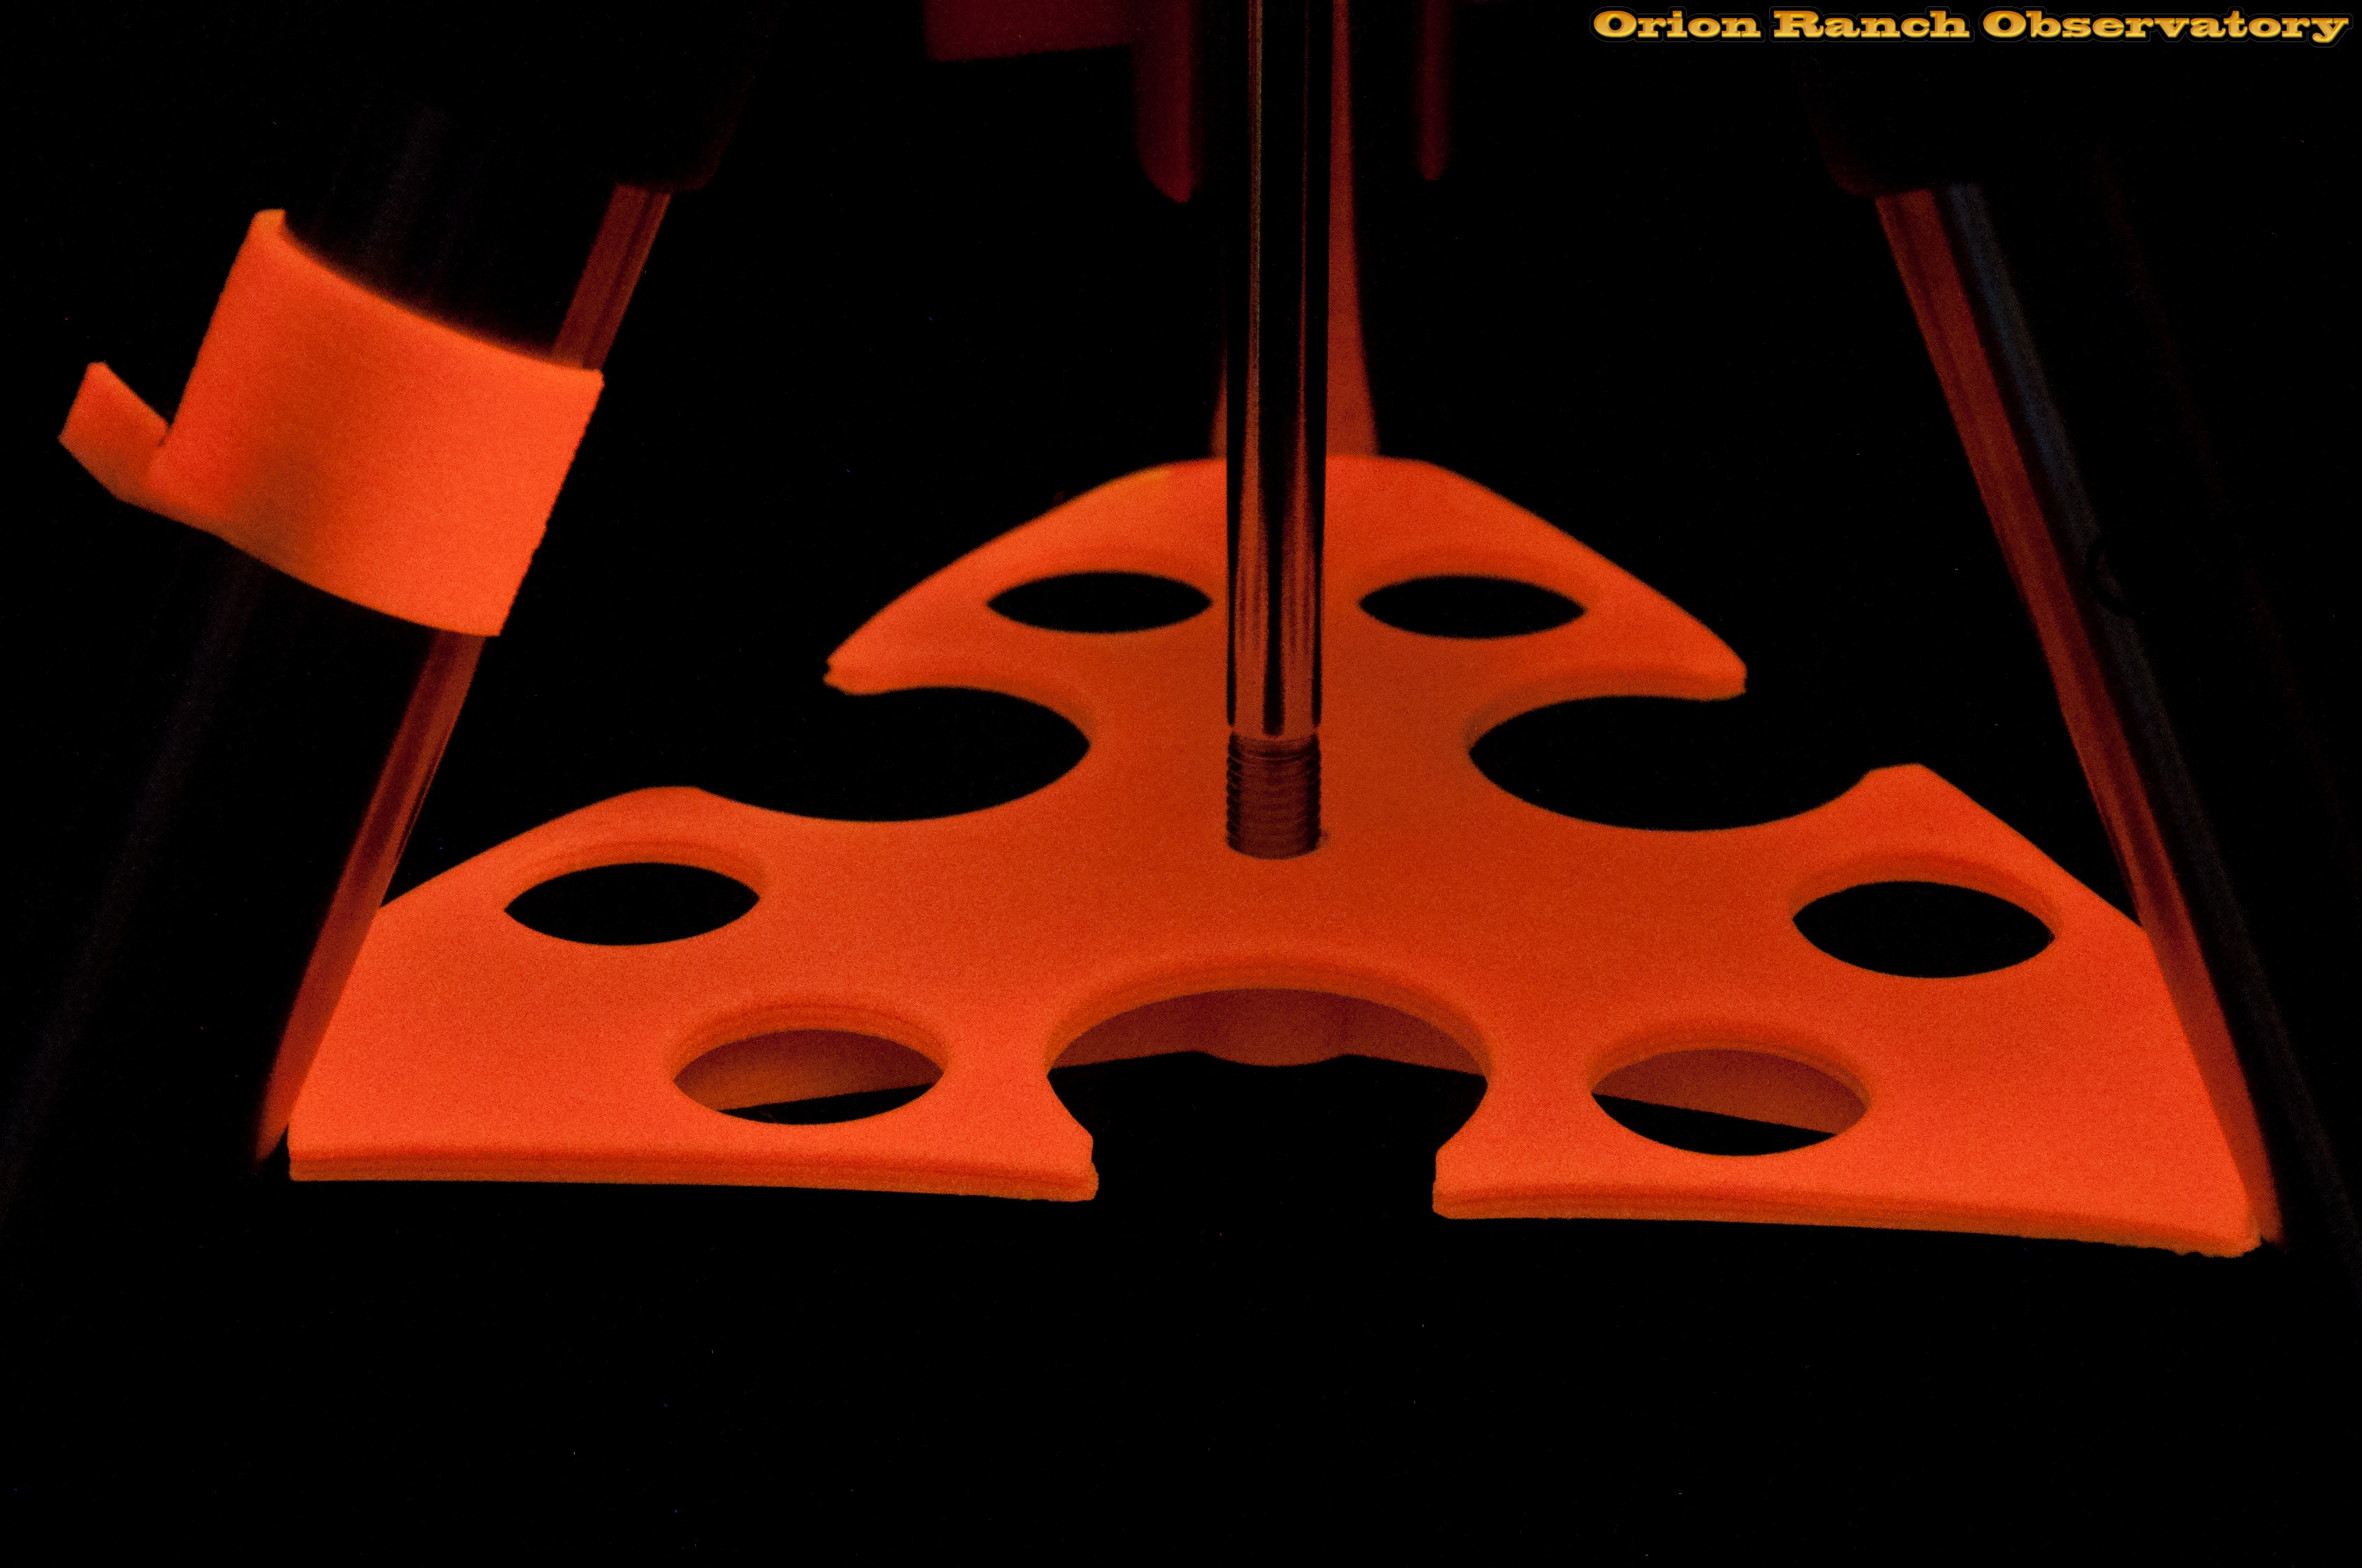
As mentioned, the glow-in-the-dark material doesn’t last very long, but it also happens to be fluorescent. Thus I bought a strip of UV LEDs and printed a holder that clamps to the top of the rod. It turned out that the half meter of 30 LEDs was far too bright, so I cut it down to three that I still need to turn off when doing deep sky observing. I still need to print a new holder that’s smaller for this simpler approach, so I’m not even highlighting that.
It still glows for a bit after turning off the UV light.
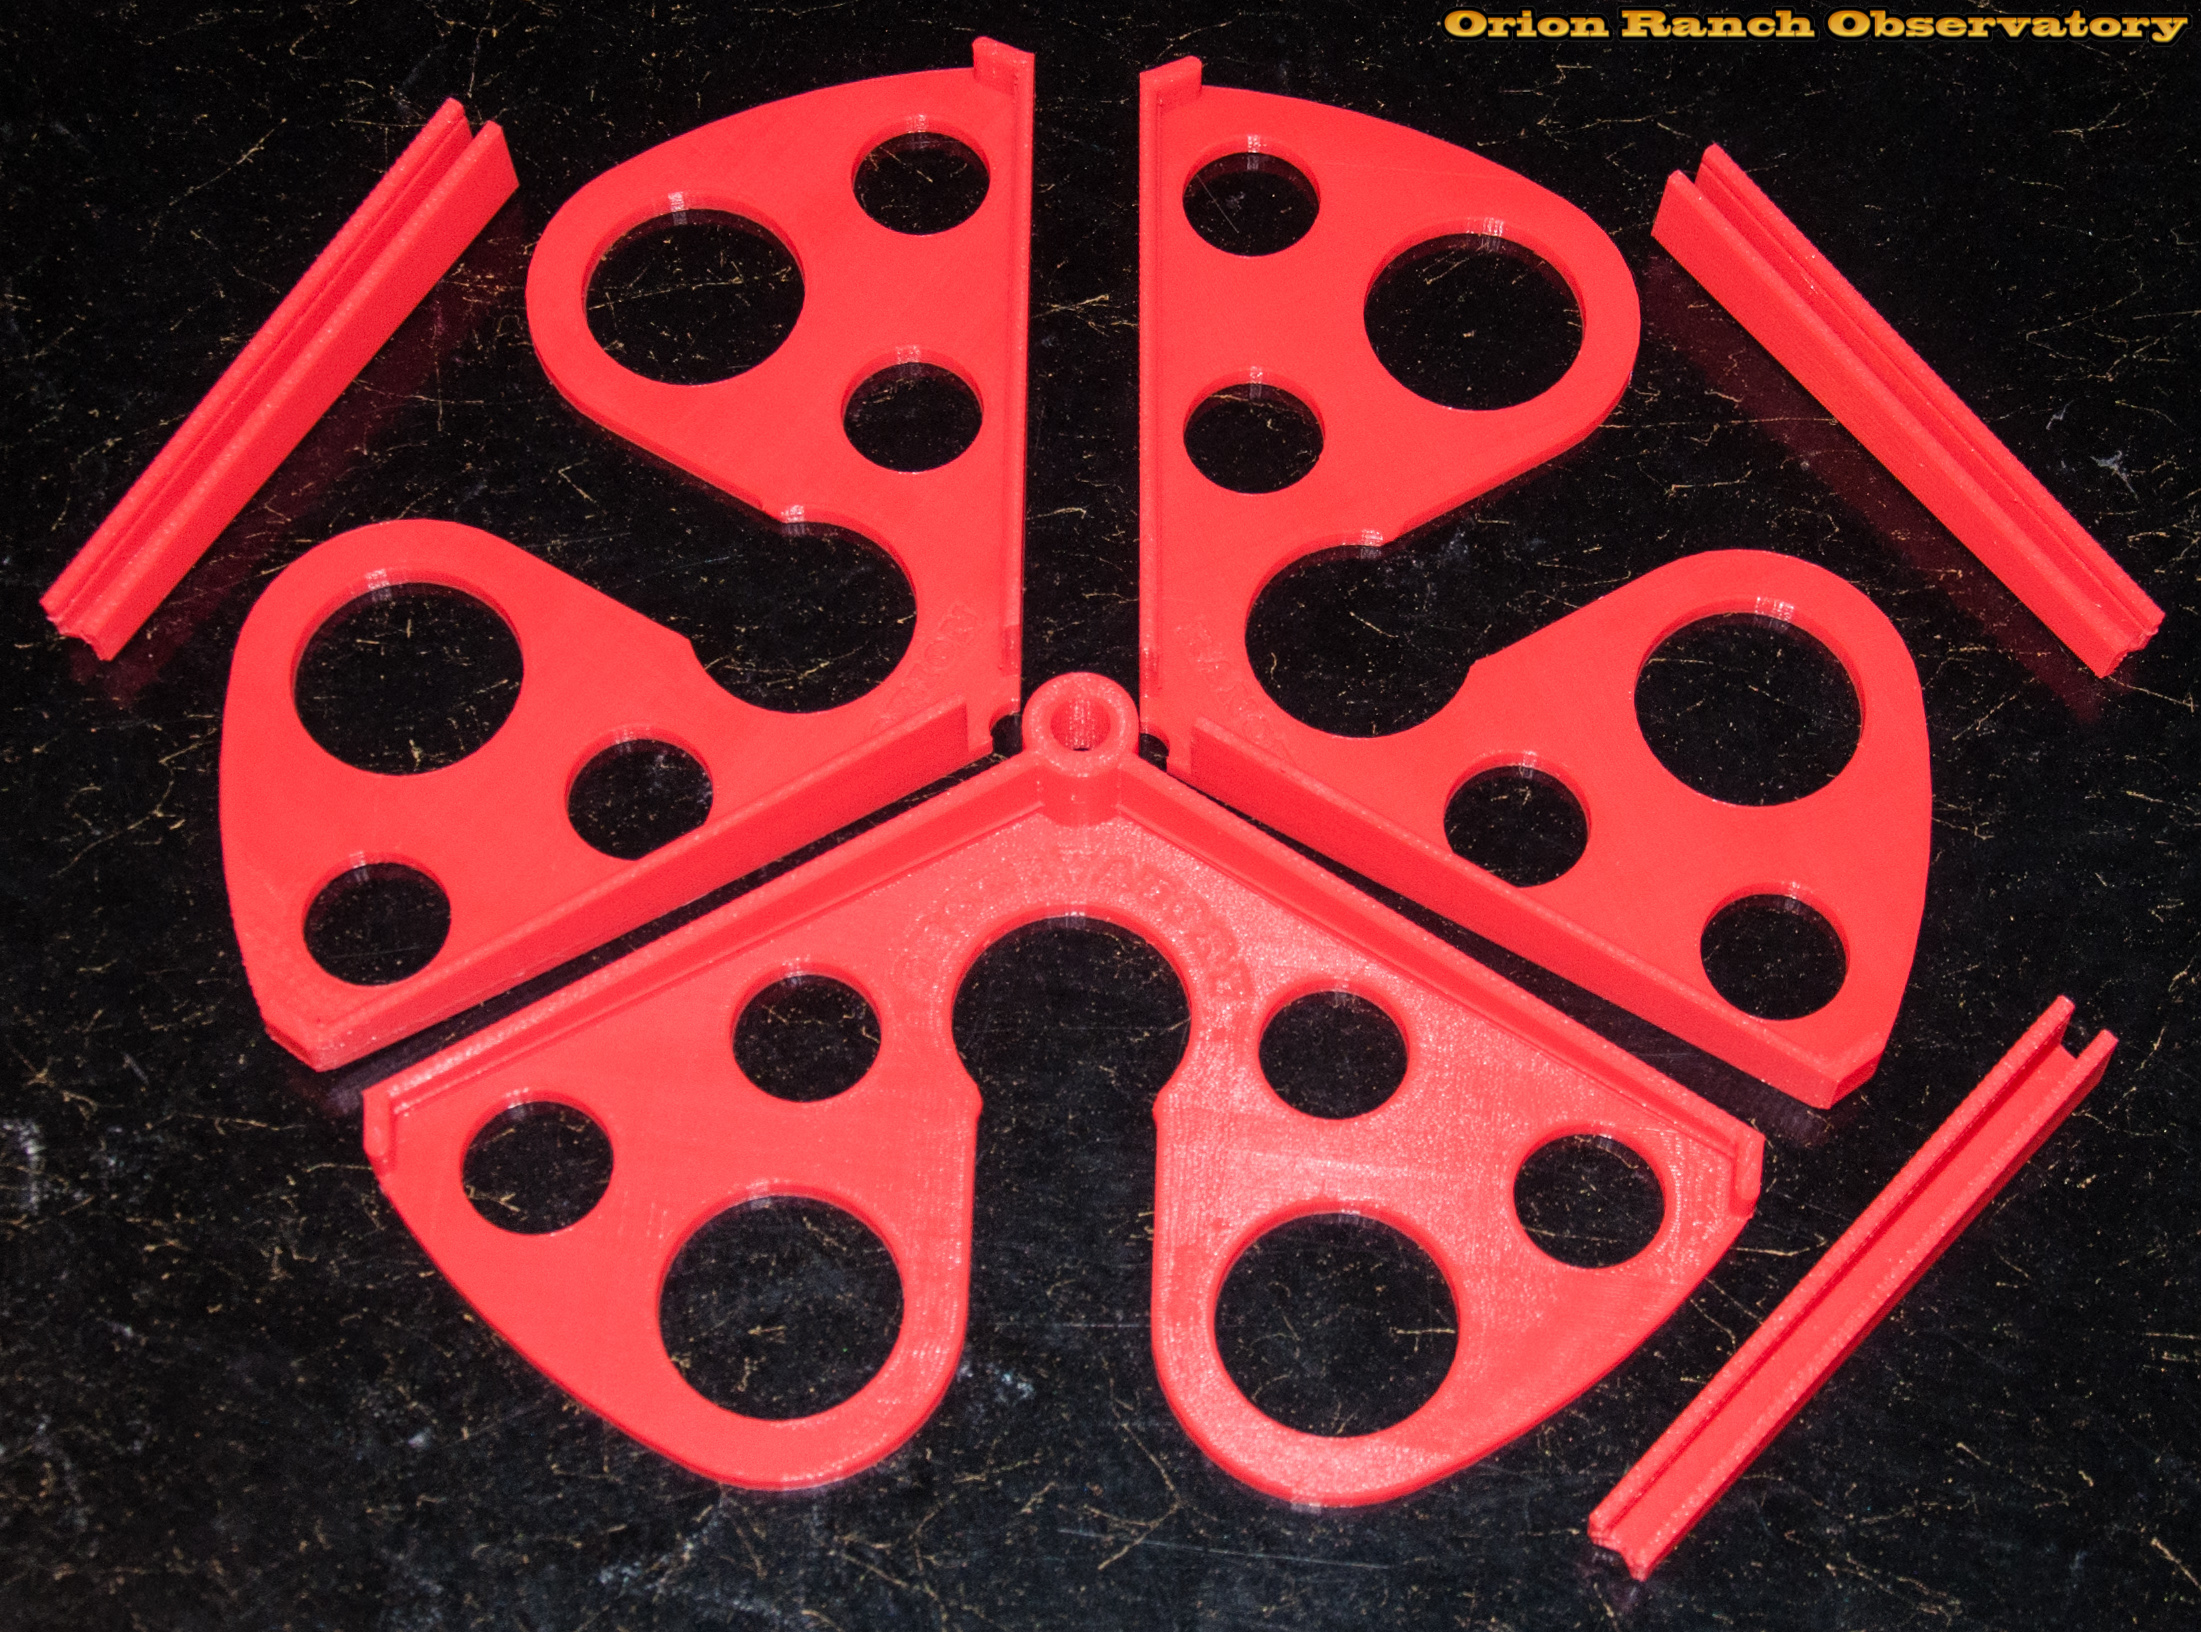
So my next iteration on the spreader was to try to exceed the limitations of my build volume by breaking it into pieces and moving away from the delta design to get more room out from under the legs.
Here’s one segment of the three-part 2″ eyepiece spreader. Note the retention feature on the side of the rib.
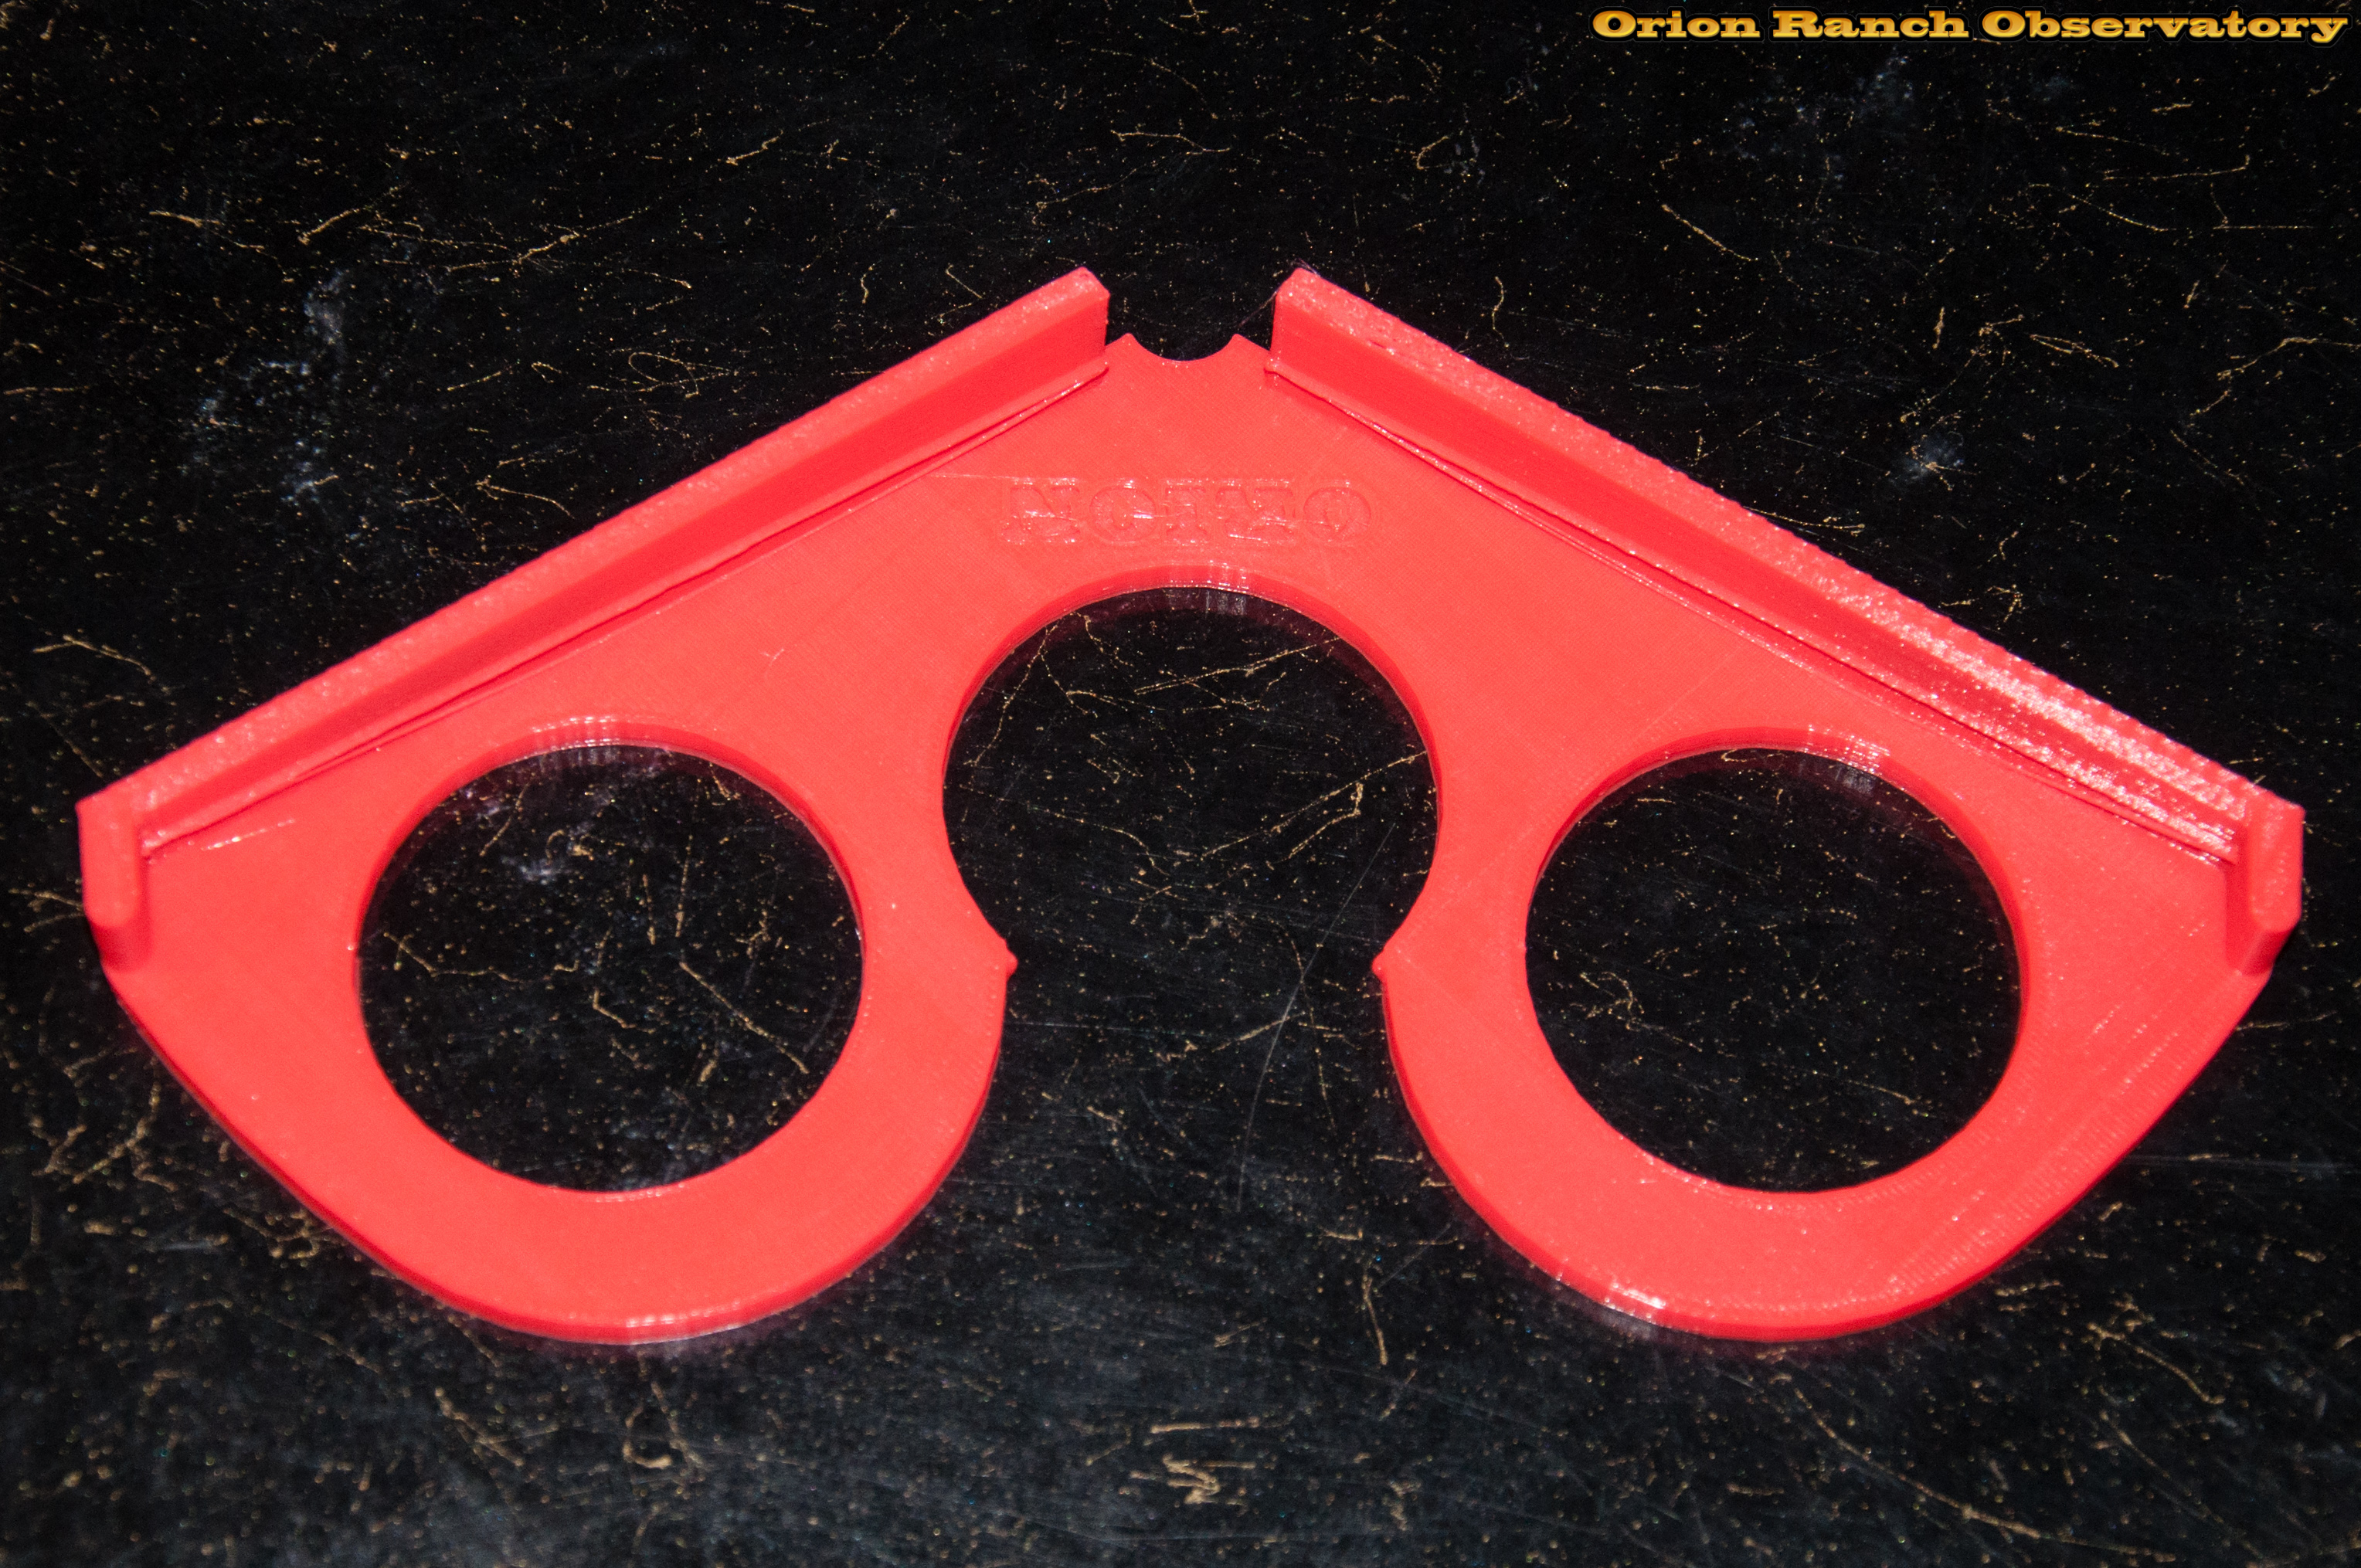
I also printed the logo into the “top” as well, but that’s such a pain to clean out that I don’t think I’ll continue with that approach.

The three segments snap together with three clips that hold quite well. I don’t really see any need to glue anything together, although that could be done if more strength is desired.
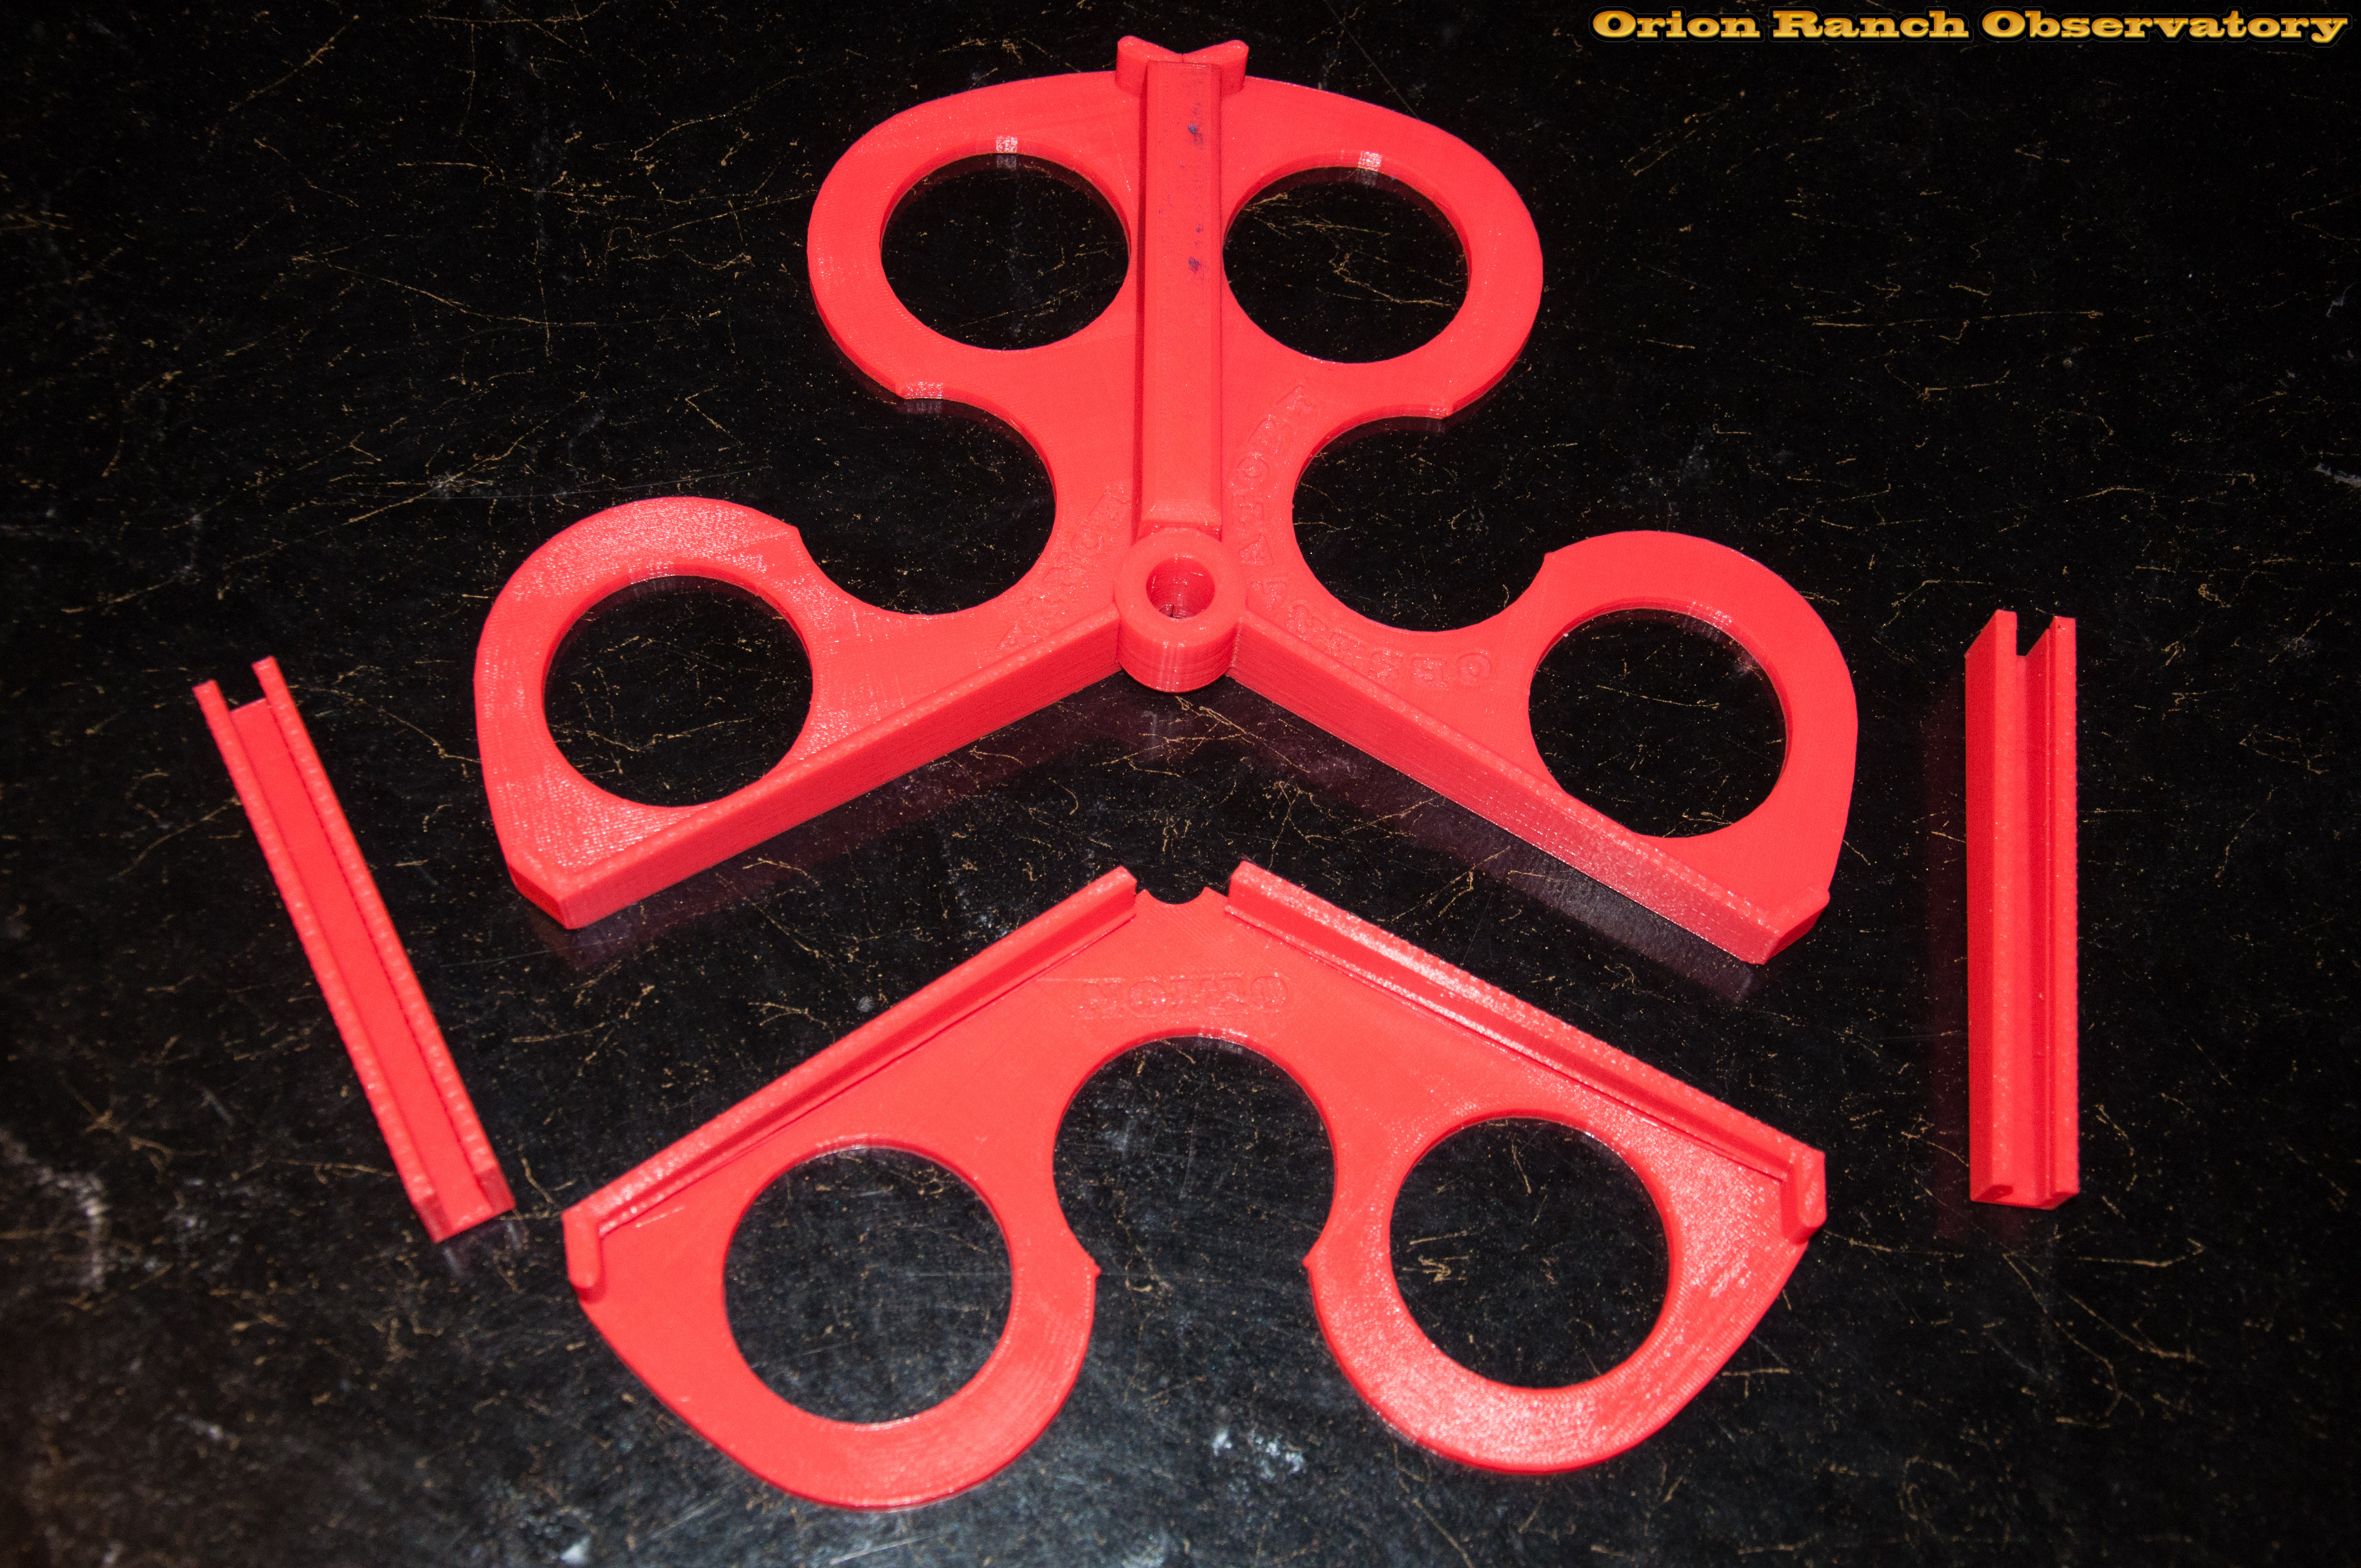
Here’s the finished spreader.


Fully loaded, the legs are still a problem.

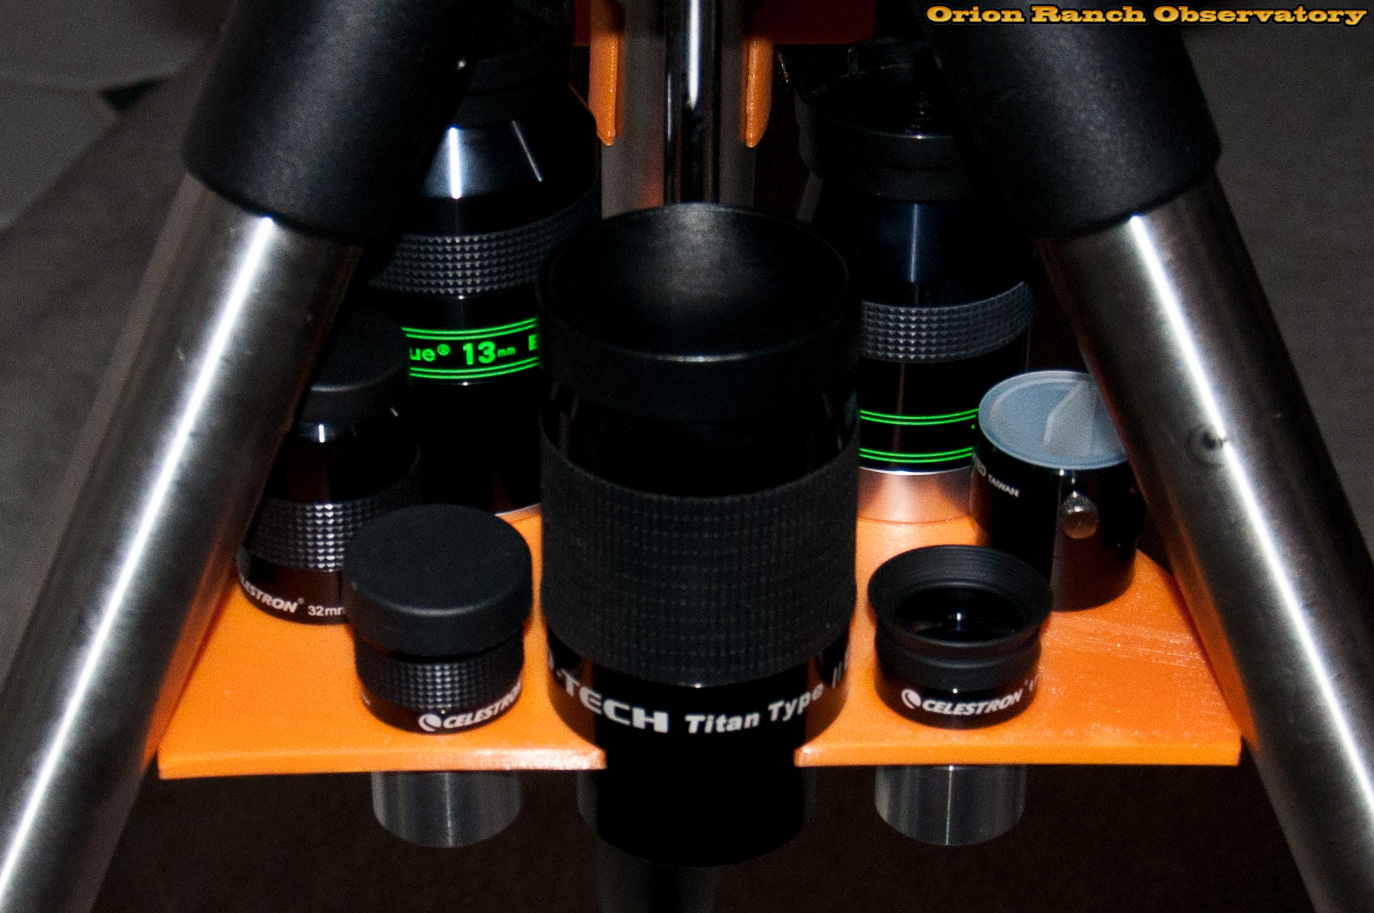
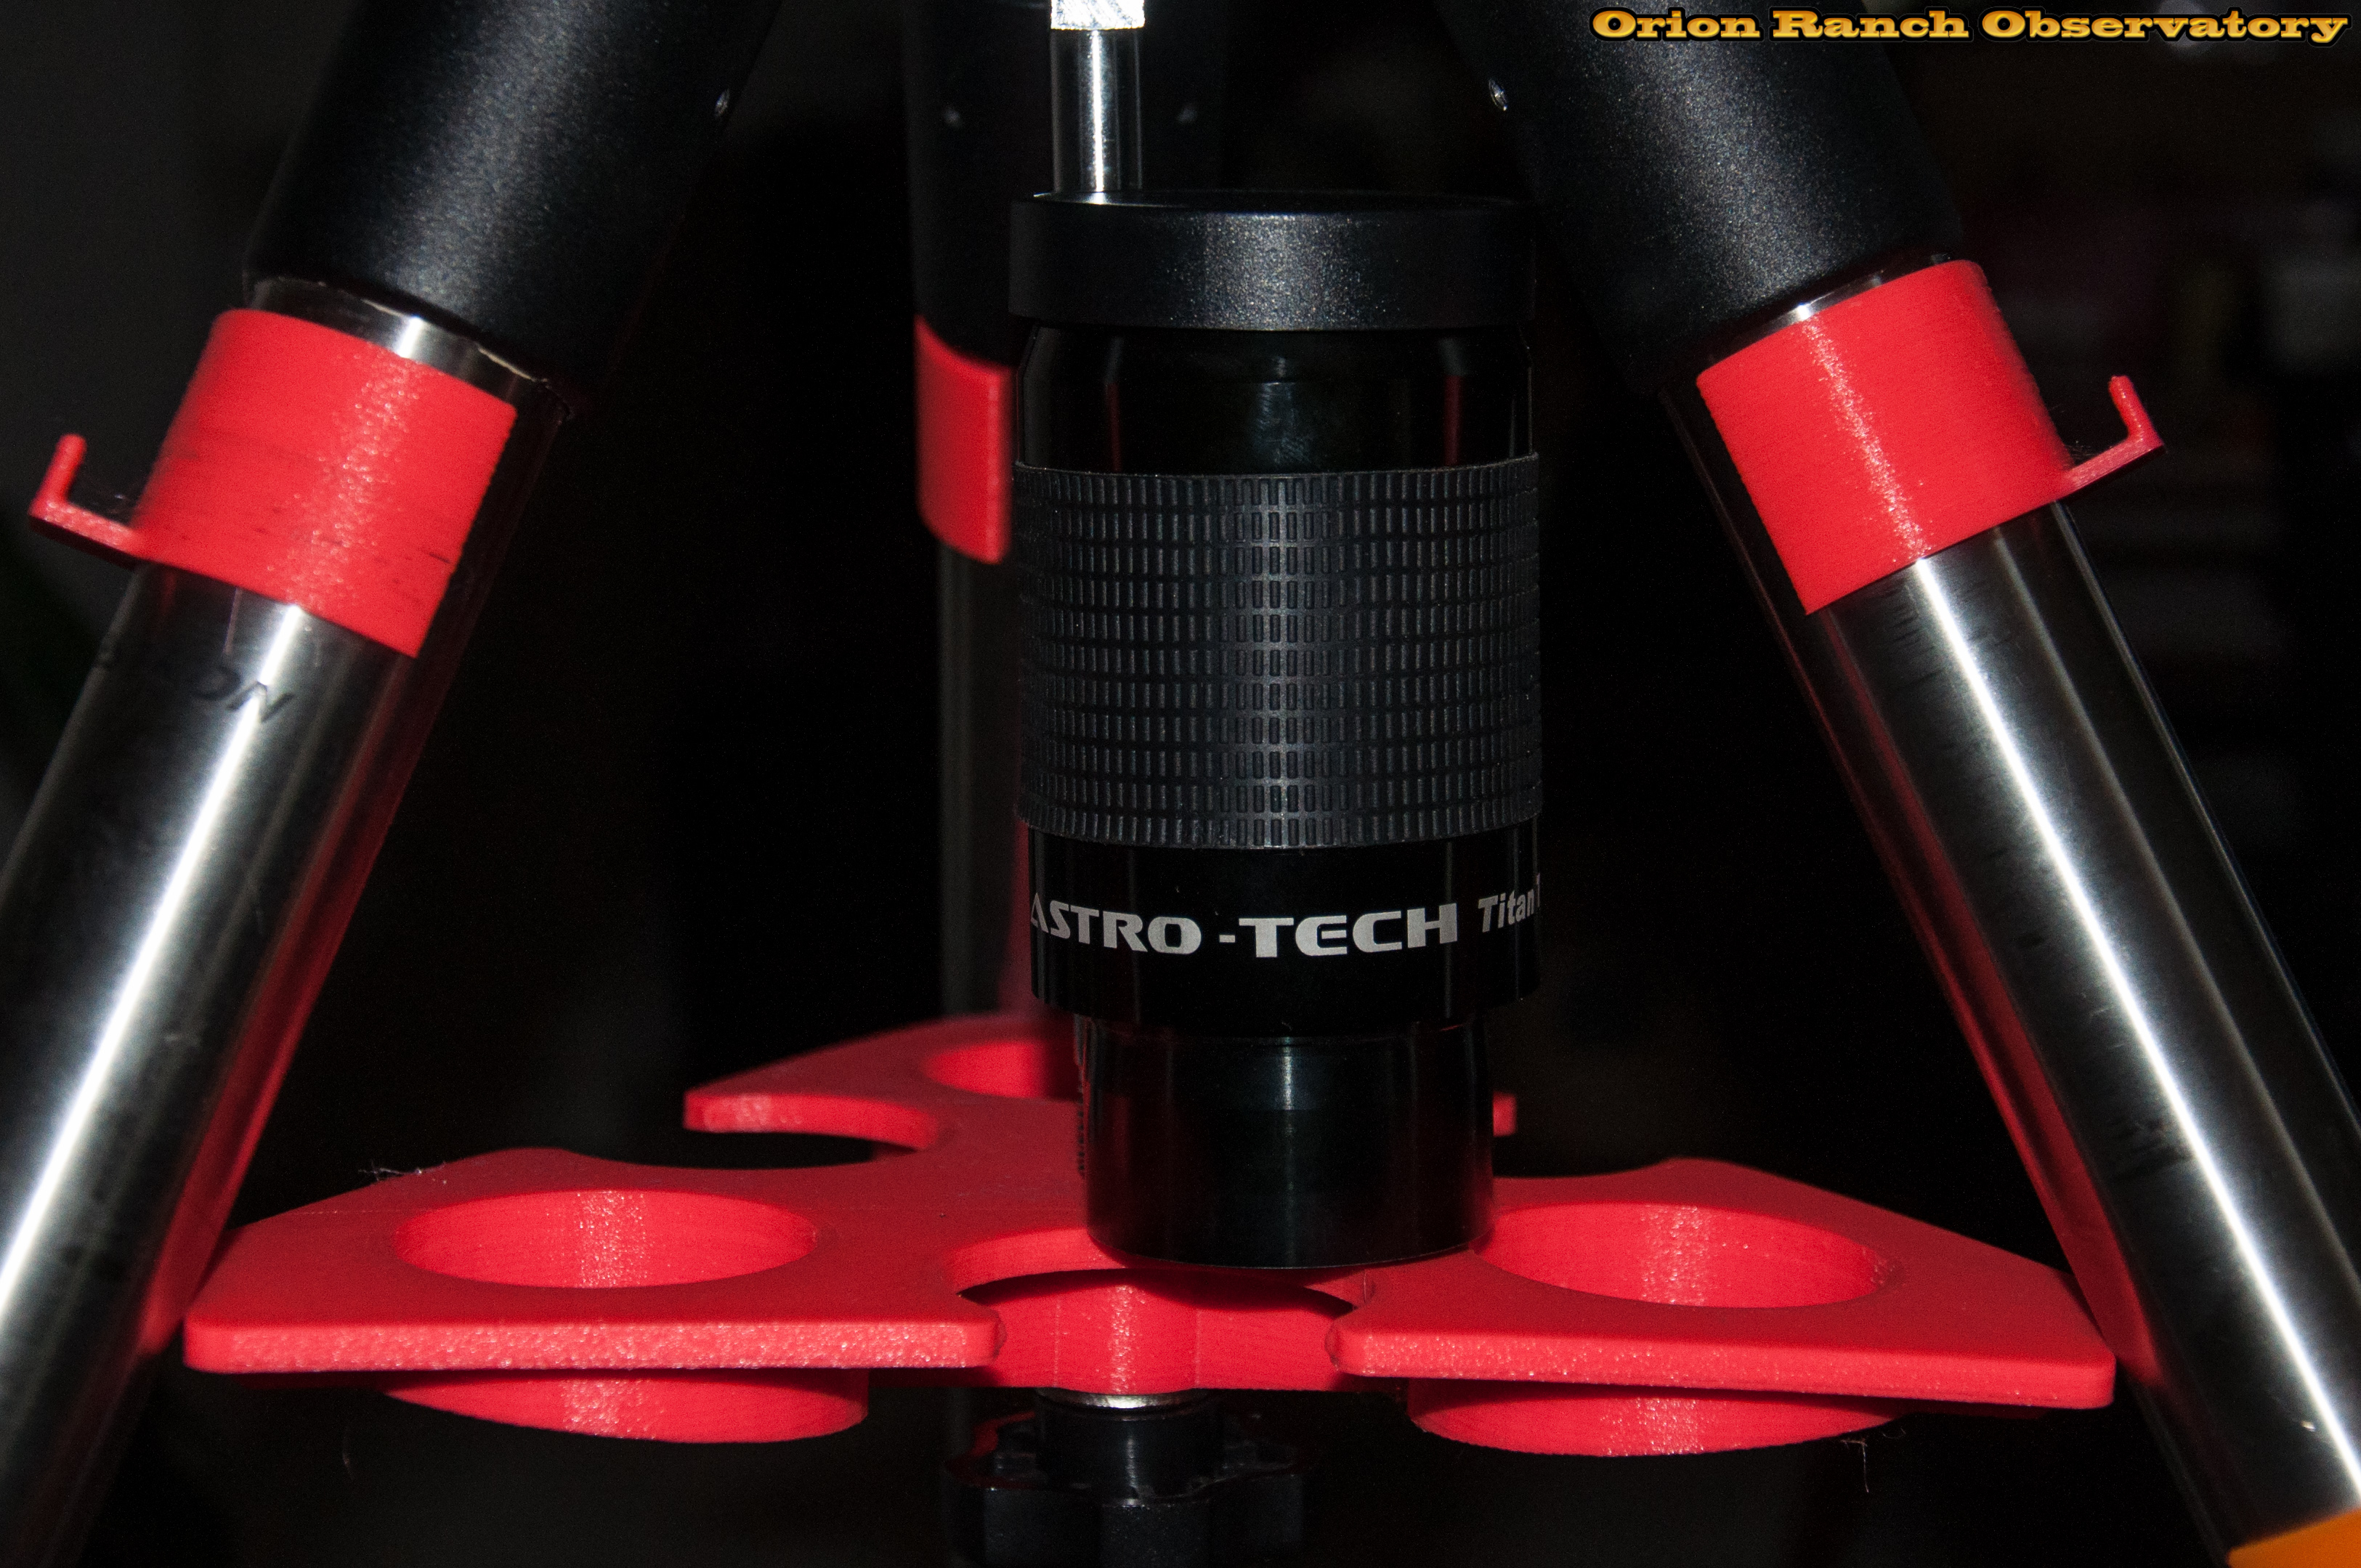
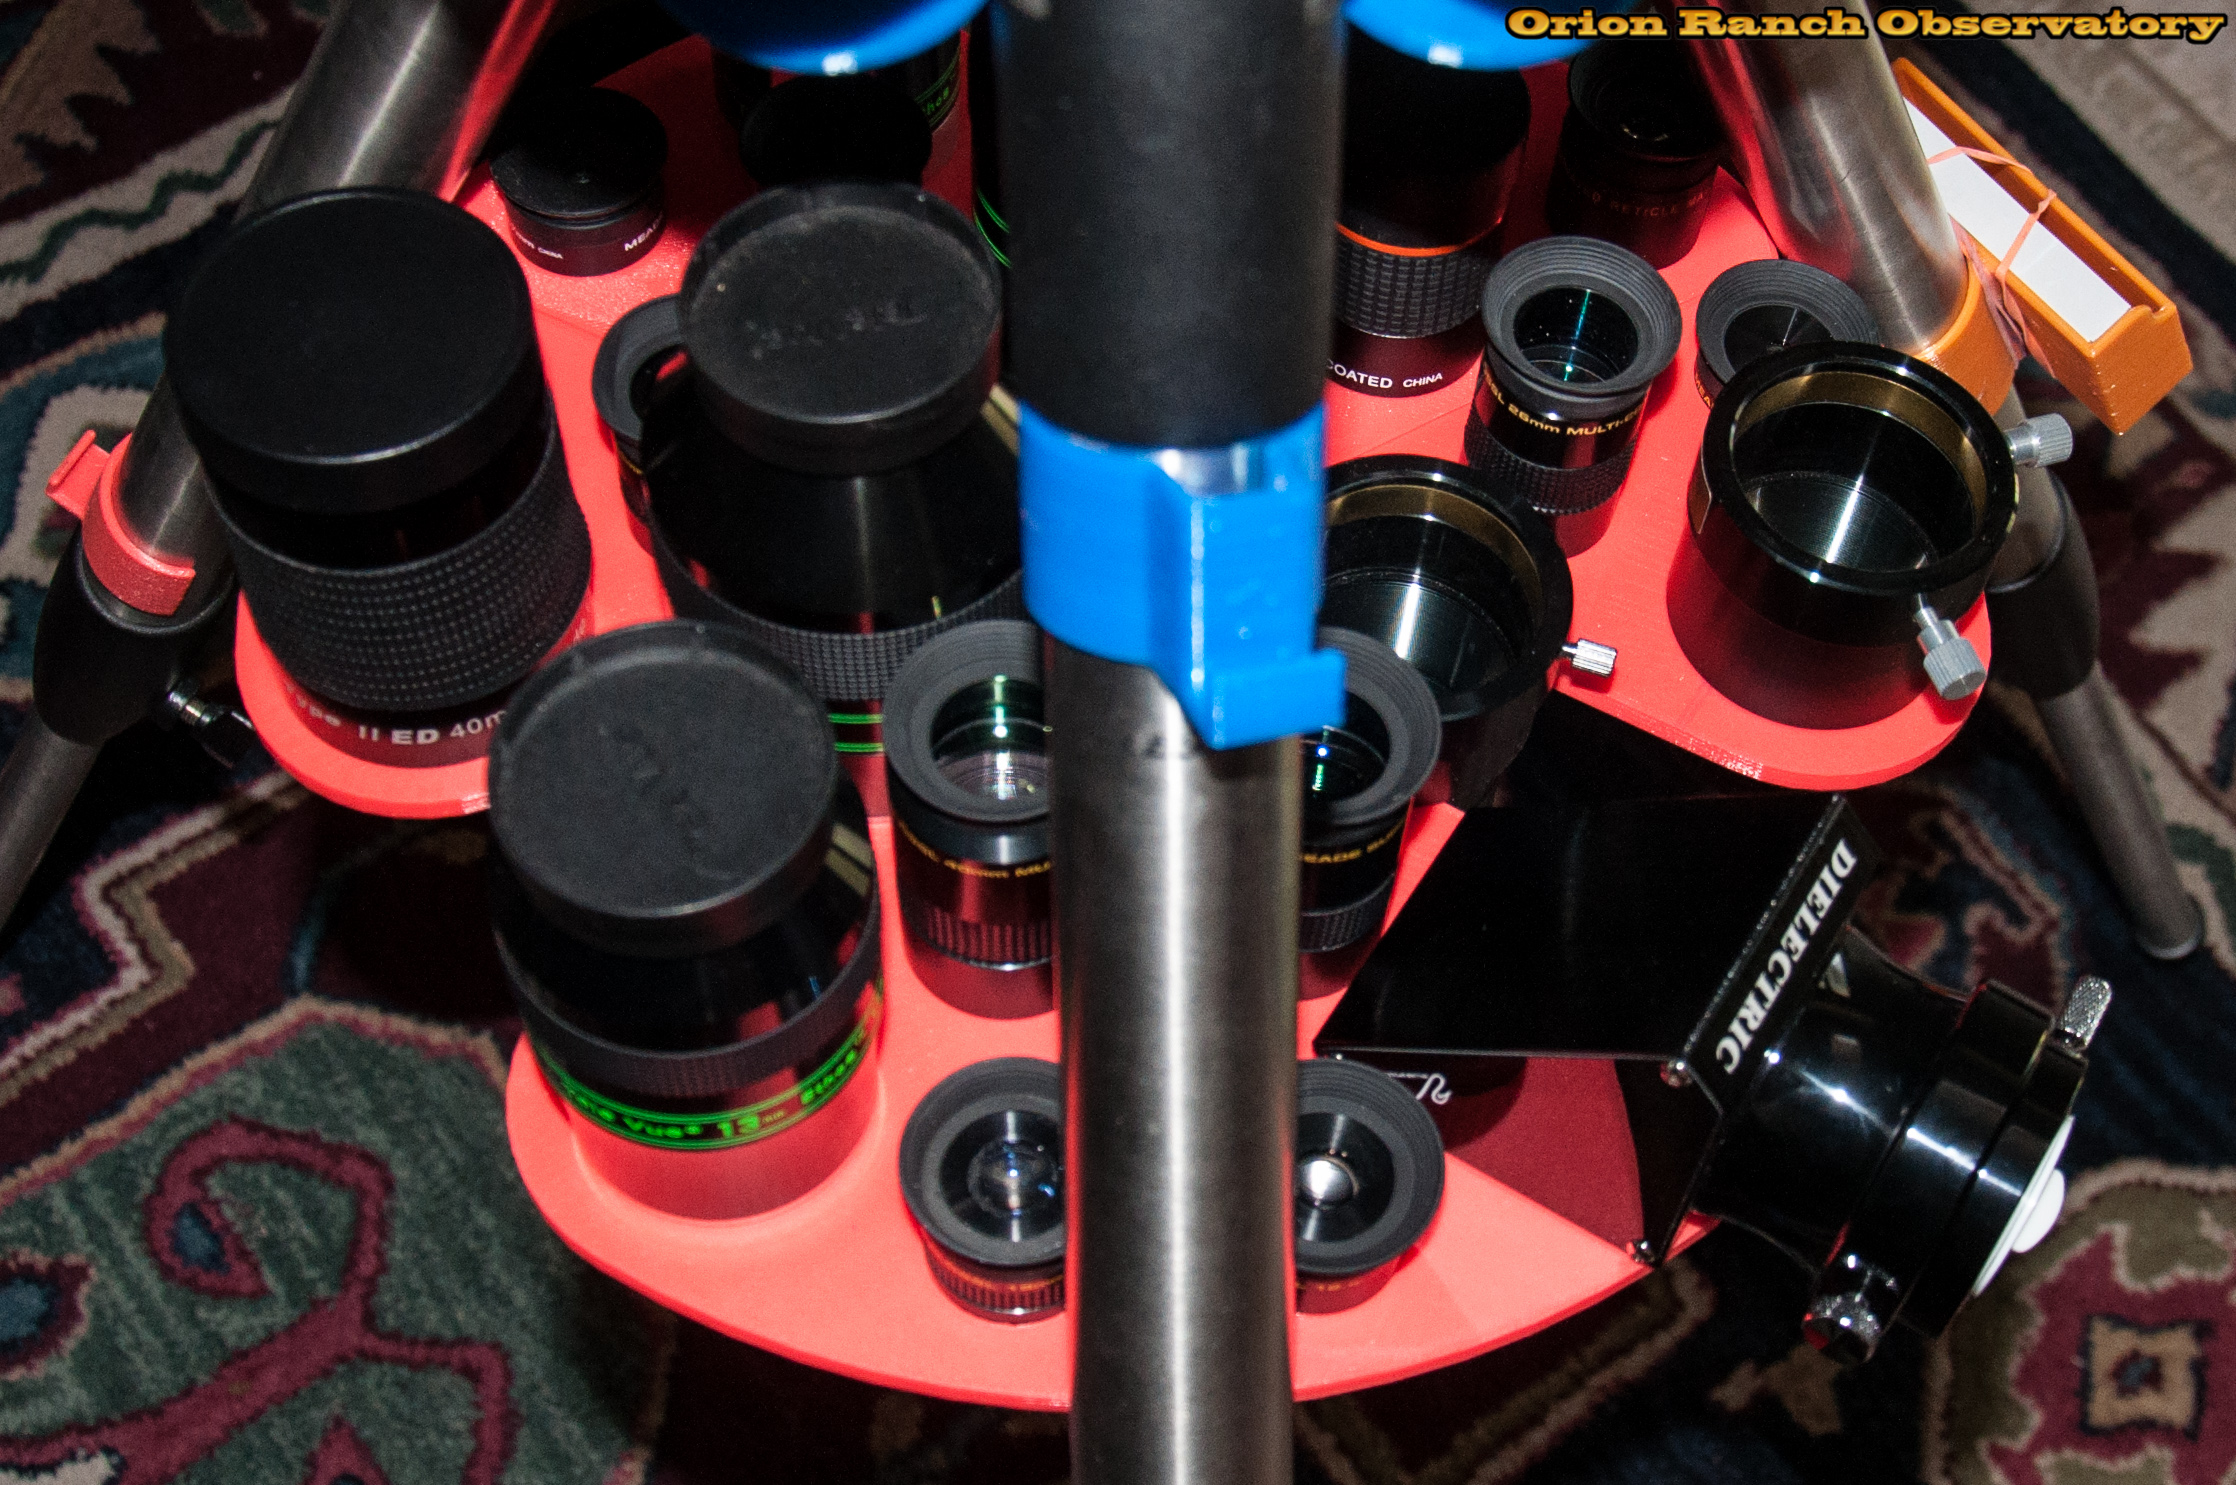
Of course nothing can help the Holy Hand Grenade that is the 21 mm Ethos. It needs a whole side to itself!

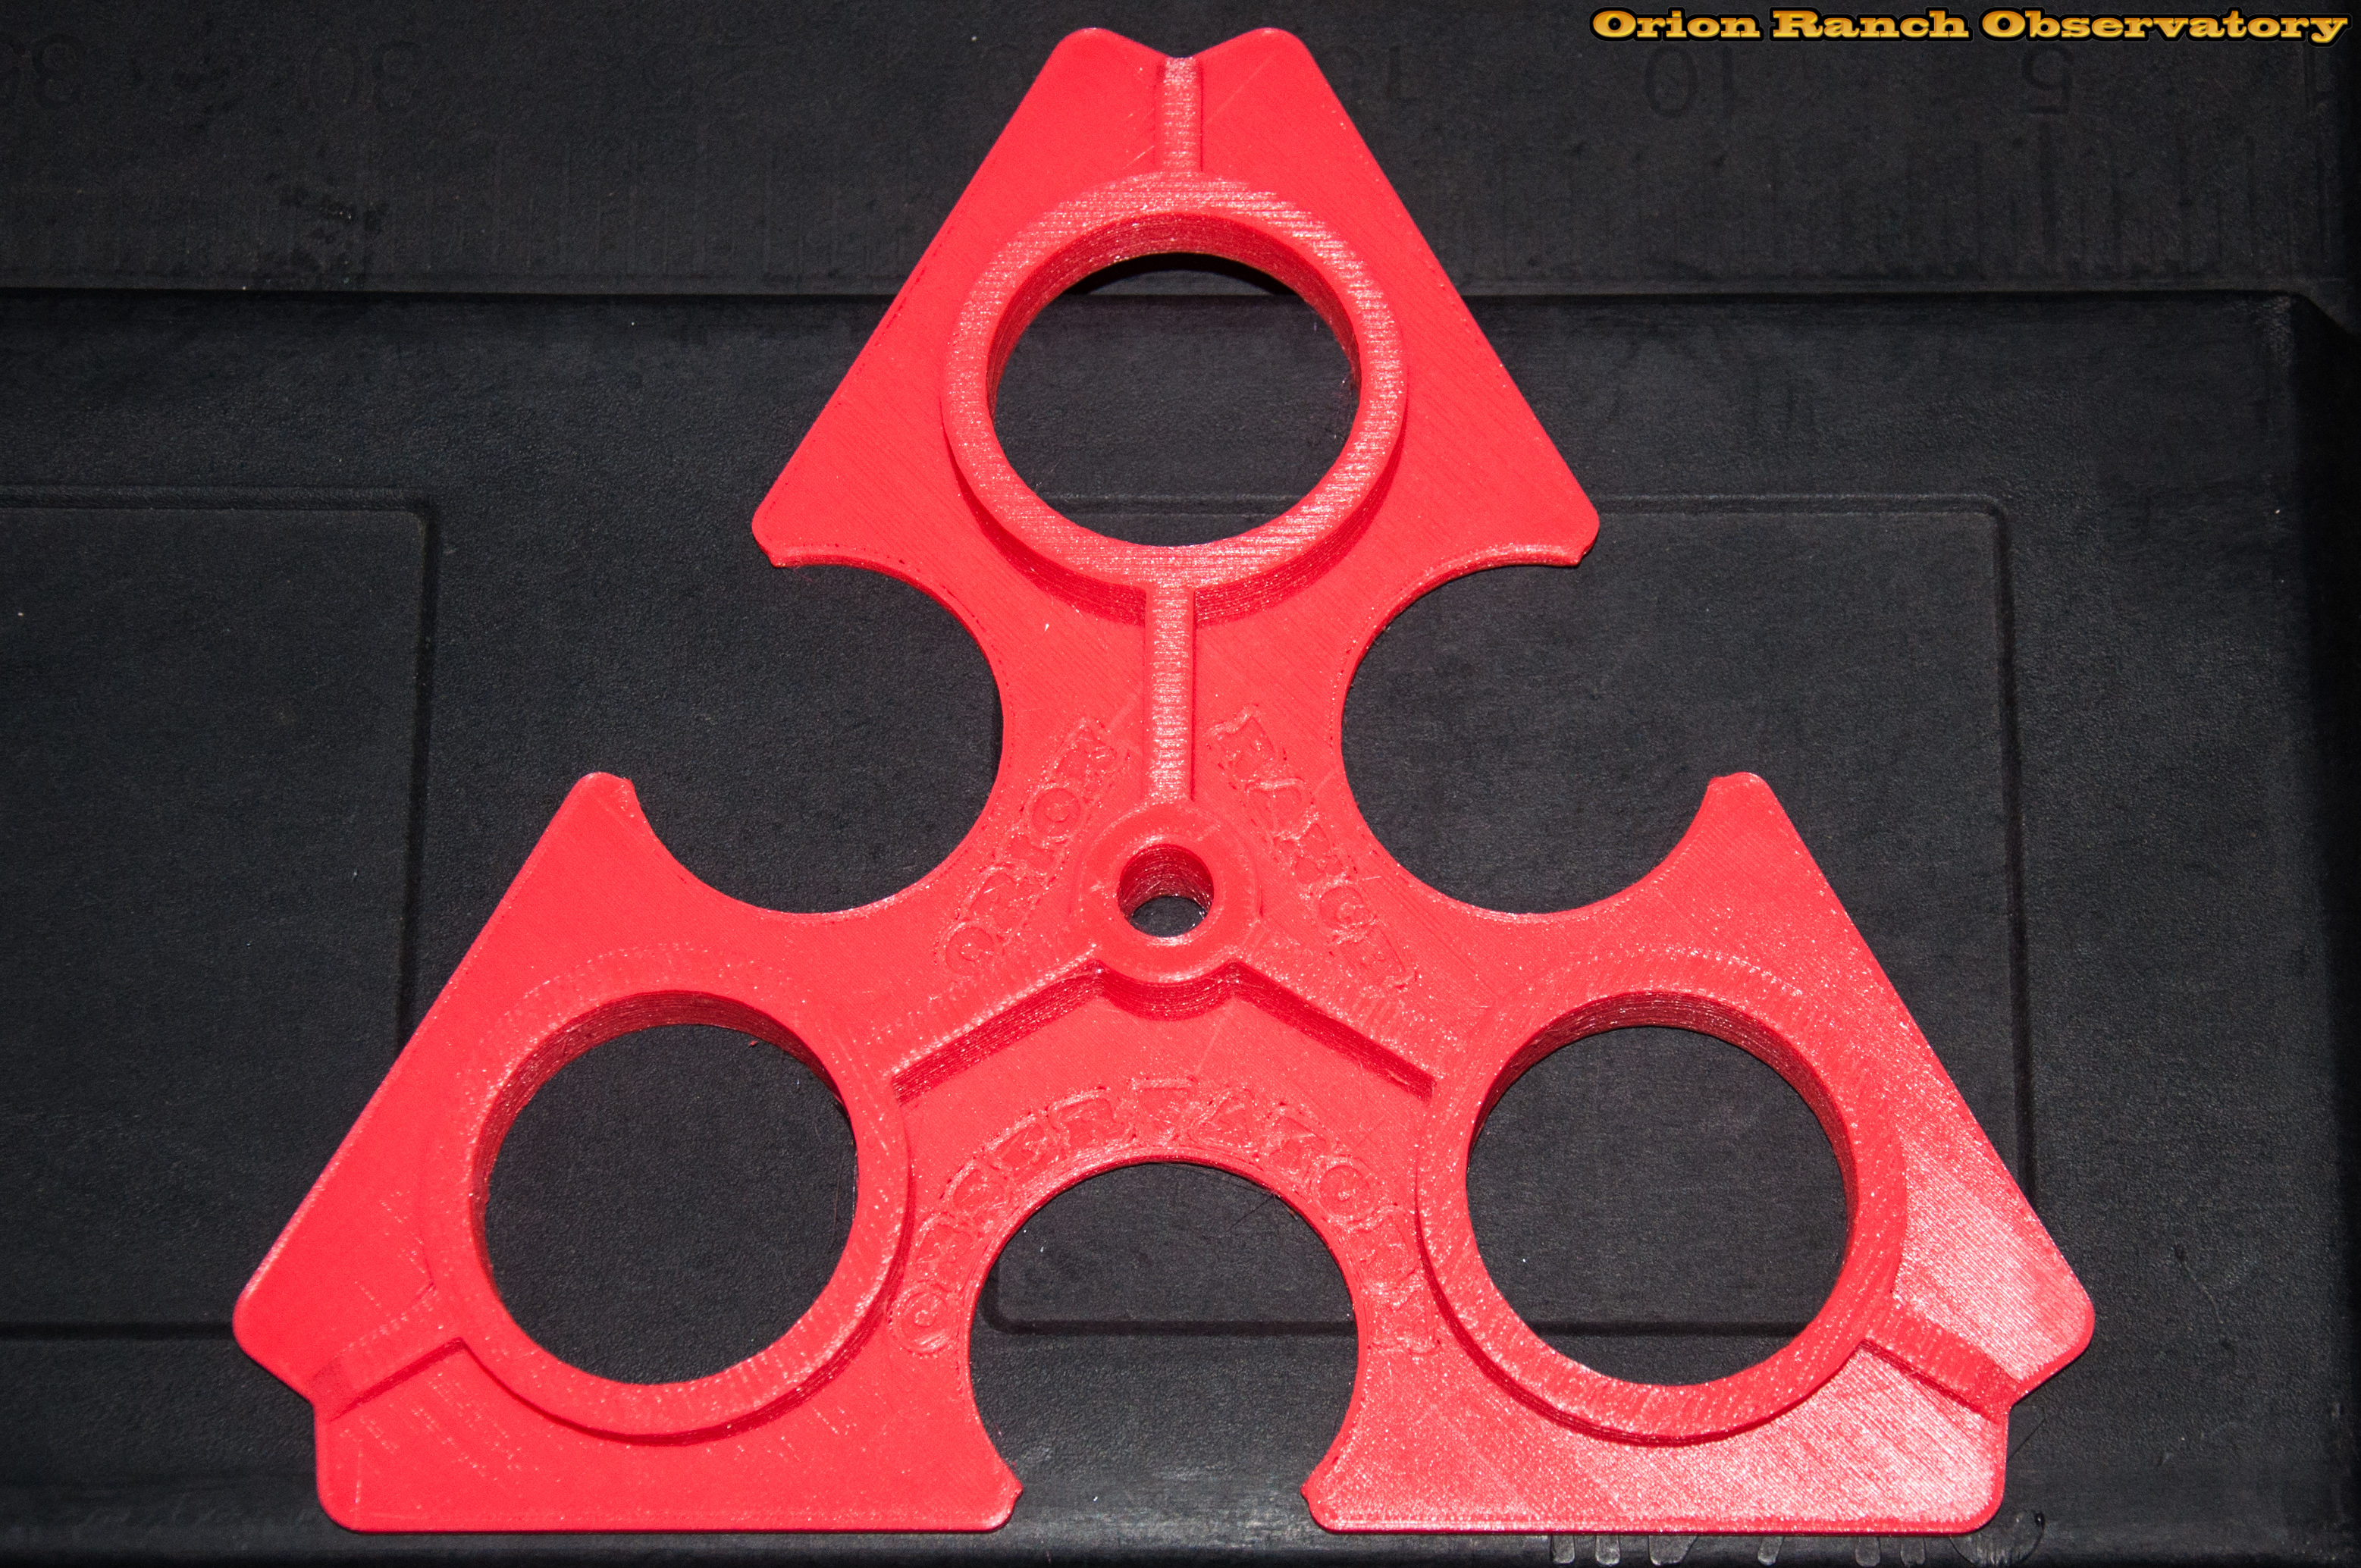
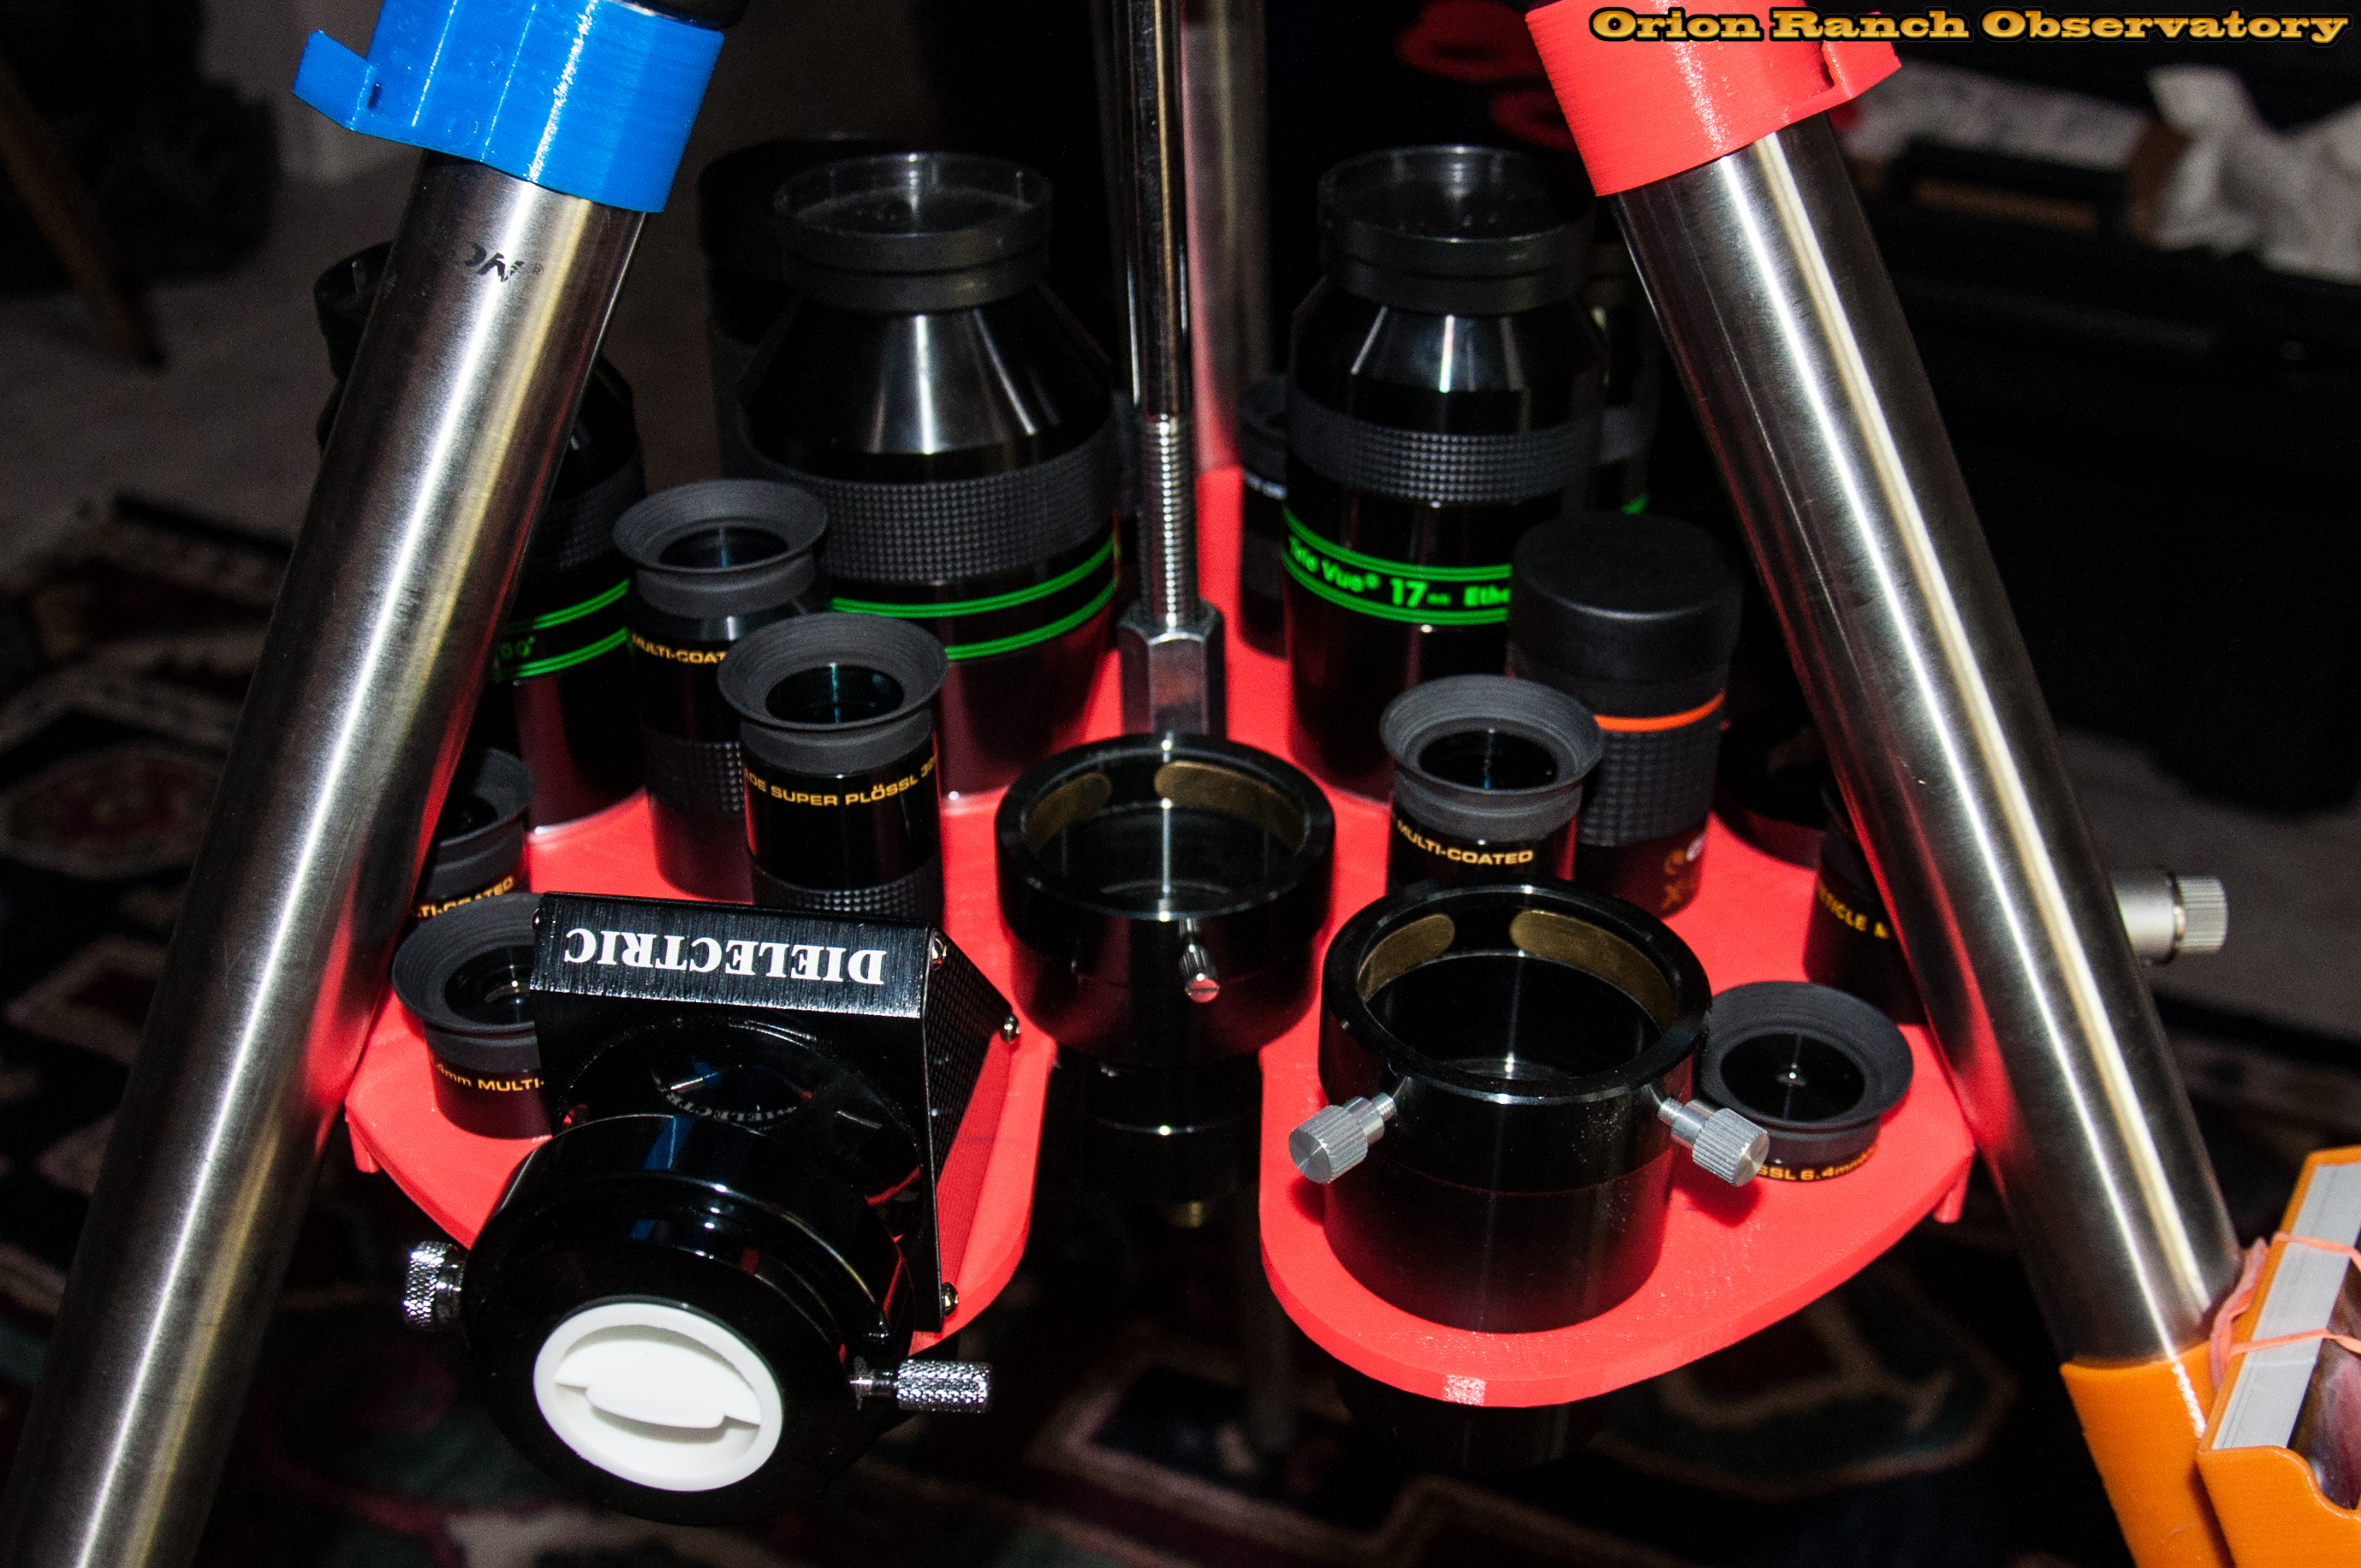
I finally made a model of the entire top of the tripod so I could address the leg clearance issues. With the three wedge design, I still have room to expand in my build area, so I’m going for a larger design that will sit lower on the tripod. This new spreader will accommodate multiple 21 mm Ethos, and six 1.25″ eyepieces as well. There are 12 holes total, but the ones near the legs can only be used for caps or small eyepieces due to the same clearance issues as before. I had the space though so I figured why not?!! It doesn’t hurt to use a bit less plastic either. With this larger design, I’ll also have to extend the tripod rod to attach it.

Here’s the finished over-sized spreader. Again it’s a three wedge, three clip design and holds solidly without any glue, etc. although I might add some just as a hedge against catastrophe.


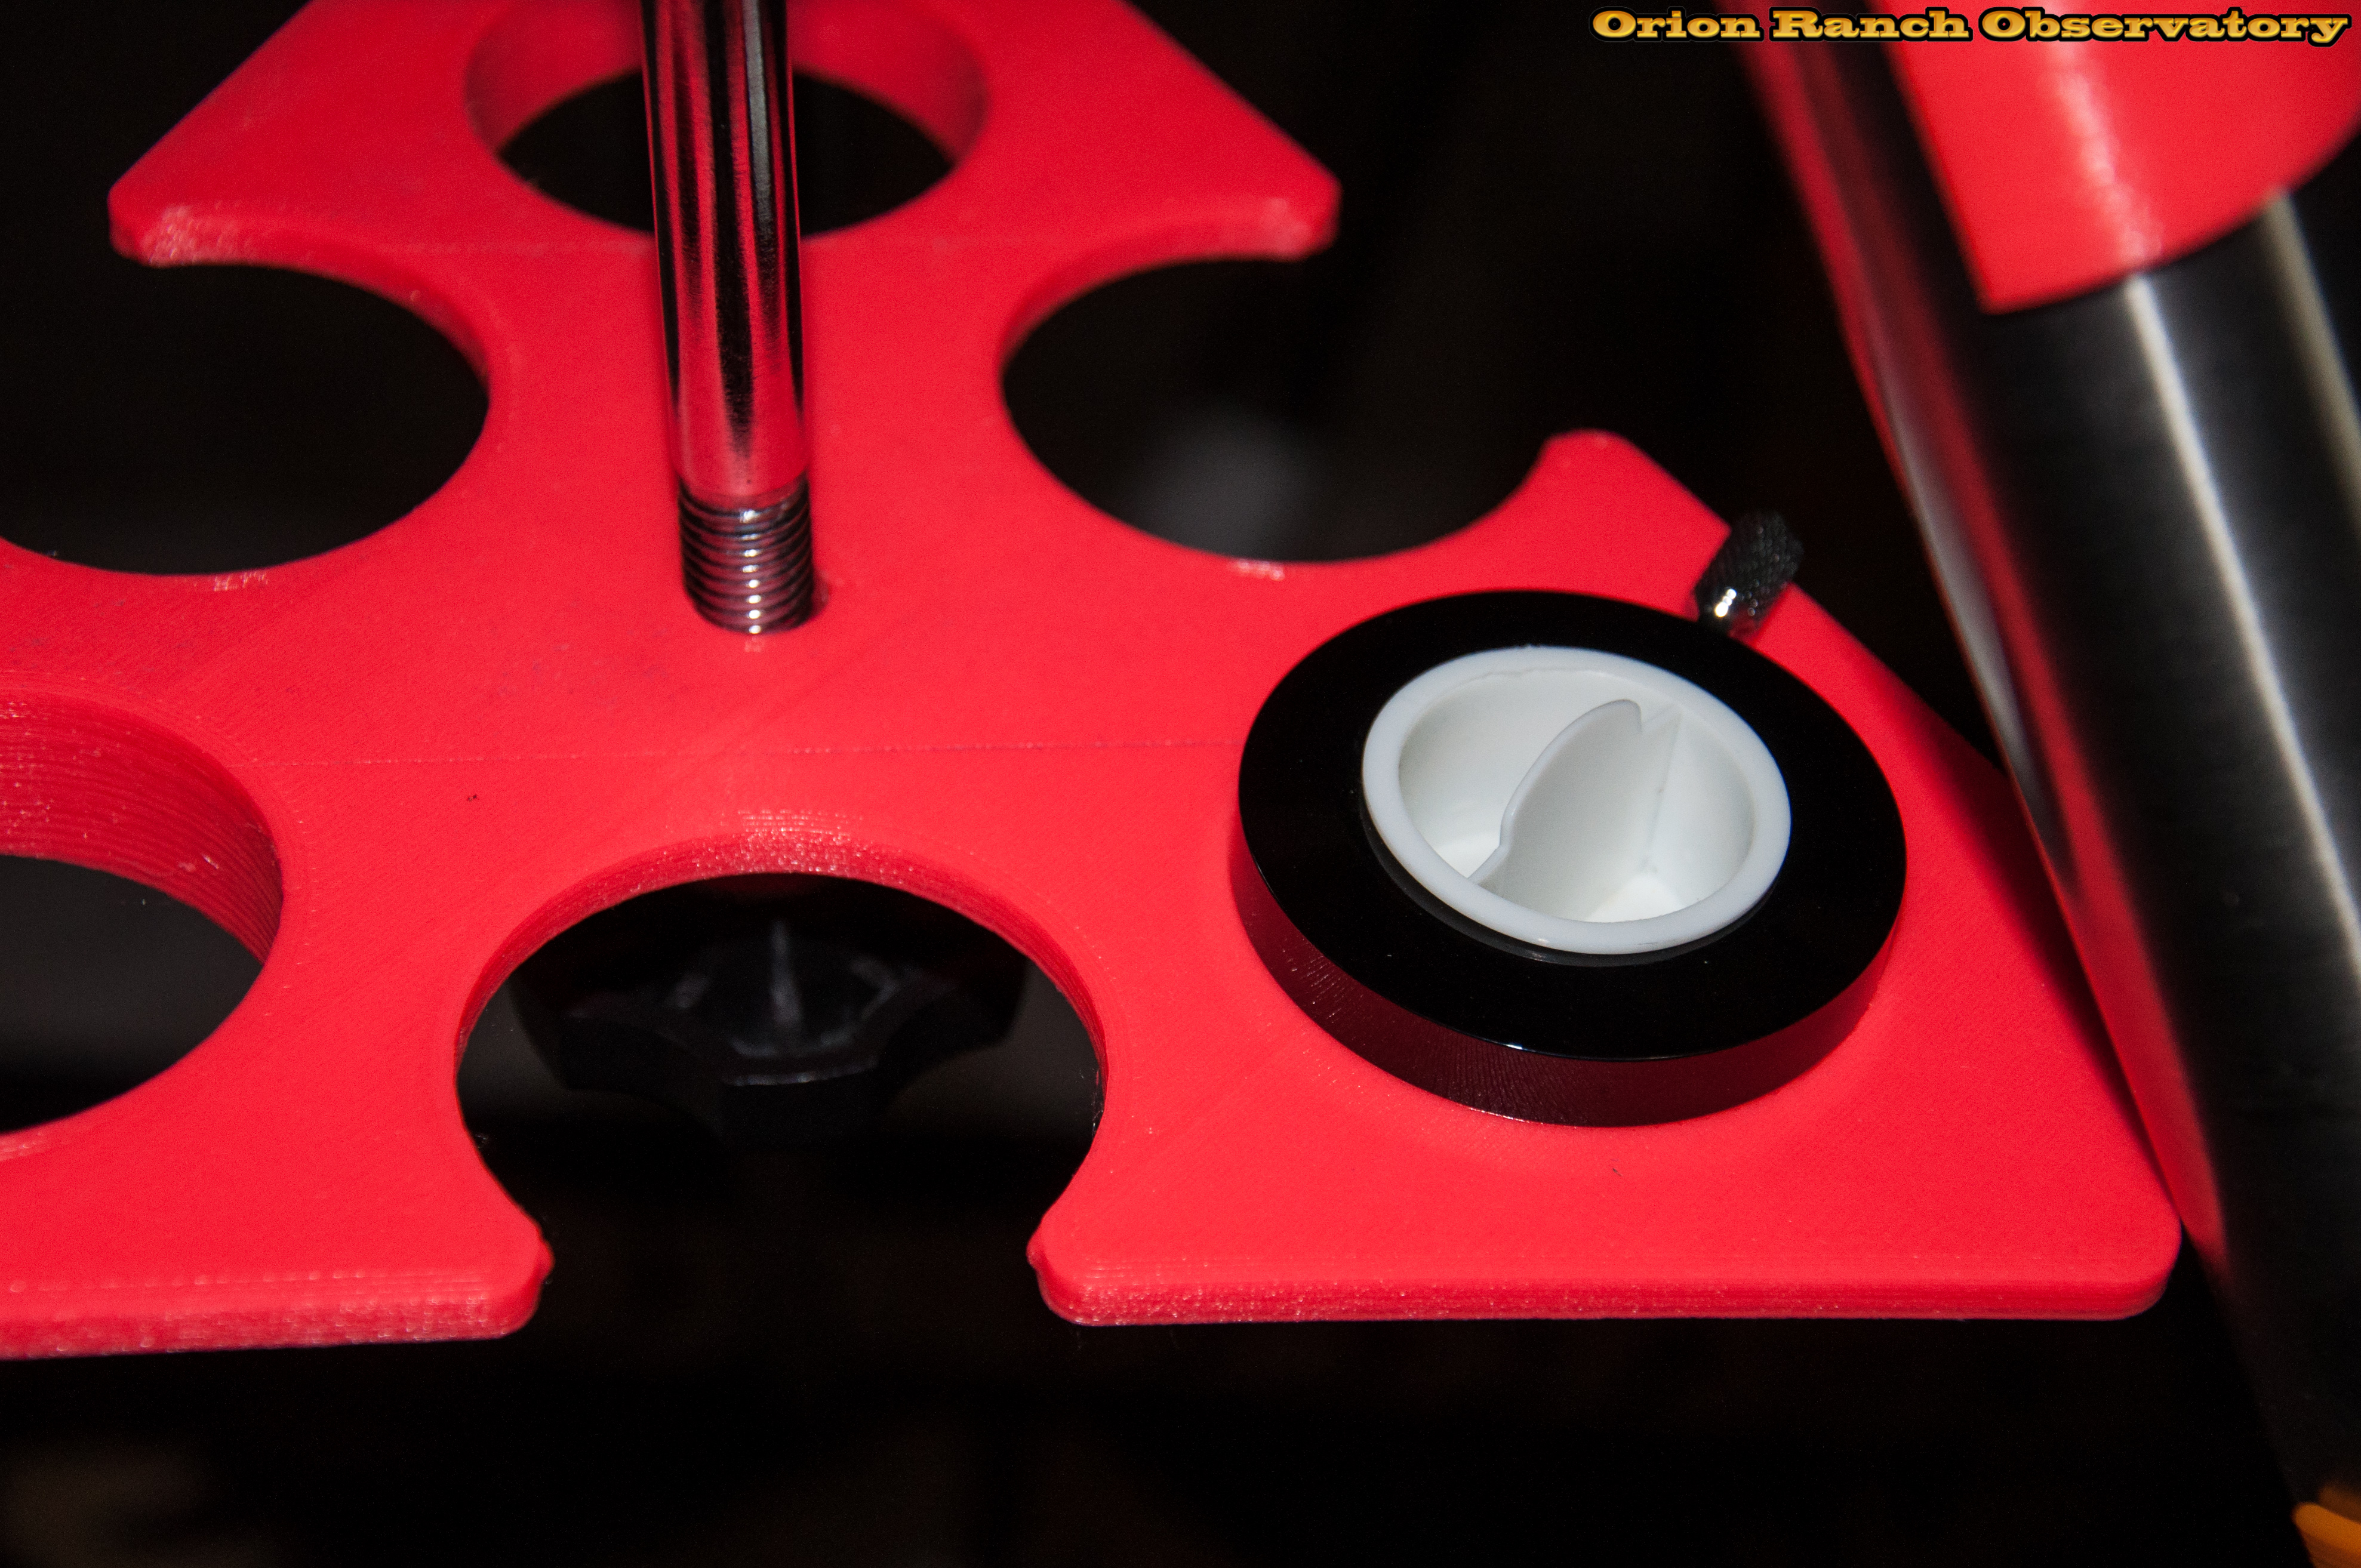
To install it on the tripod, I ordered a piece of threaded rod and a coupling nut to match the thread of the knob and extend the center shaft.

Here it is , loaded for bear with every 2″ eyepiece I had at home plus some adapters, and a case full of Meade 1.25″ eyepieces plus an extra Celestron for good measure! I was actually thrilled that all the small eyepieces fit by the legs with no problem. I wasn’t sure they’d actually go into the holes due to the legs. That monster of a 21 mm Ethos in the middle doesn’t look so big anymore!


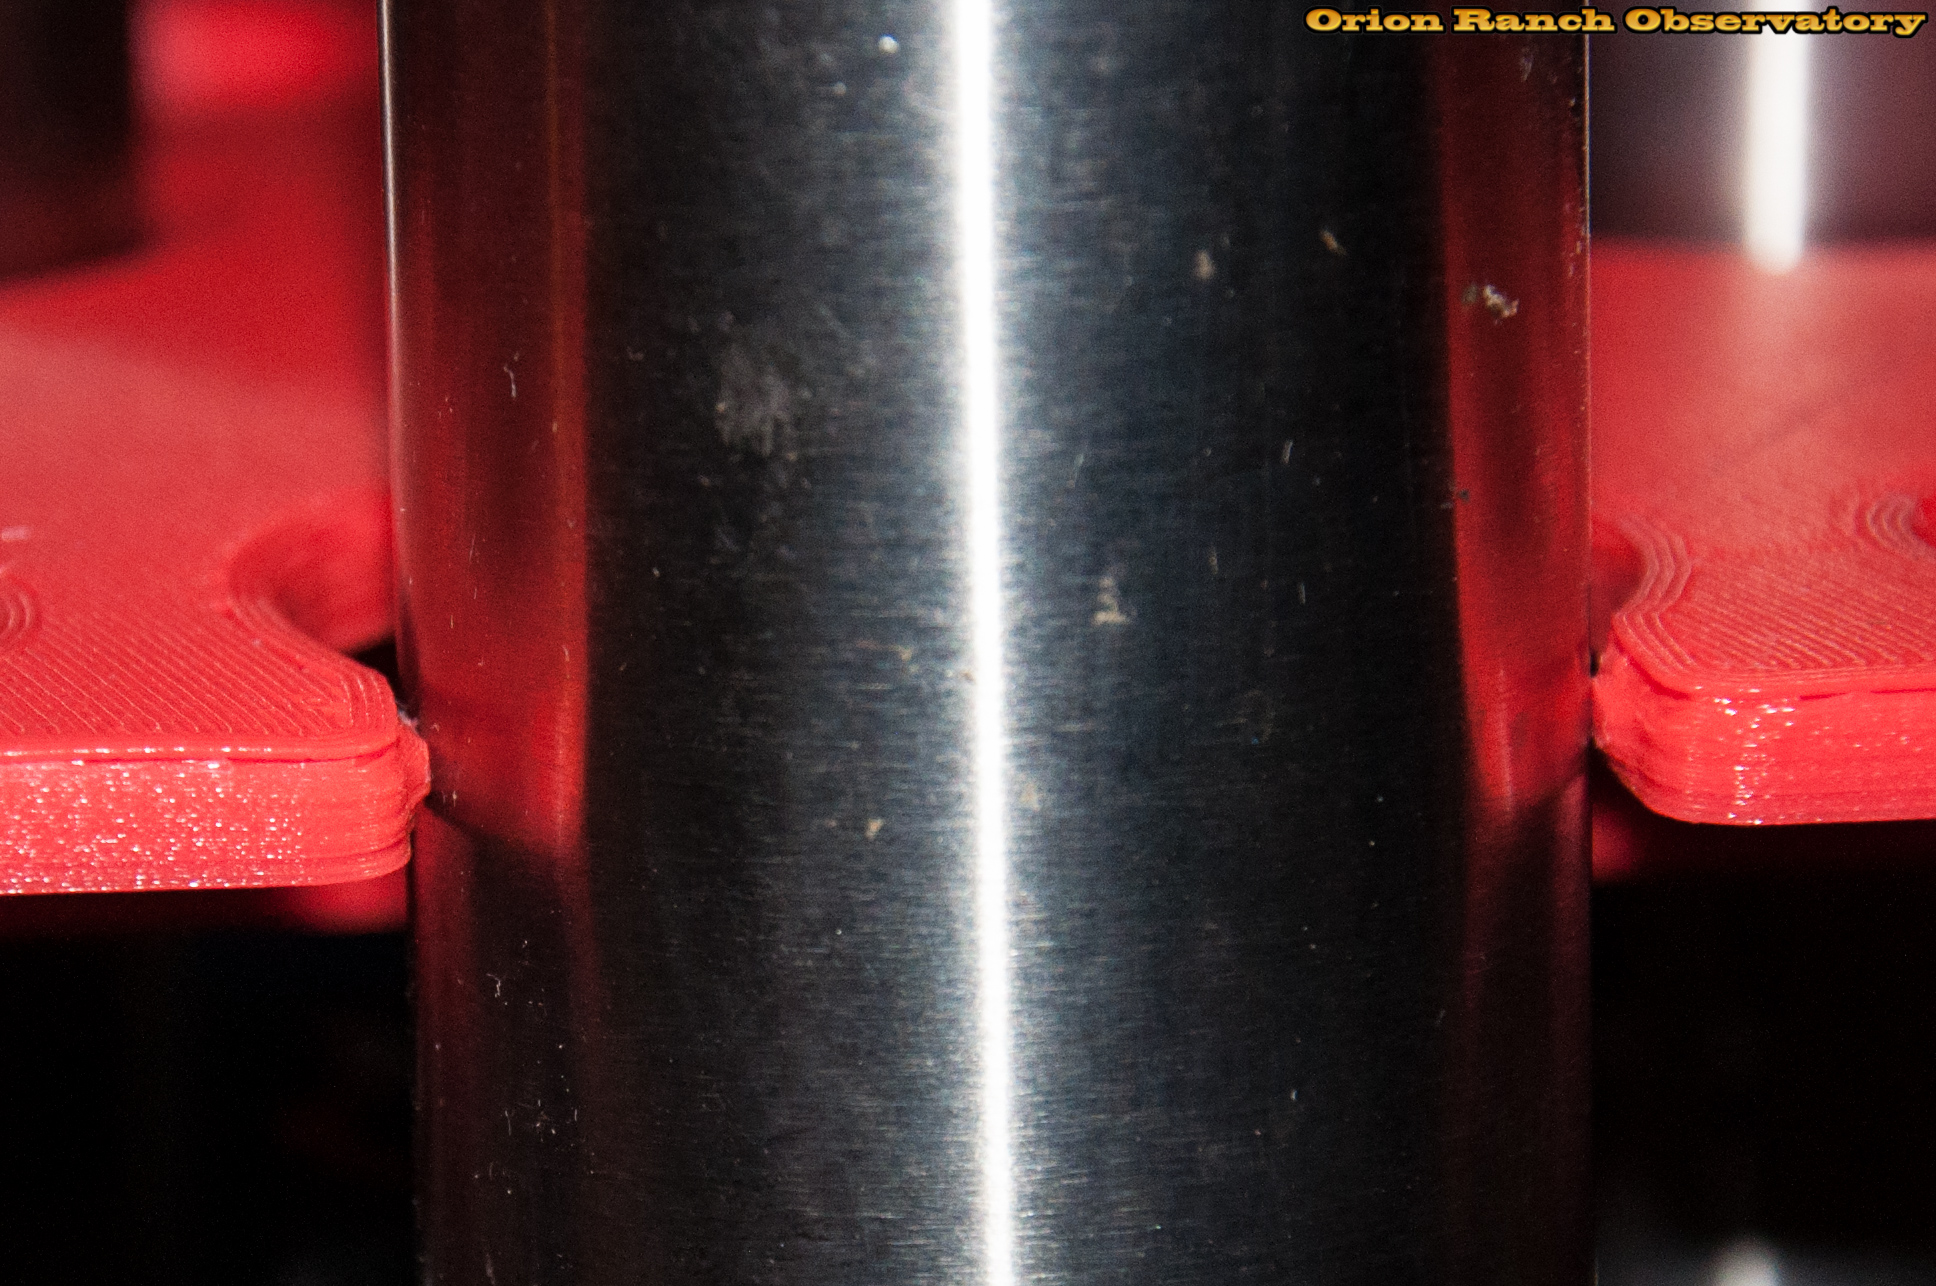
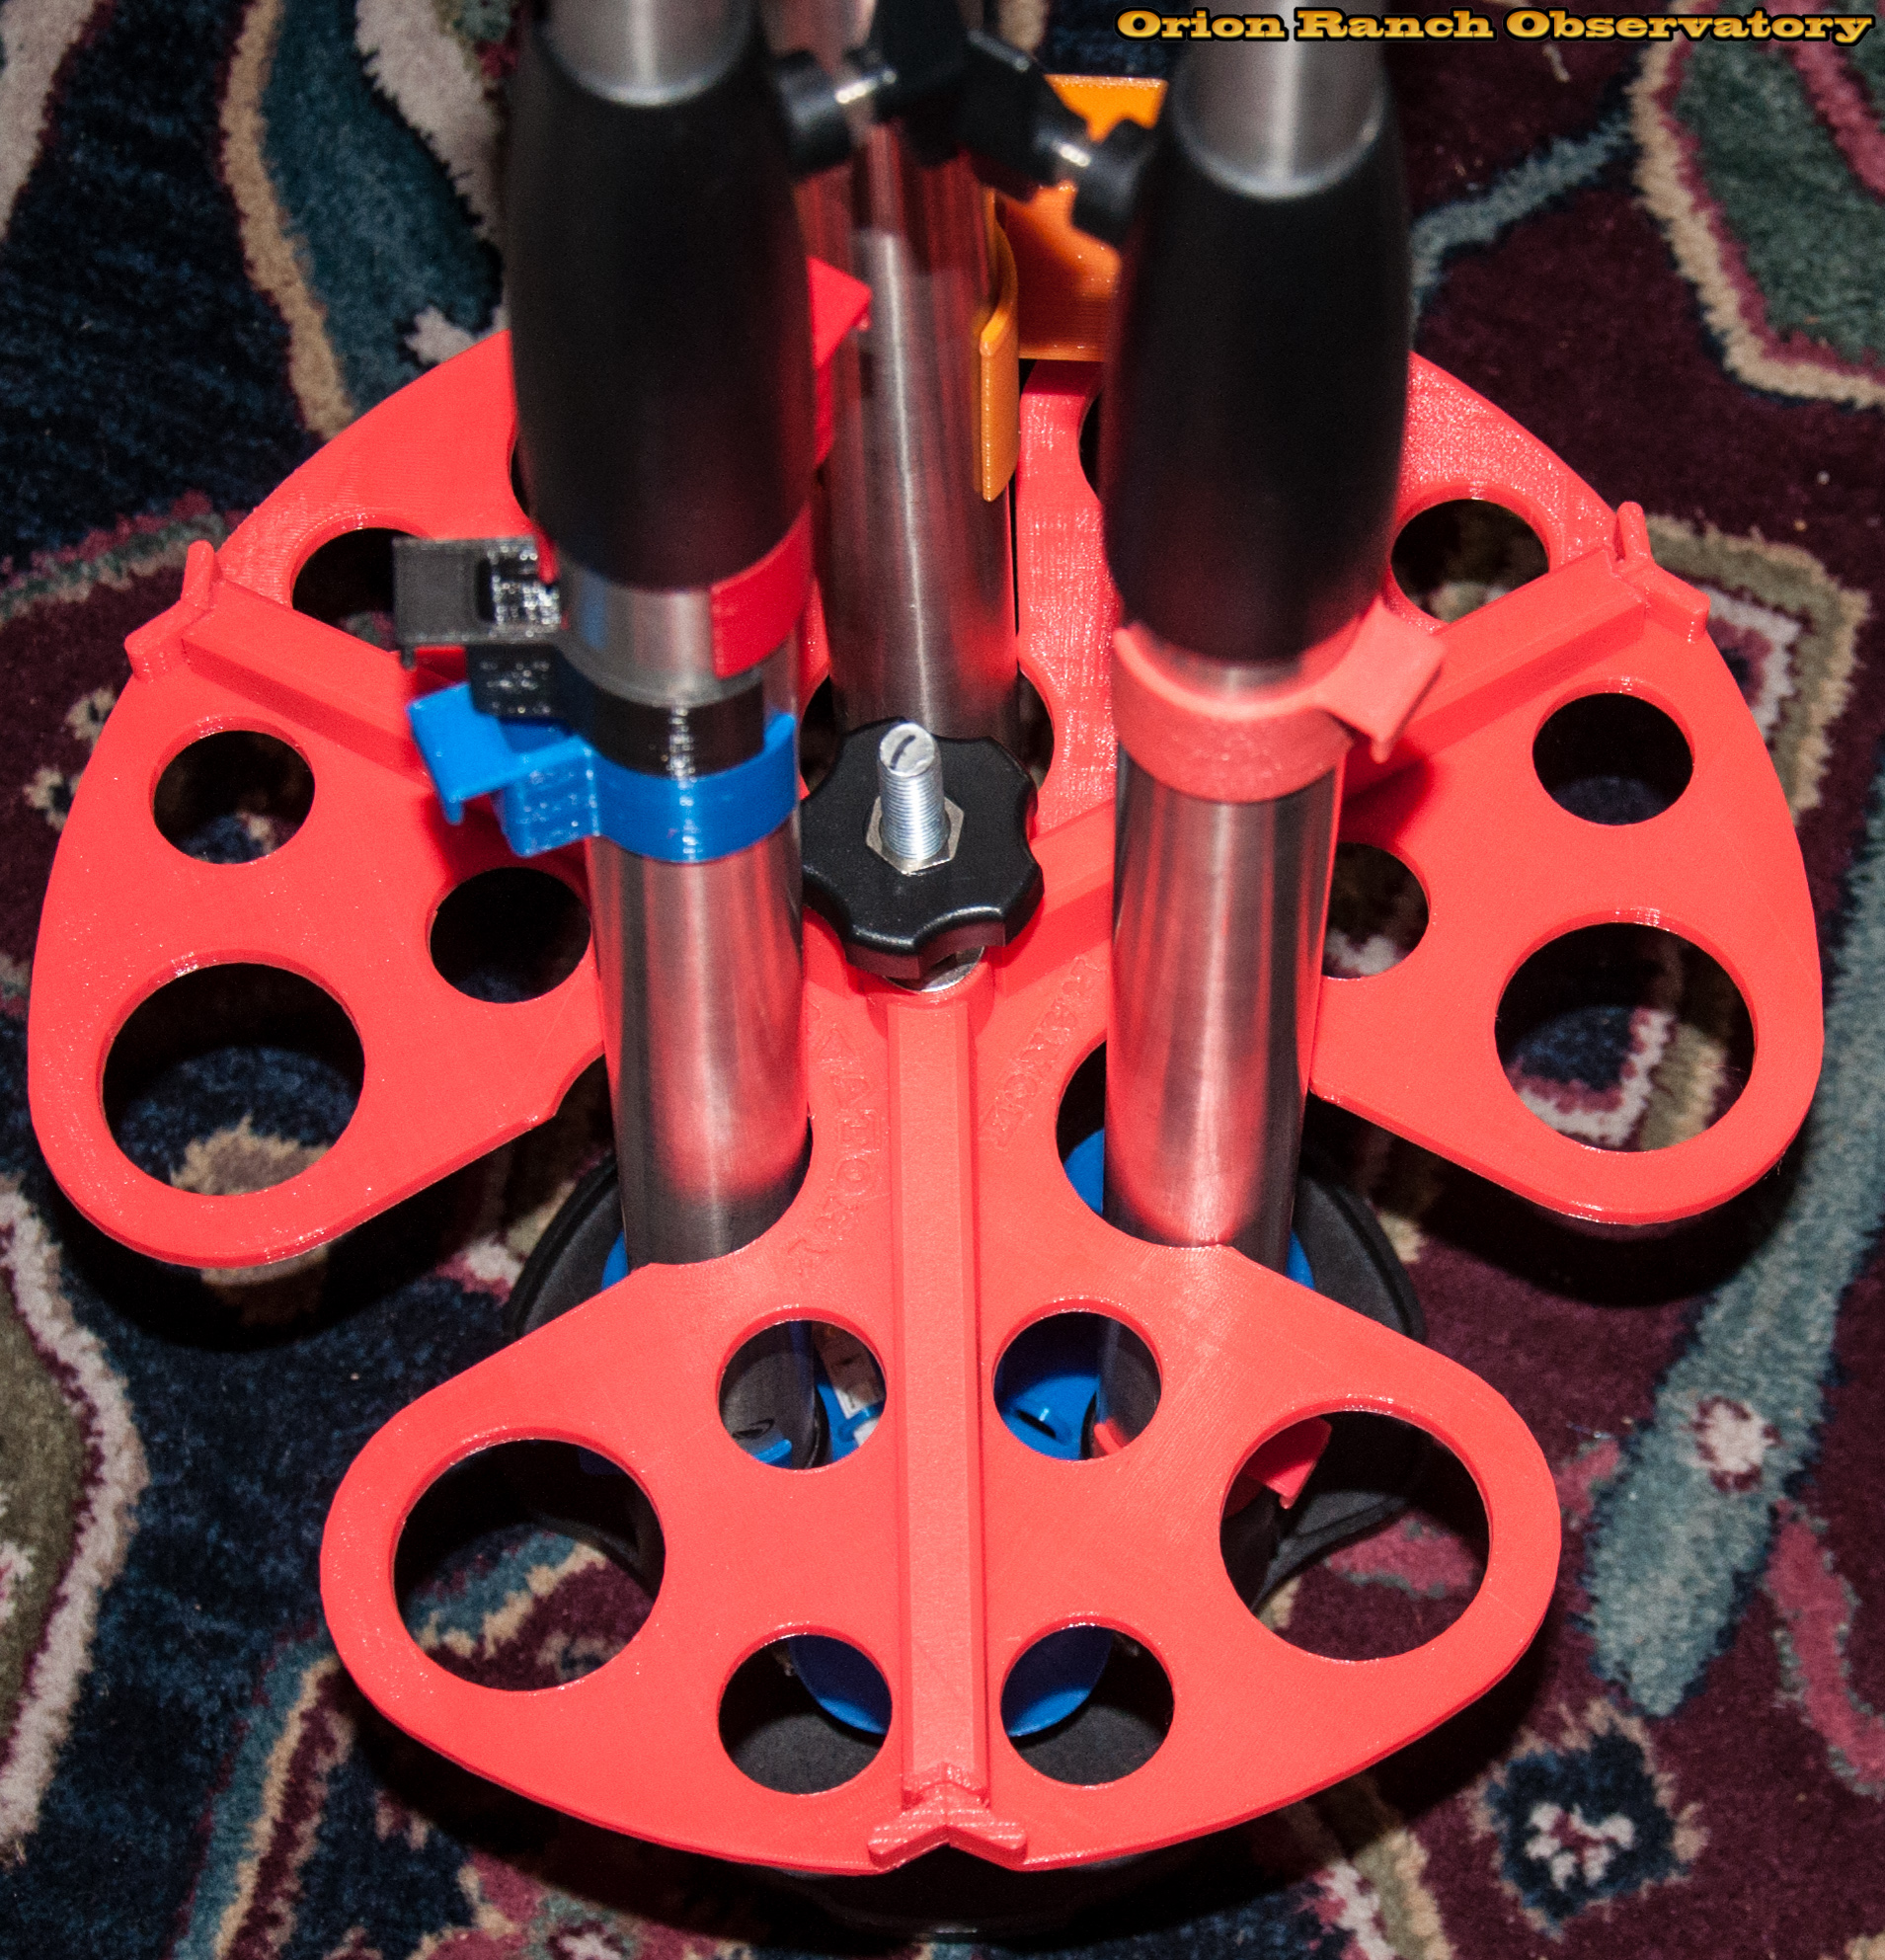
In the closed position there’s an added bonus to the coupling nut in that now the spreader is captured in both directions and doesn’t move to the top anymore. That keeps it where I want it to keep the legs closed.

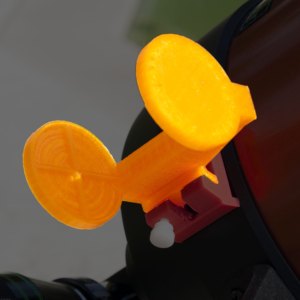
As mentioned above, I also developed a hand controller clip based on the business card holder leg clip.
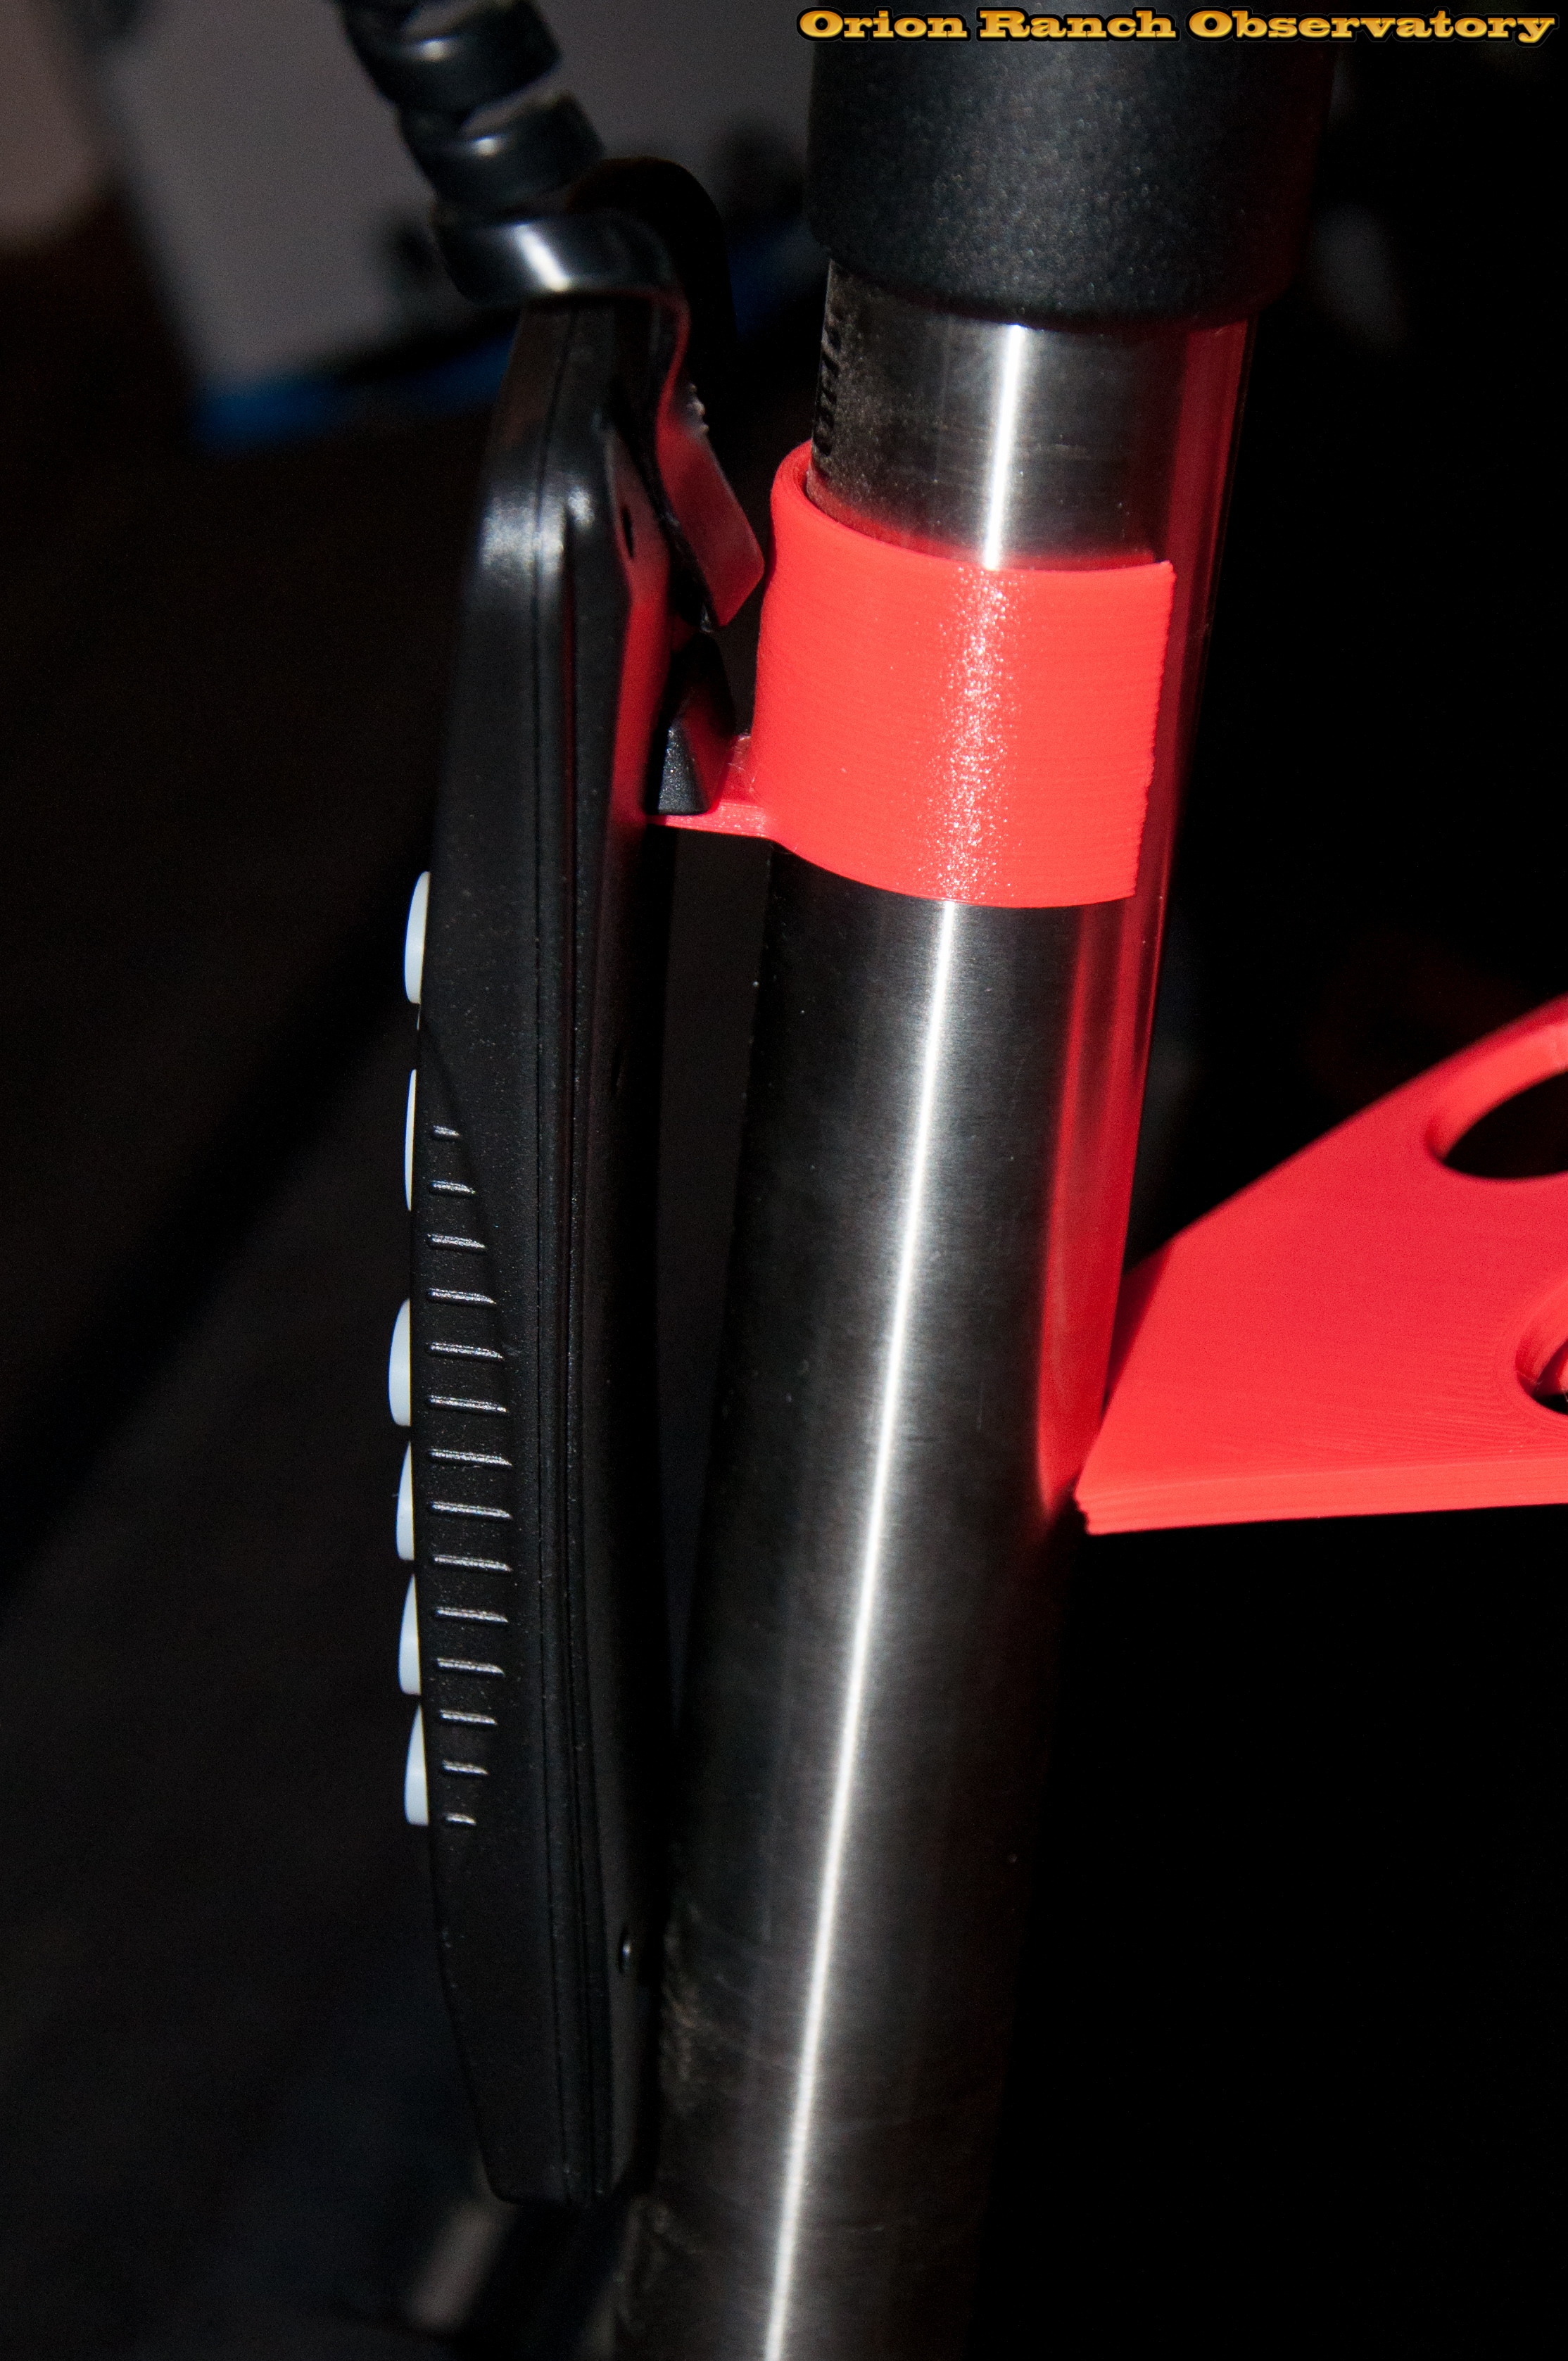
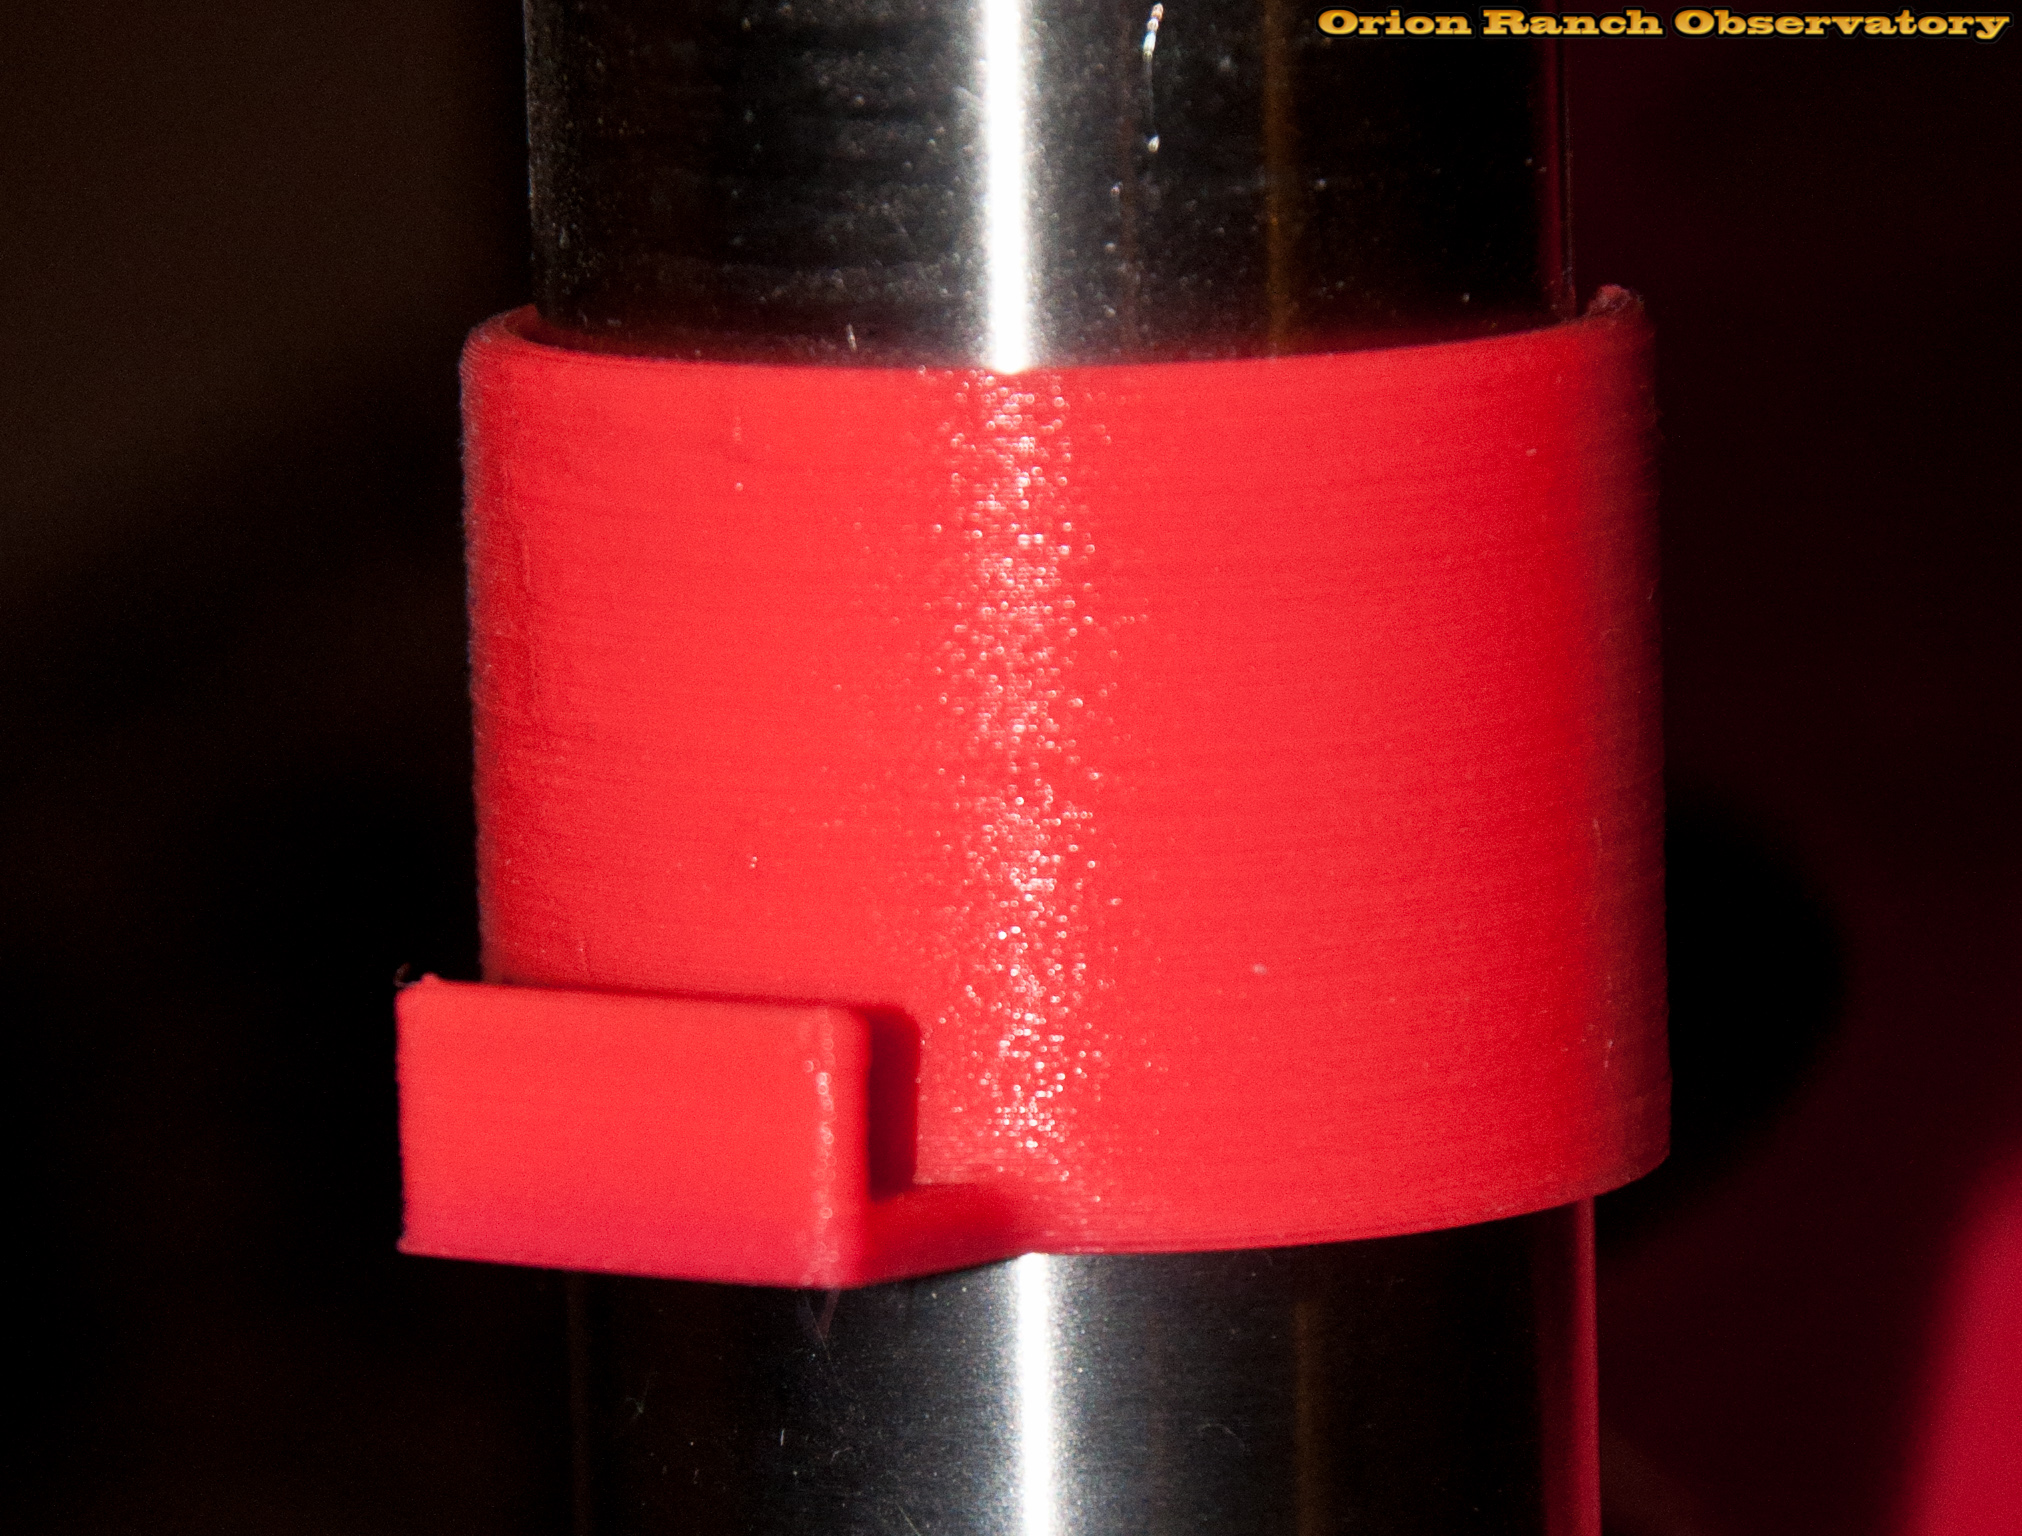
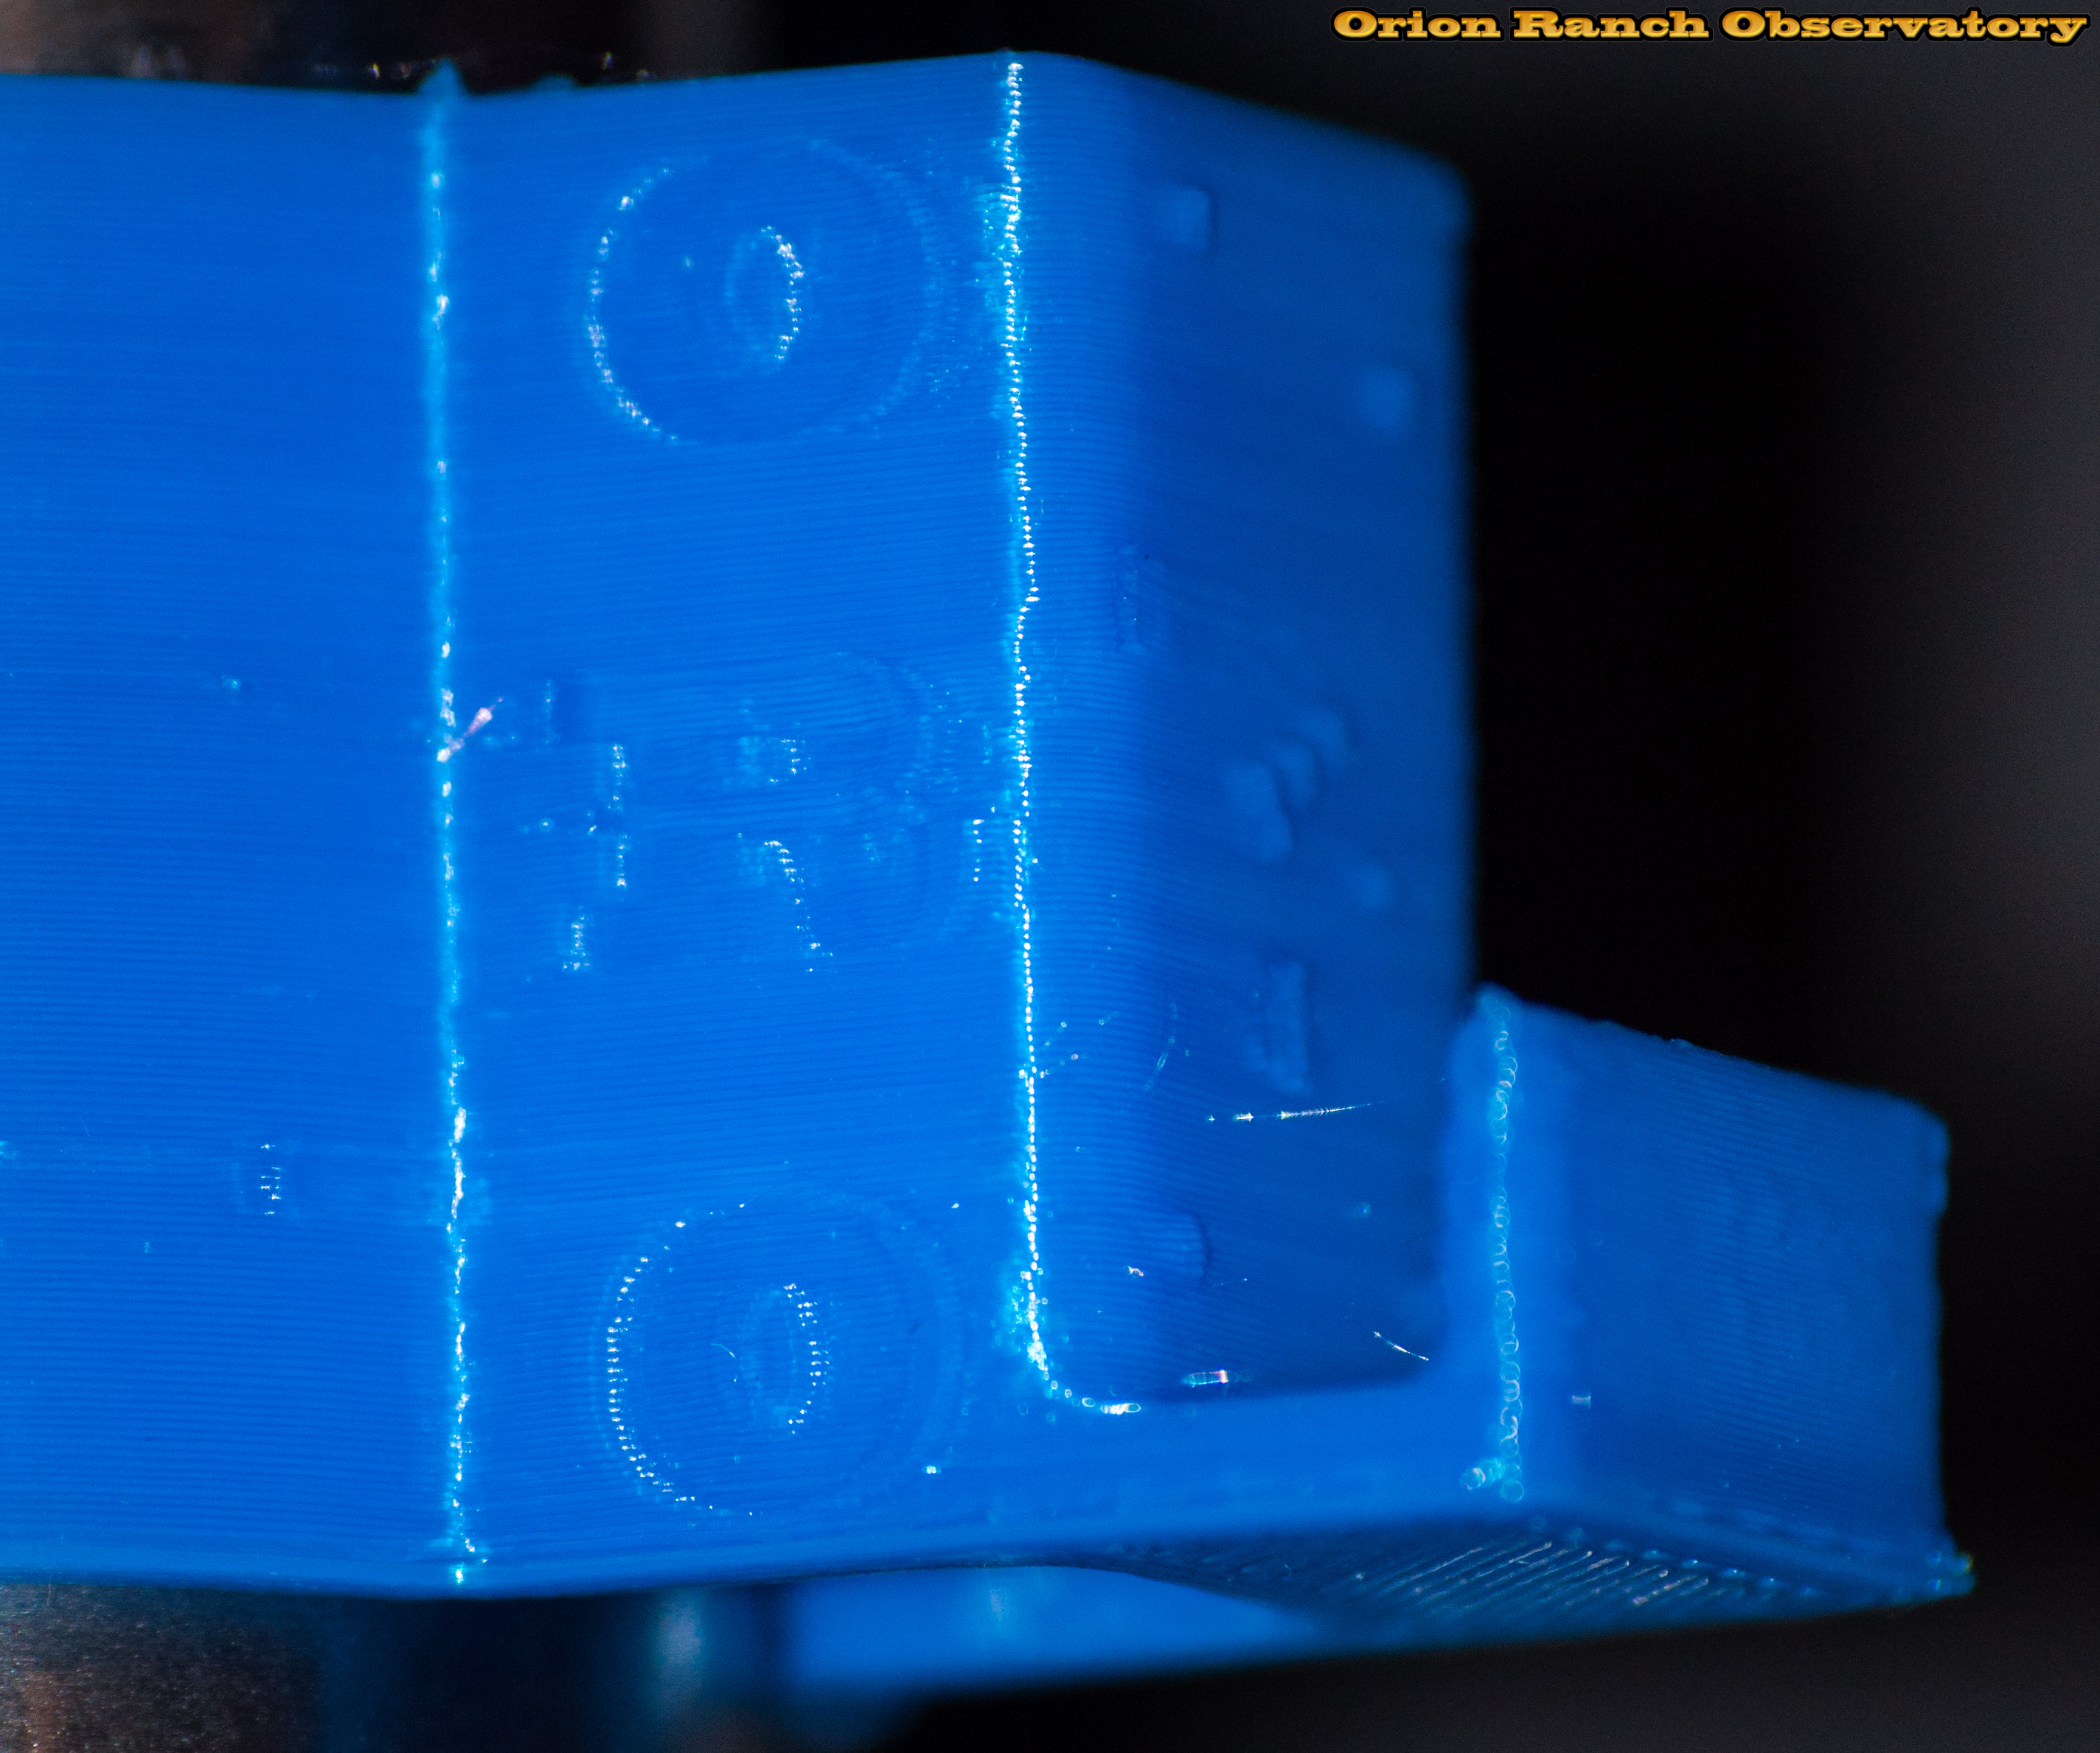
I eventually enhanced this as well, just before going on to design the first sectional spreader. In this case I added a slot for the power cords to capture the cord on the leg. After a number of iterations where I had to tighten the clamping power due to the longer overall arm length, it works pretty well. Also in continuing with my Orion Ranch Observatory branding, I managed to get the letters ORO and an Orion constellation into the part as well. I was also having fun with different colors when I did this.

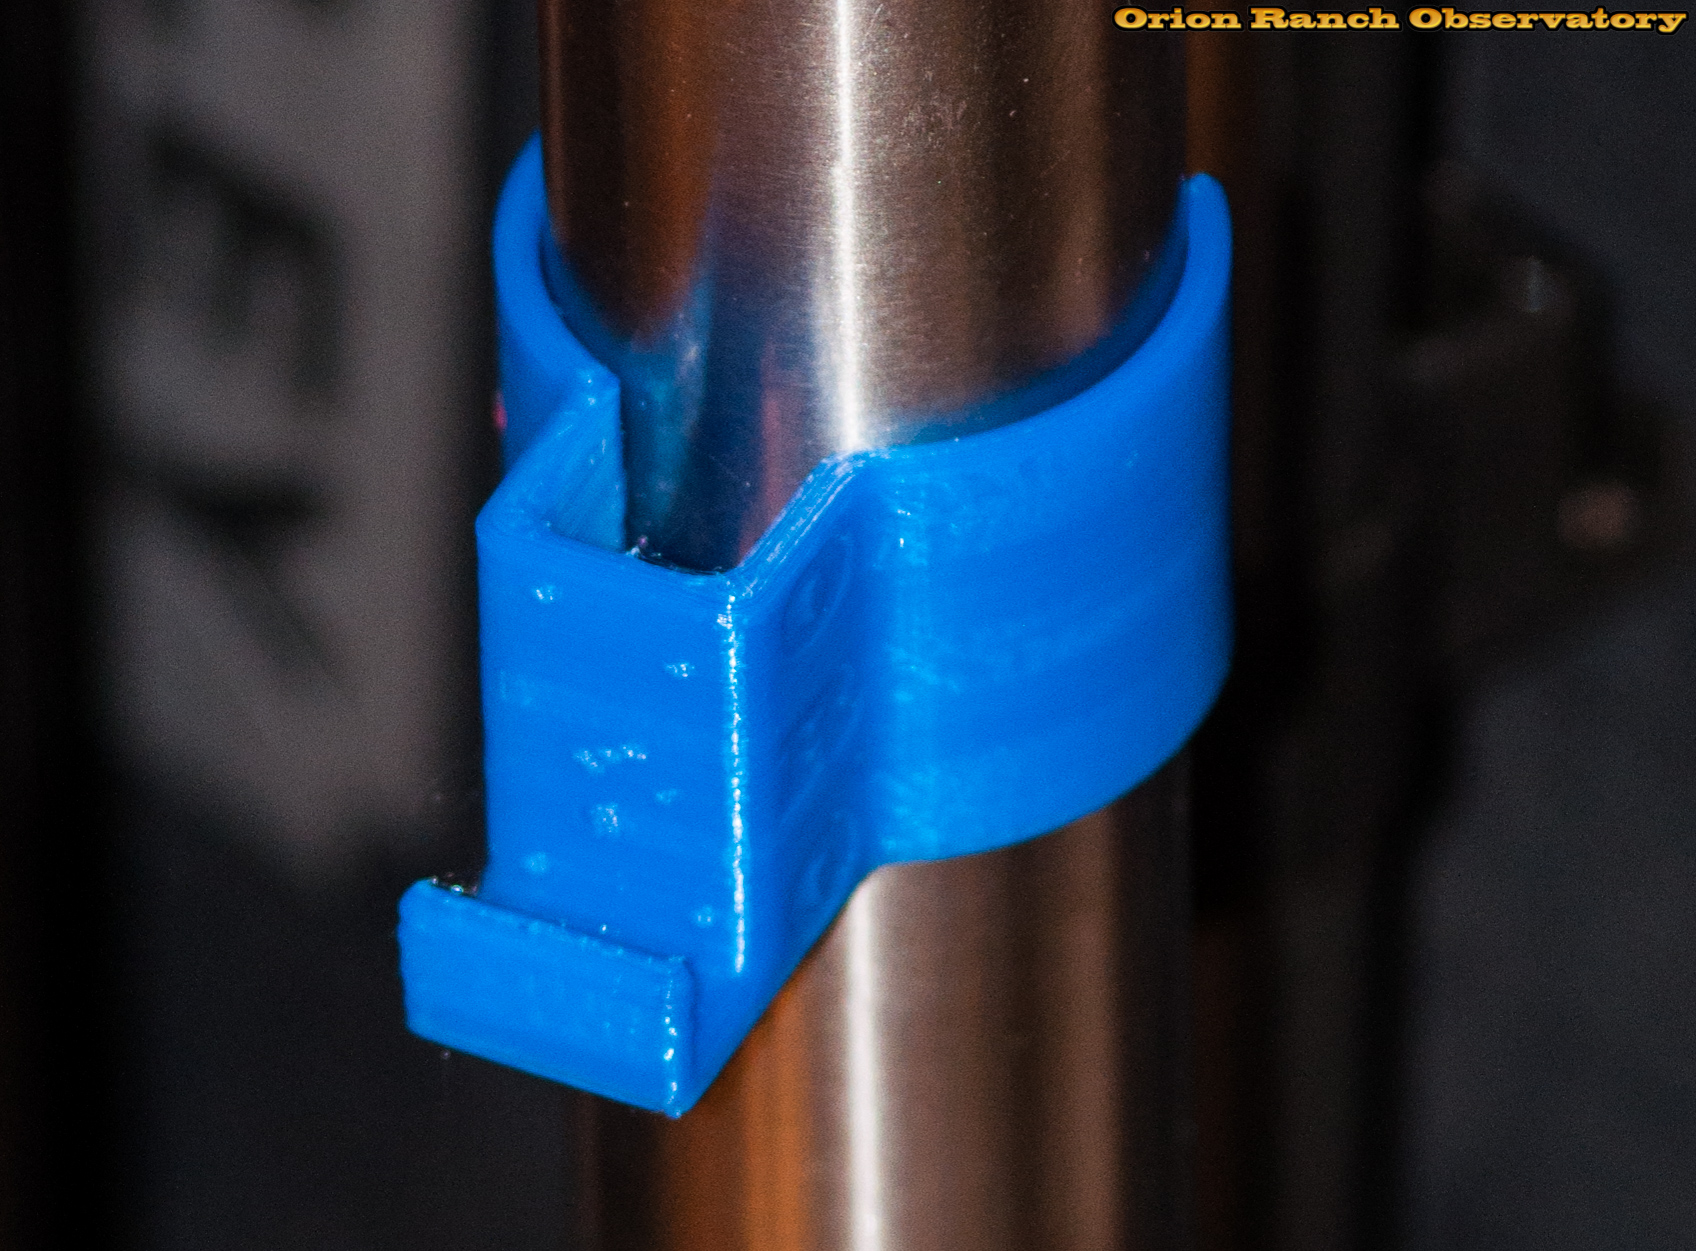
Here it is with cables routed. I also developed a smaller clip for the lower portion of the leg.


4 Responses to 3-D Printed Tripod Parts