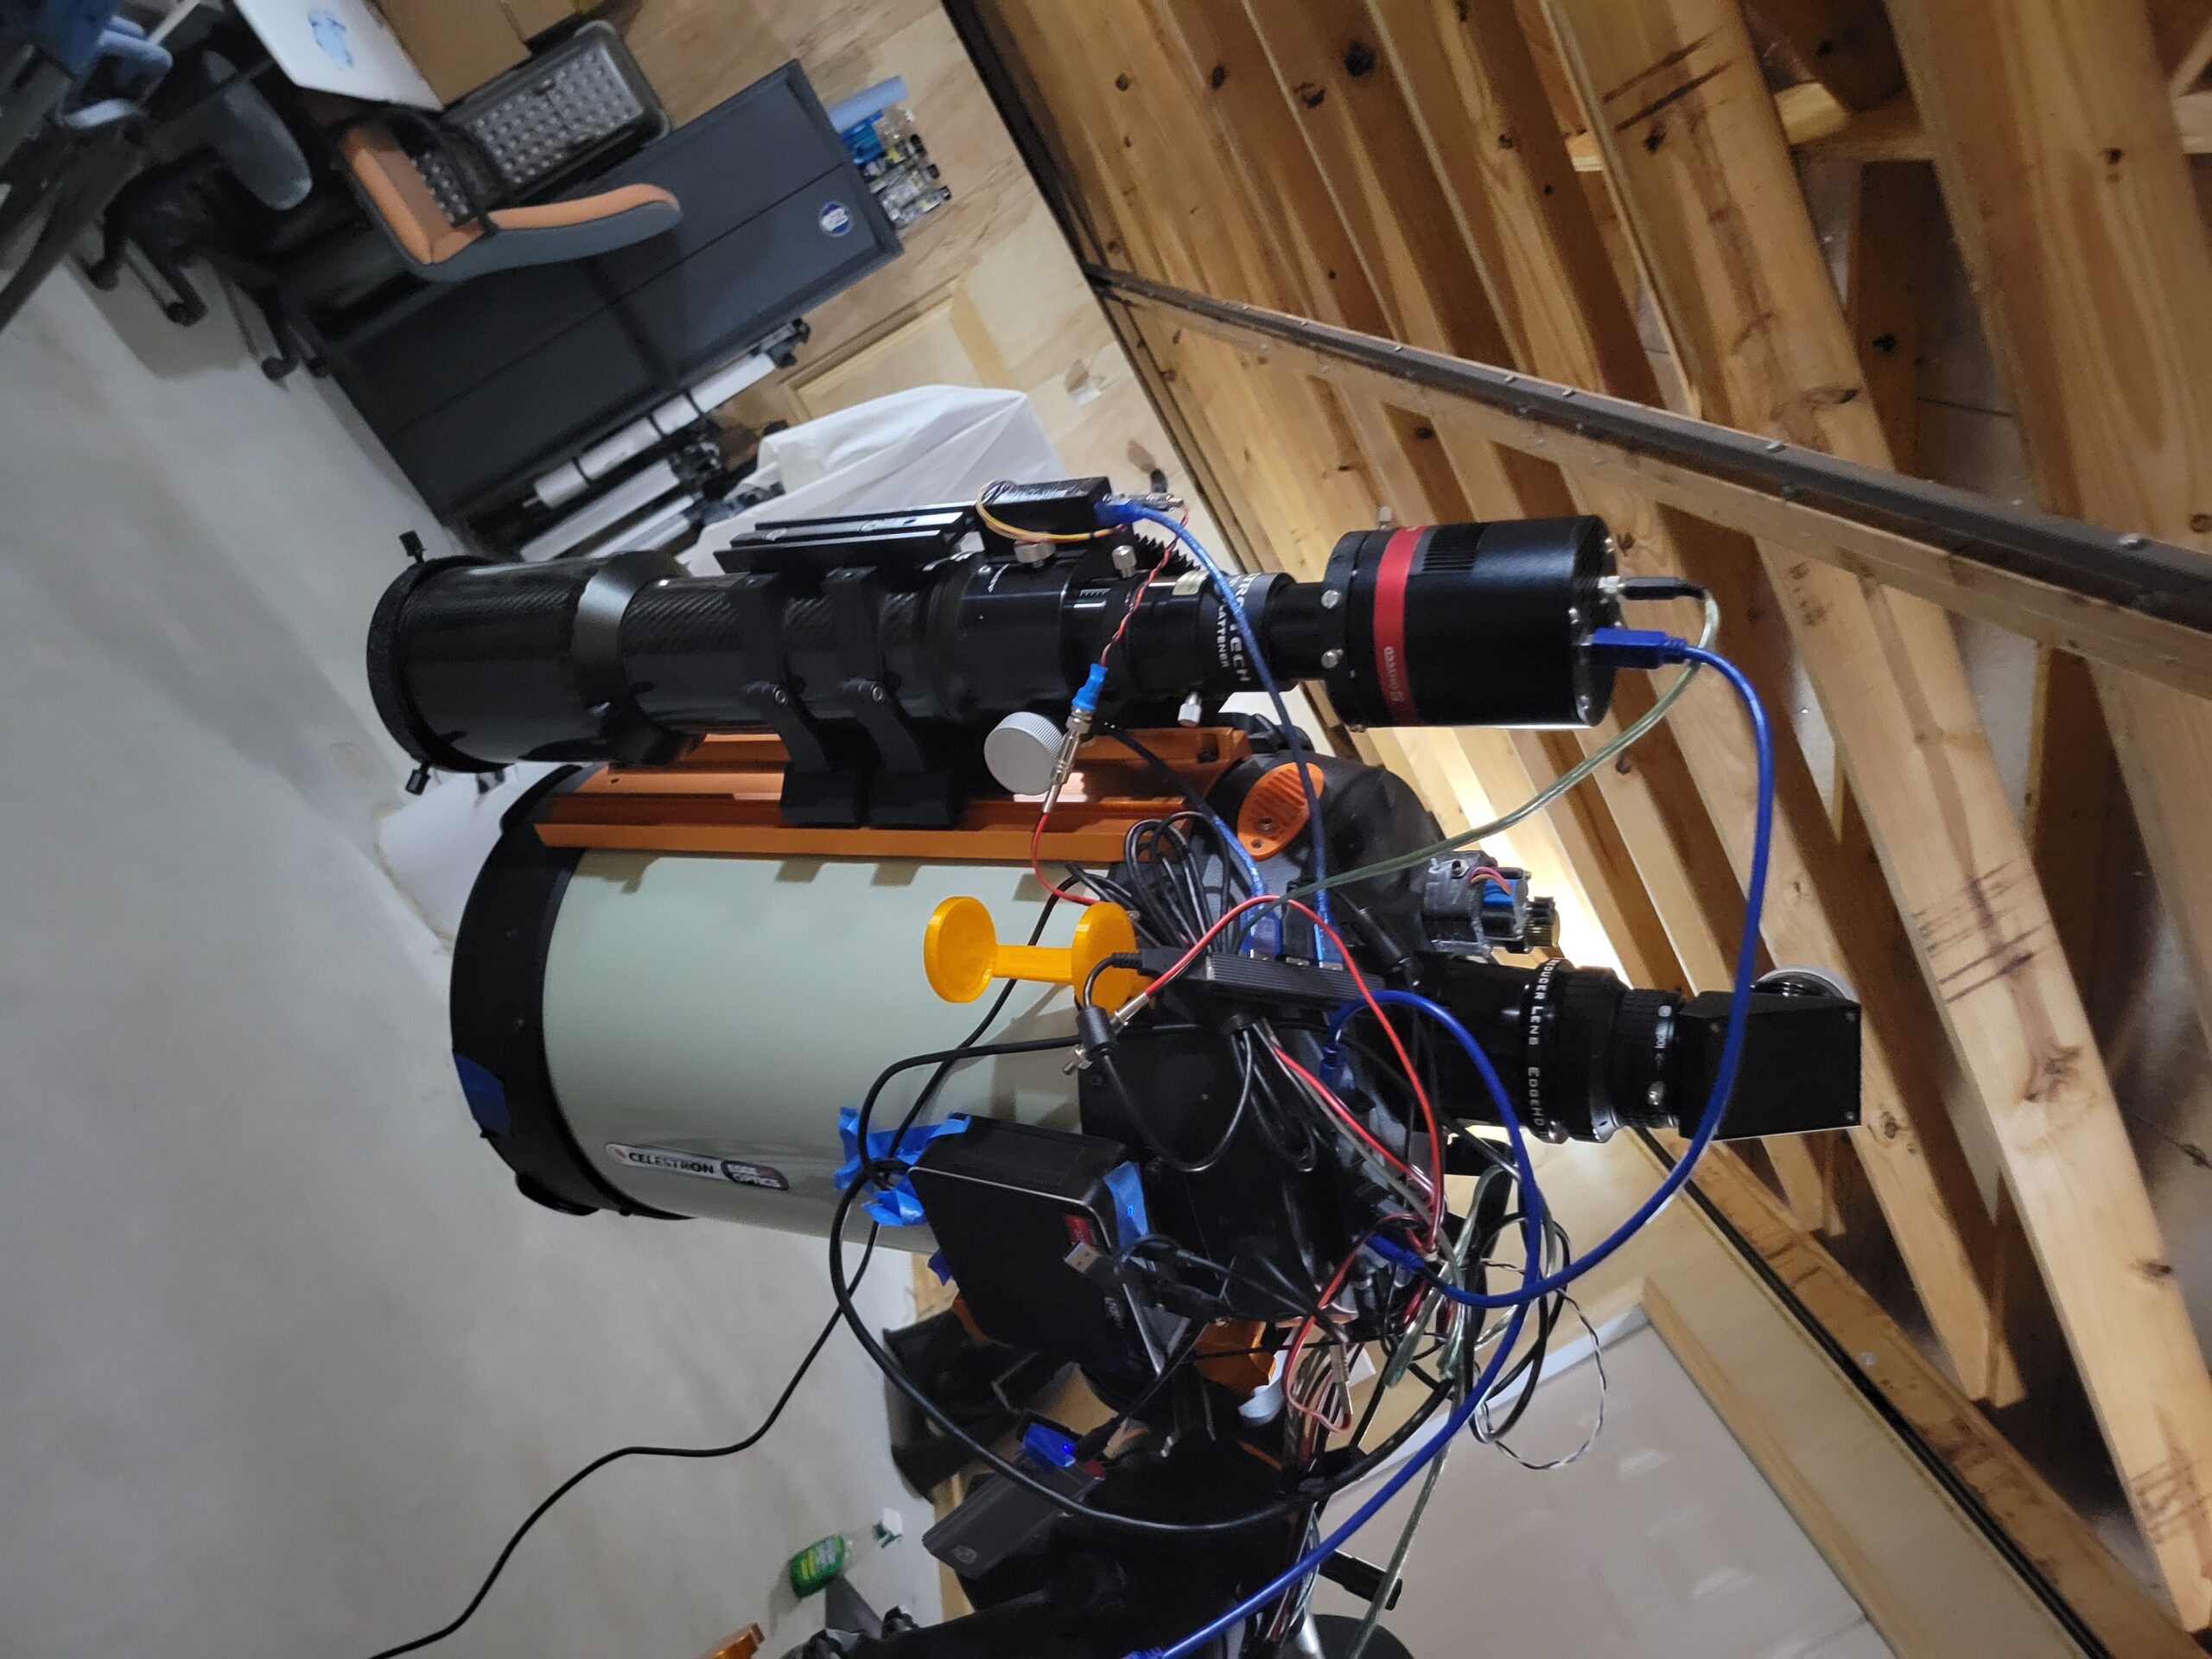
My initial setup had too much back focus from the focal reducer, resulting in distorted stars around the edge of the field of view. The off-axis guider pick-off mirror was also shadowing the image, resulting in unusable images.
My initial attempt was to mount the OAG directly to the camera, removing about 24 mm of back focus.
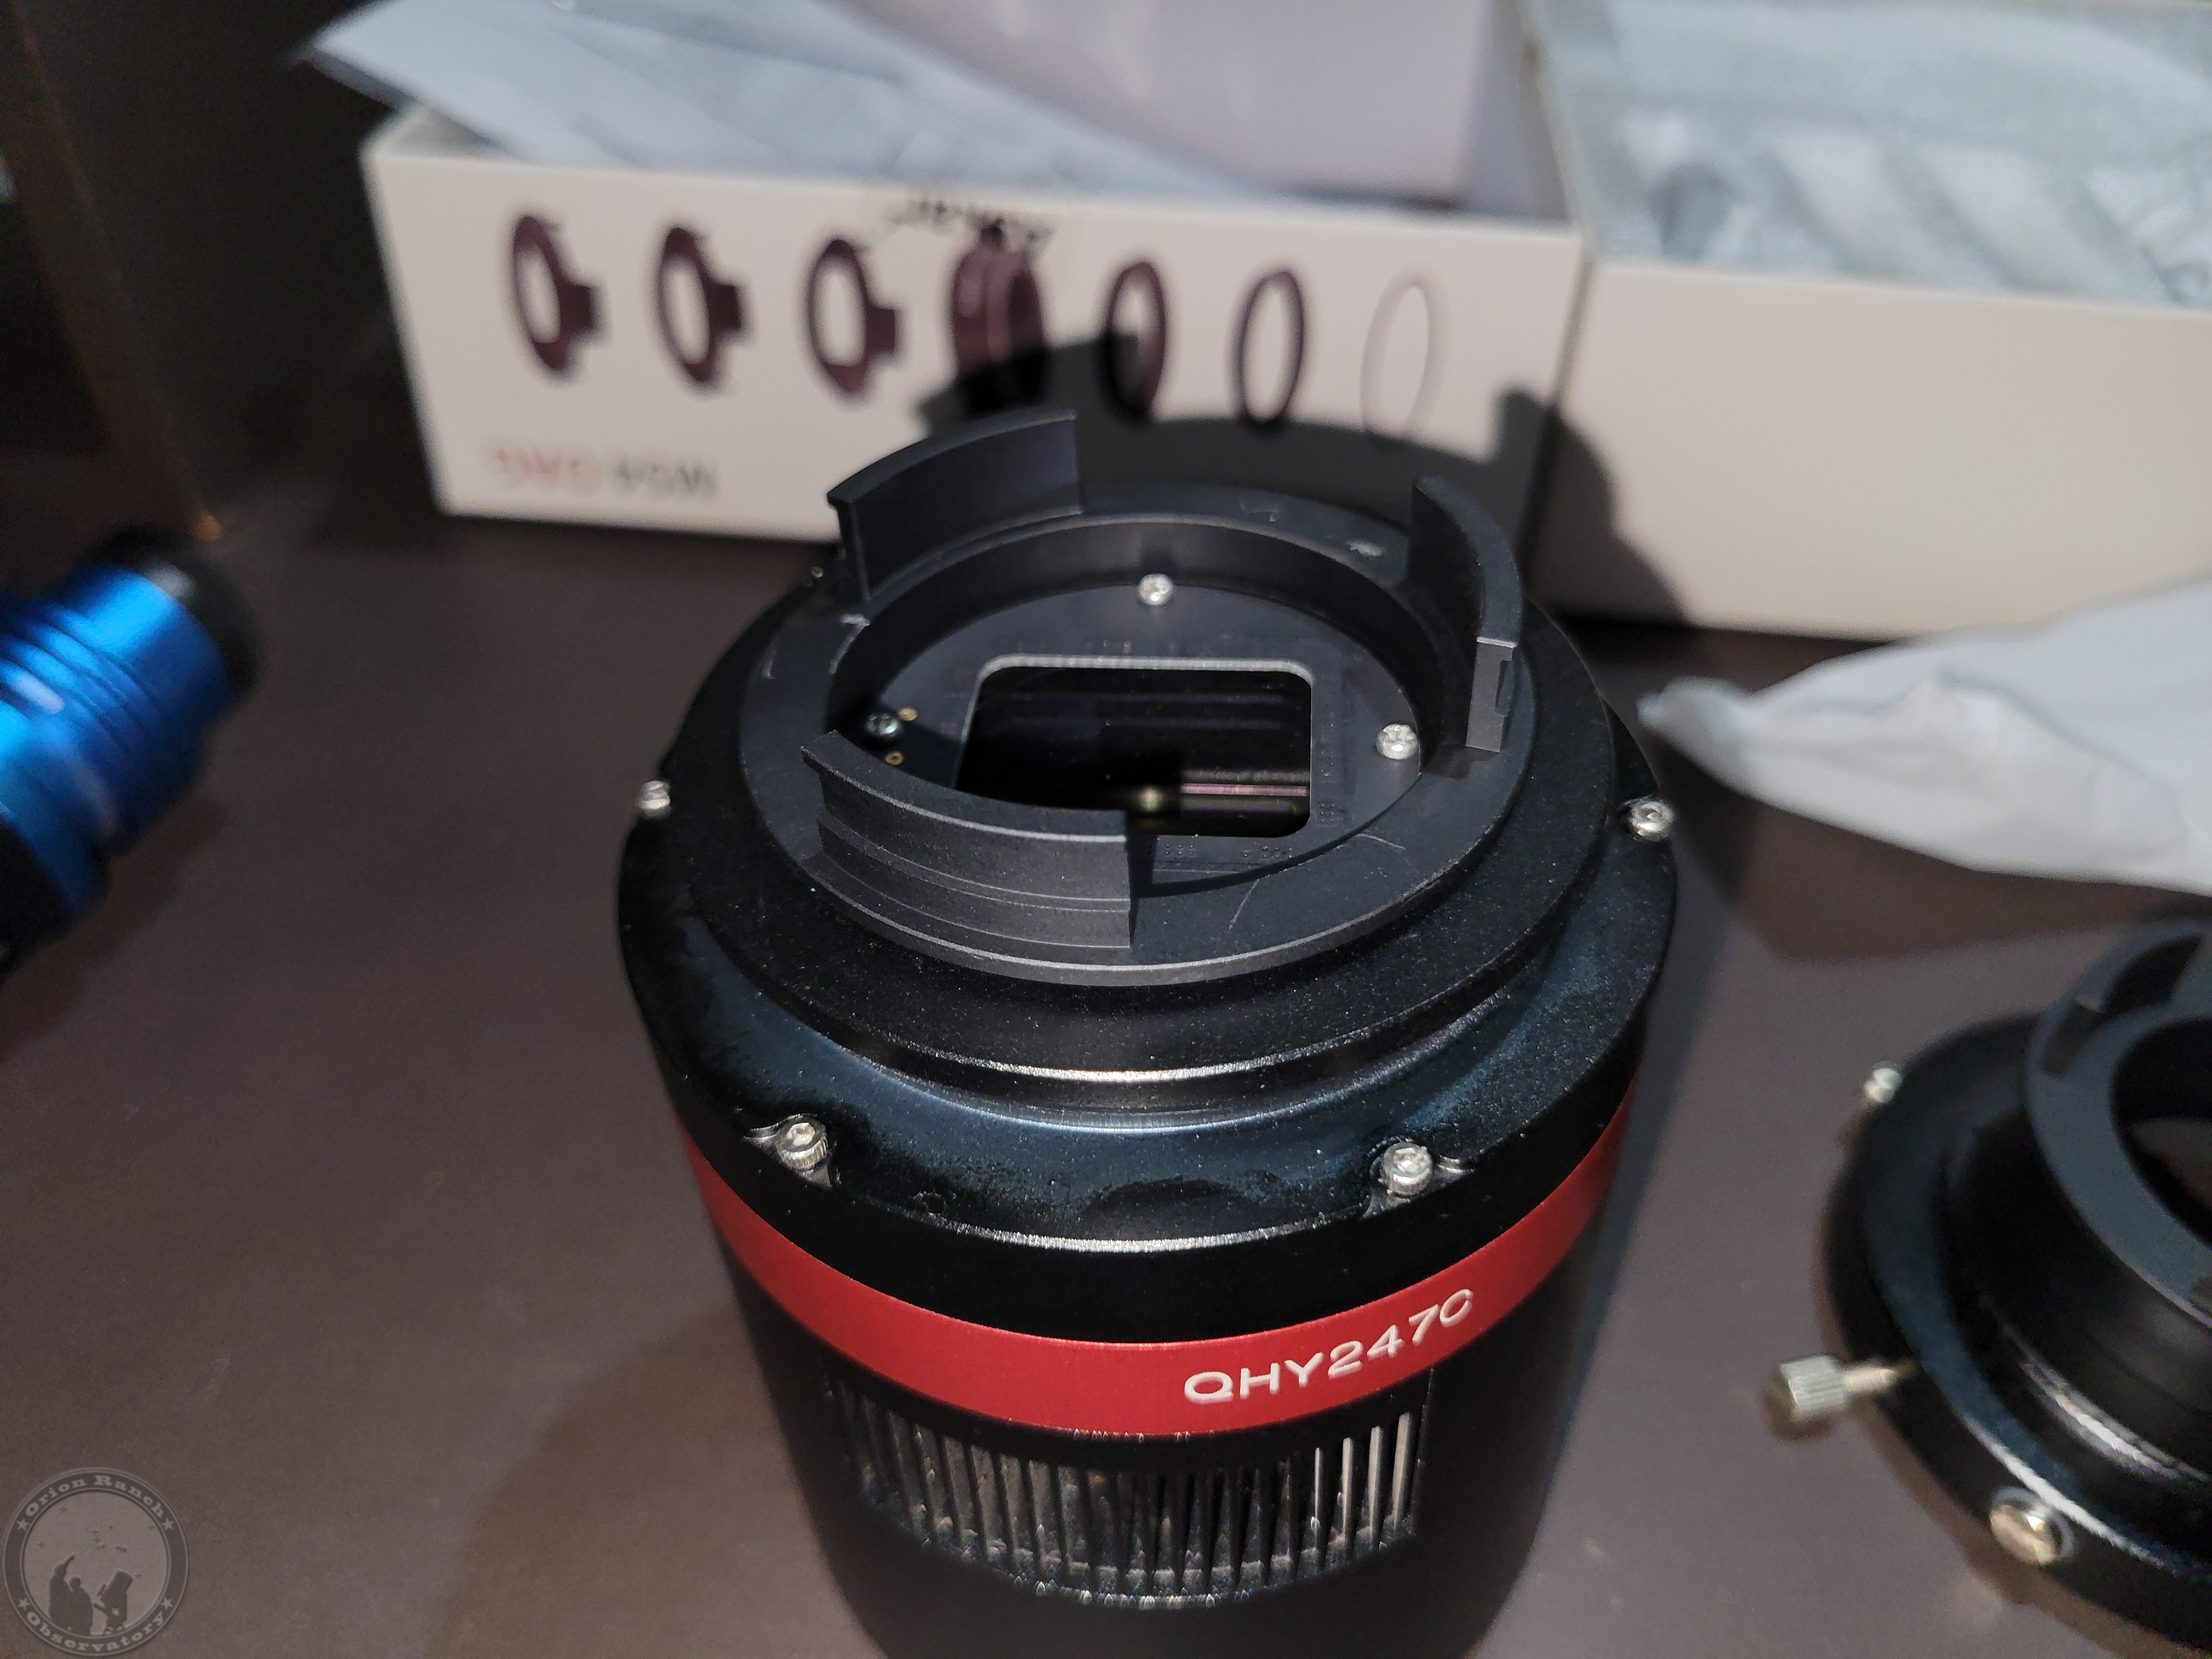
Unfortunately, even after removing the spacers on the guide camera and spacing the pick-off prism out from the center, I still couldn’t get the guider back focus short enough to match the imaging camera.
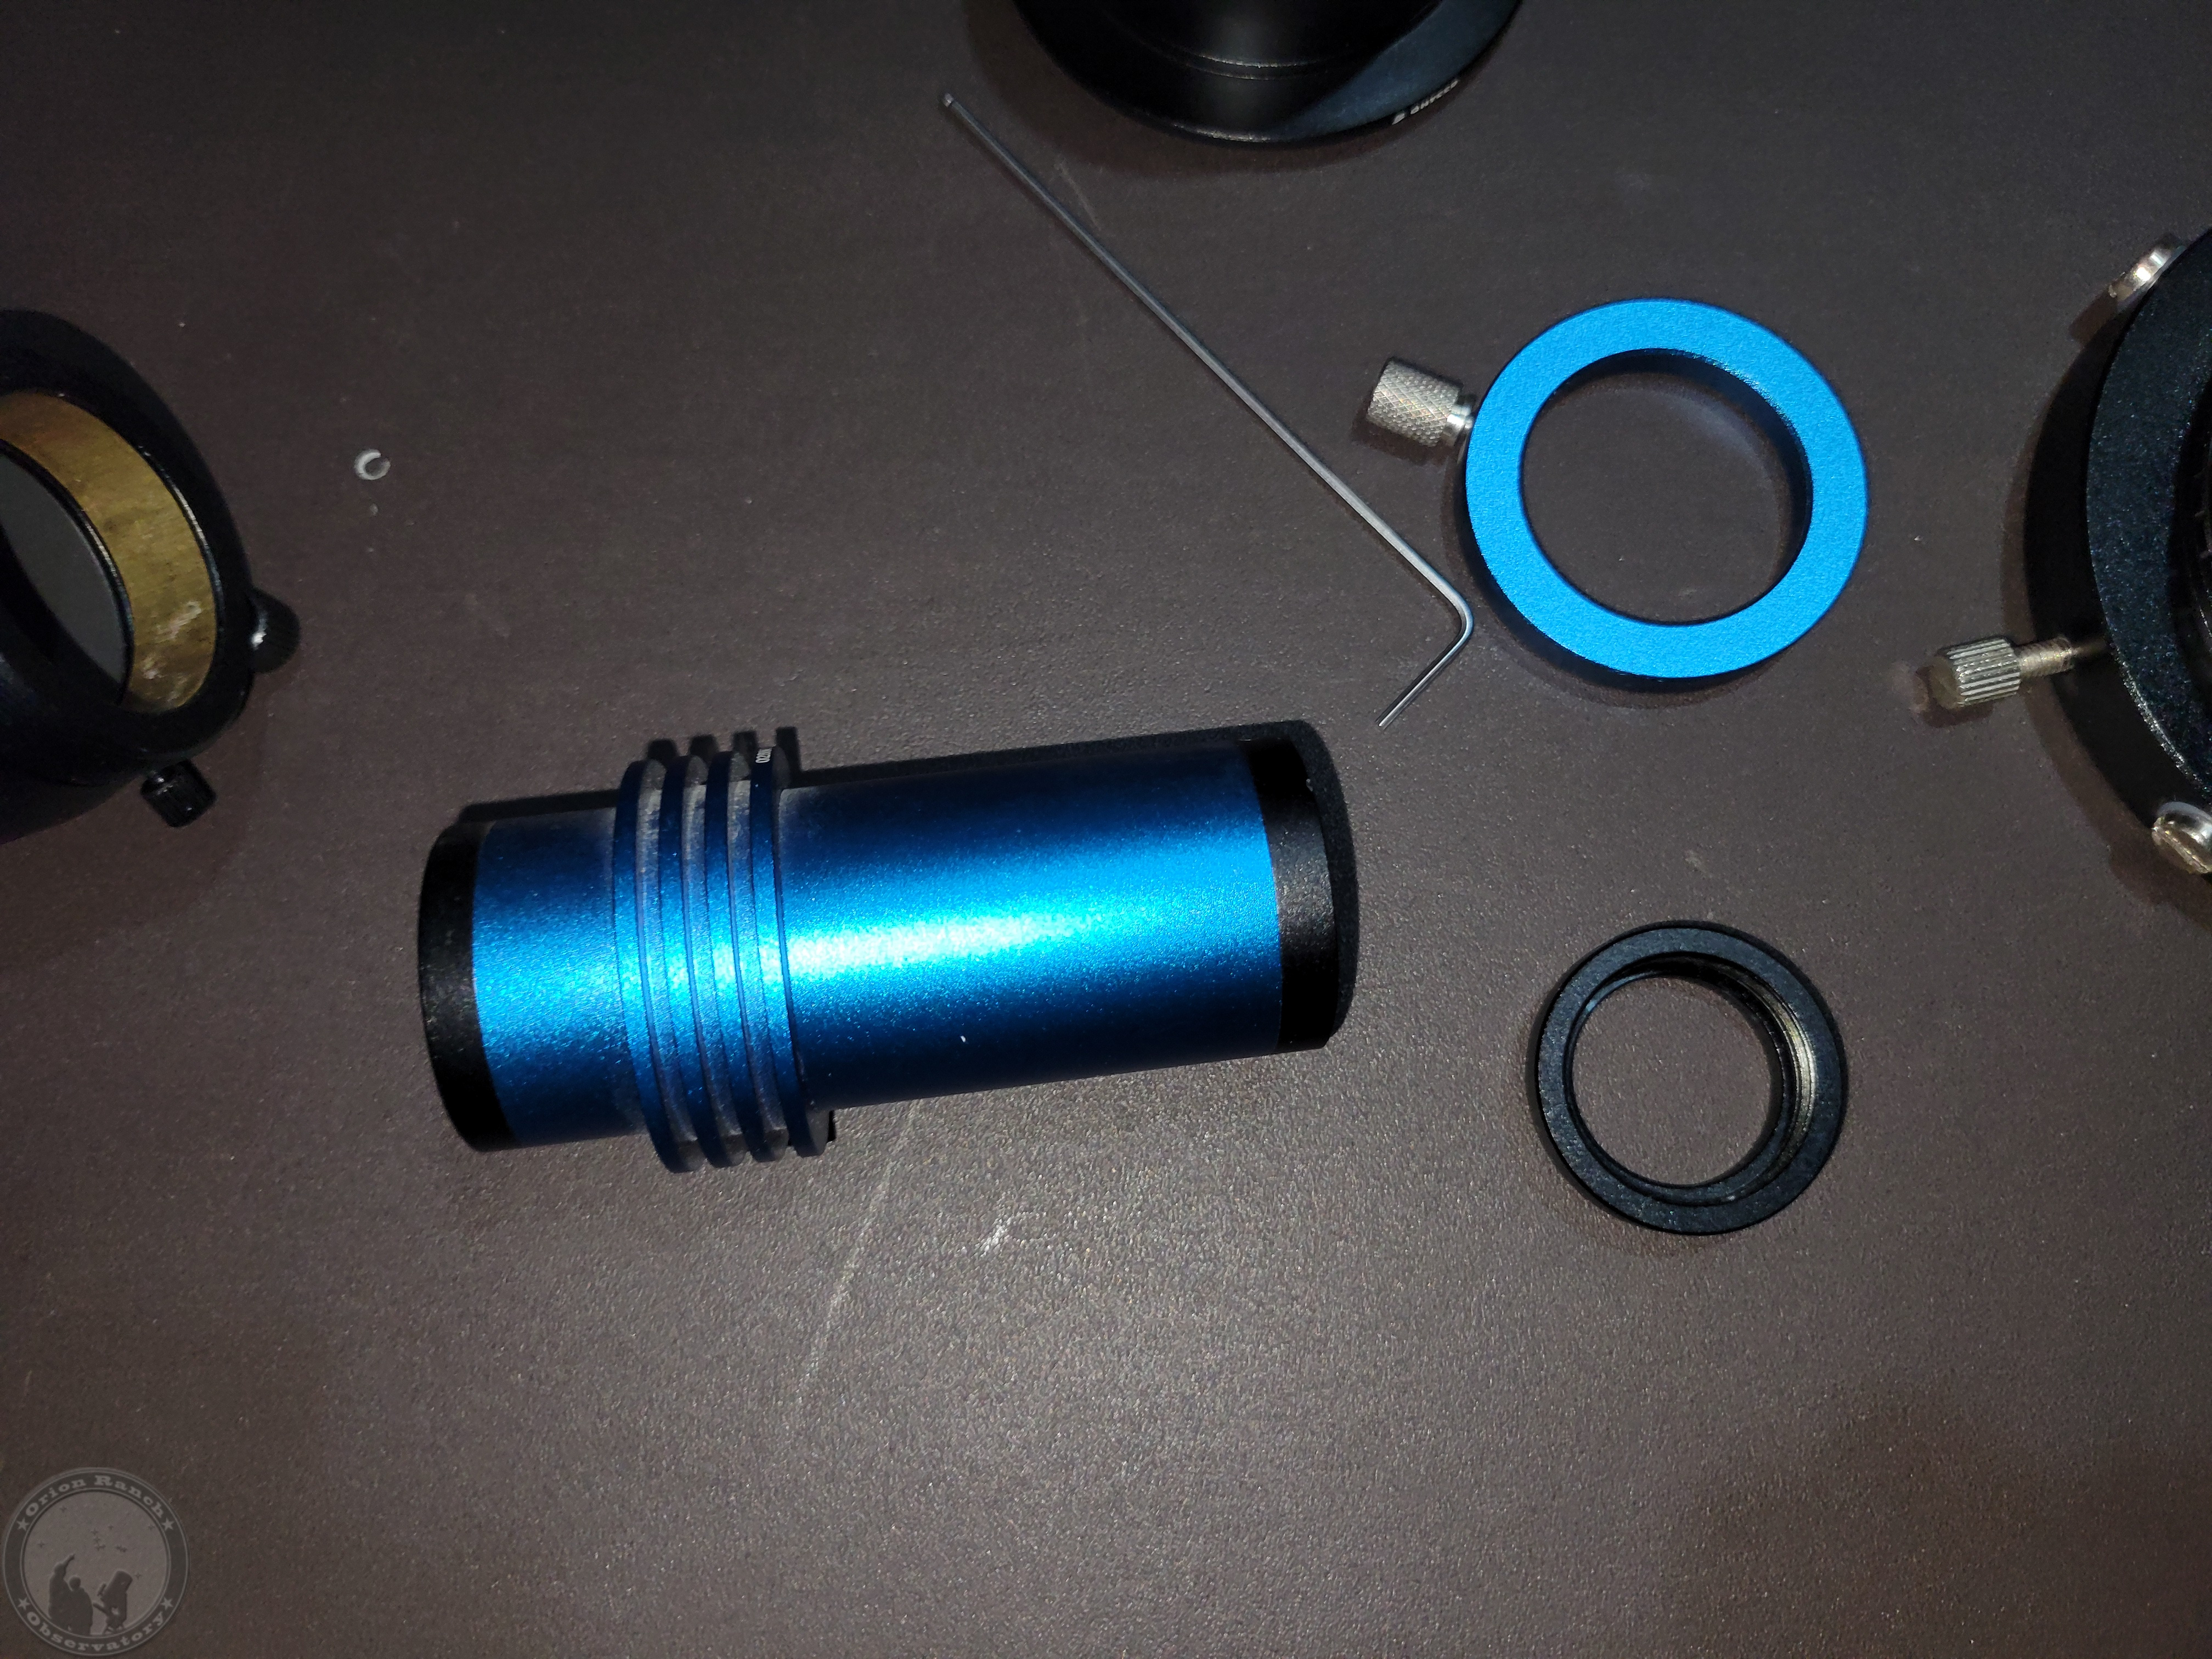
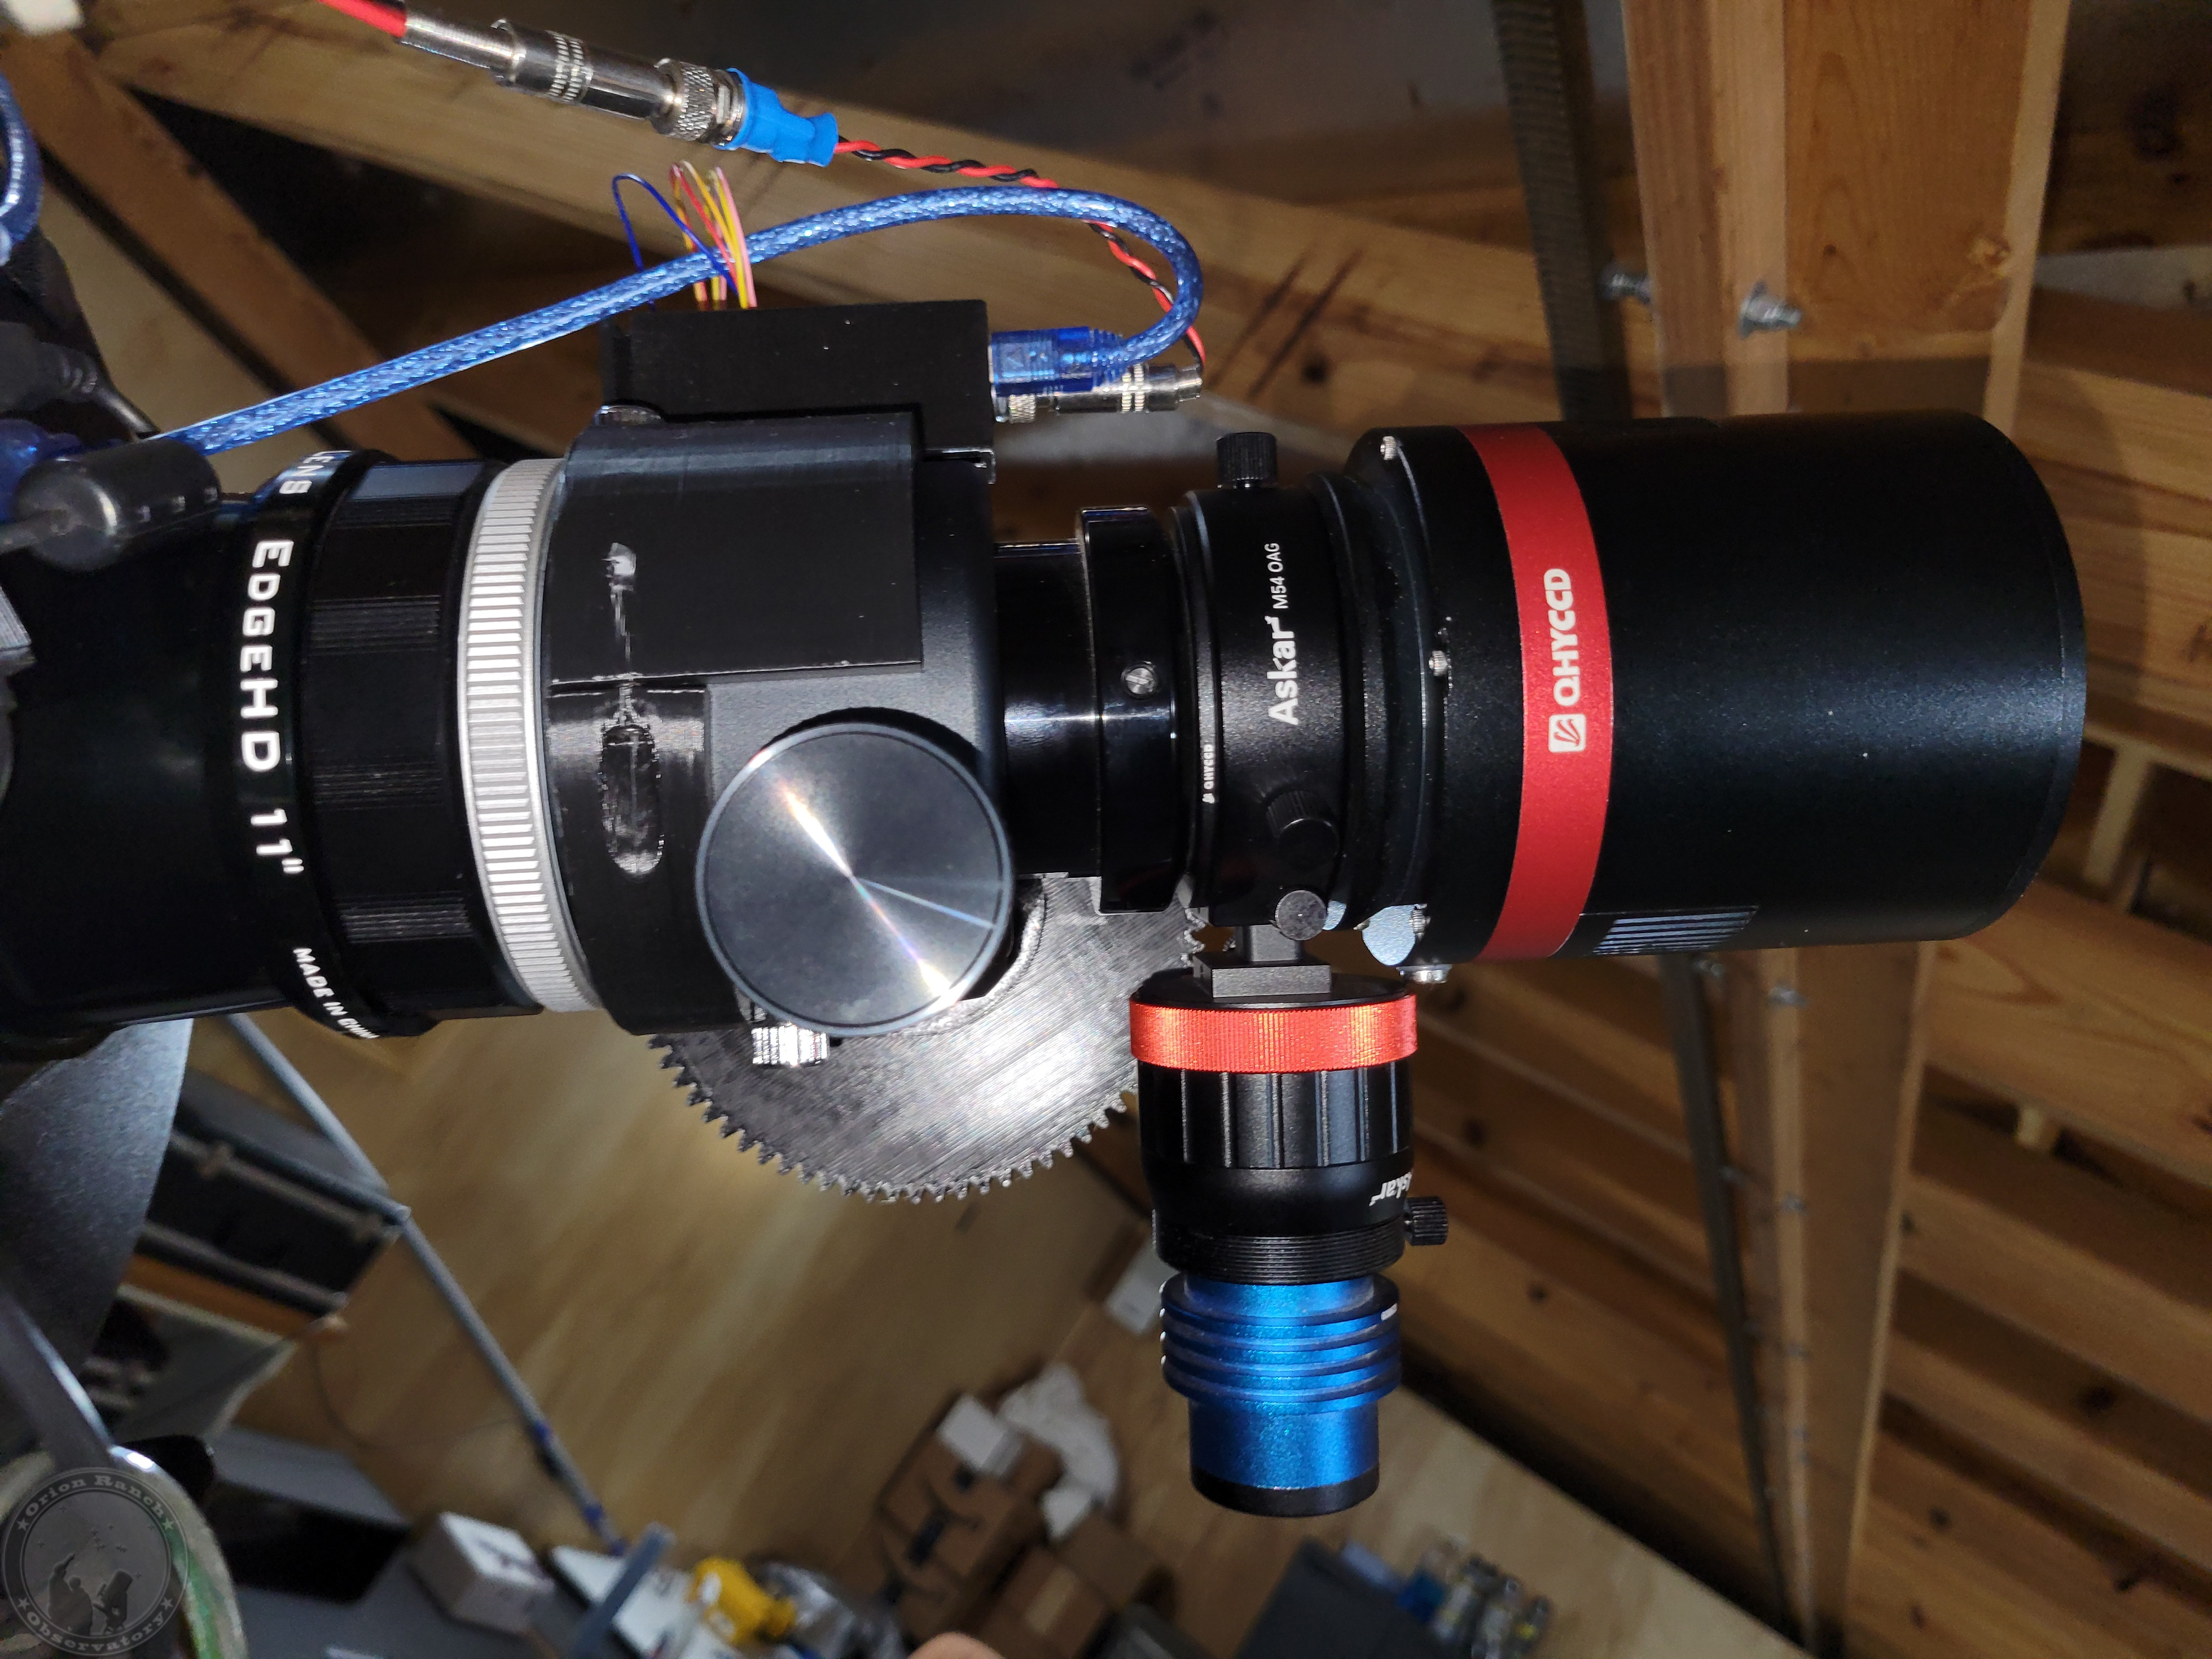
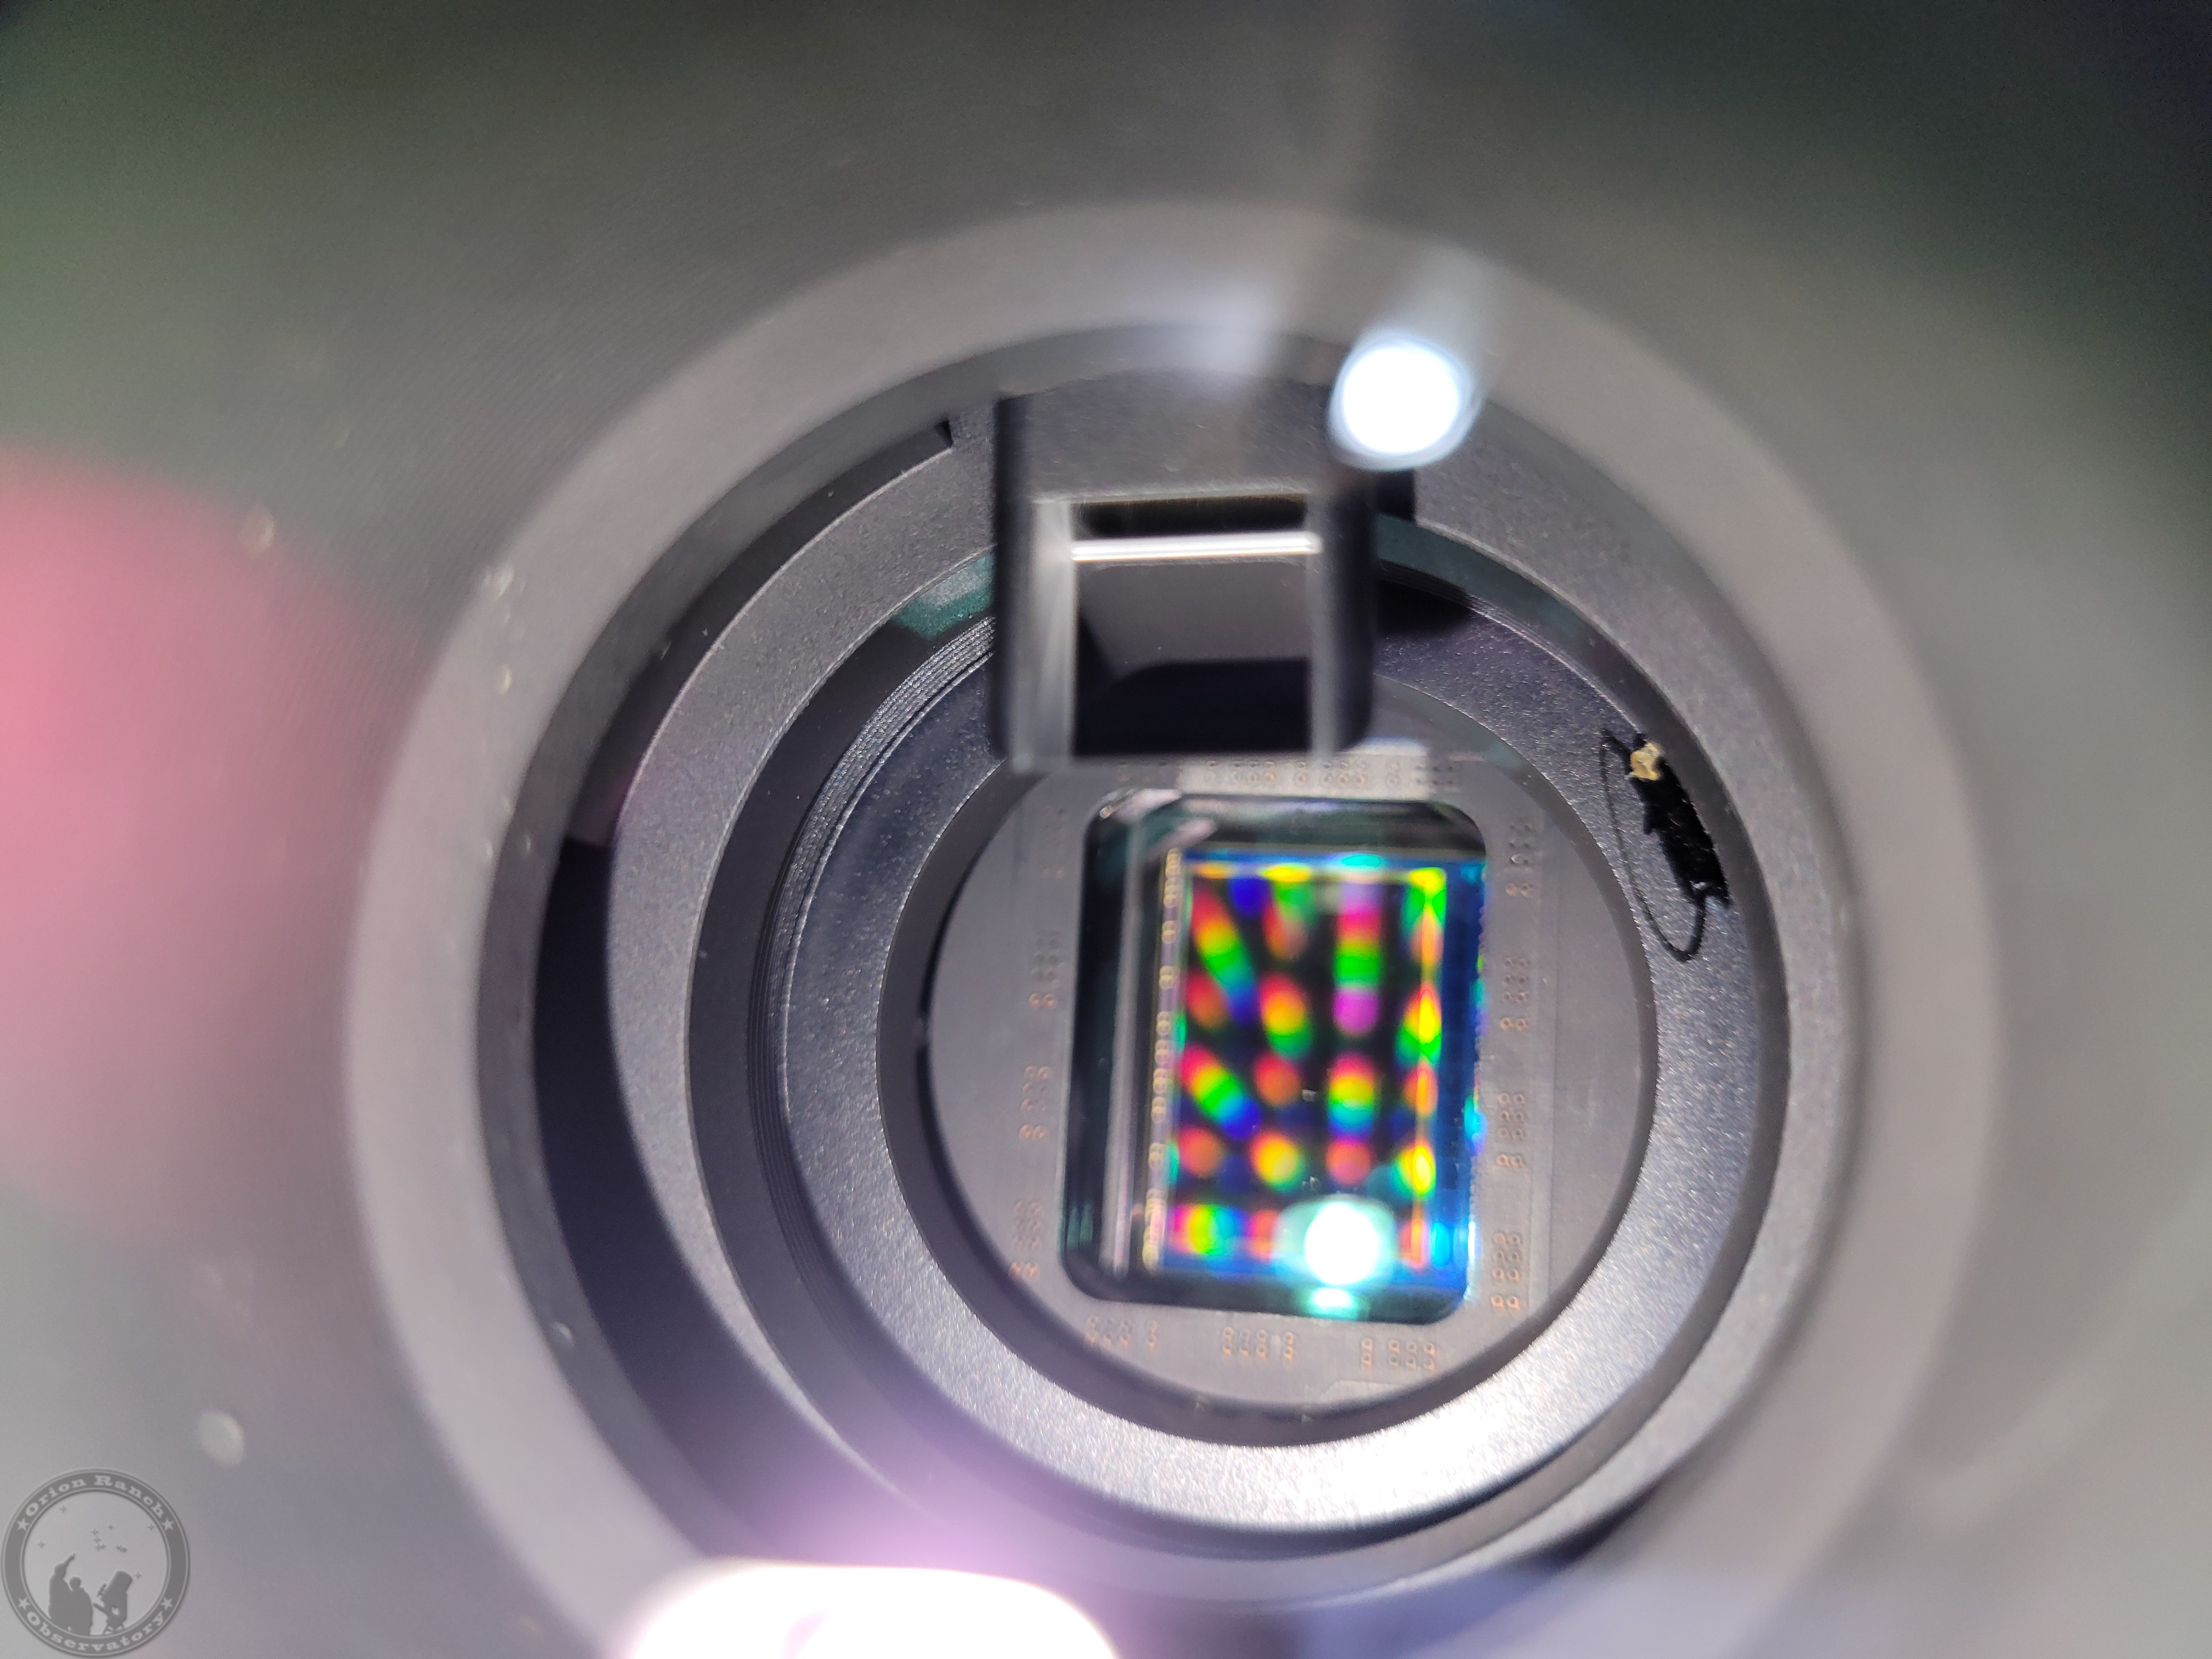
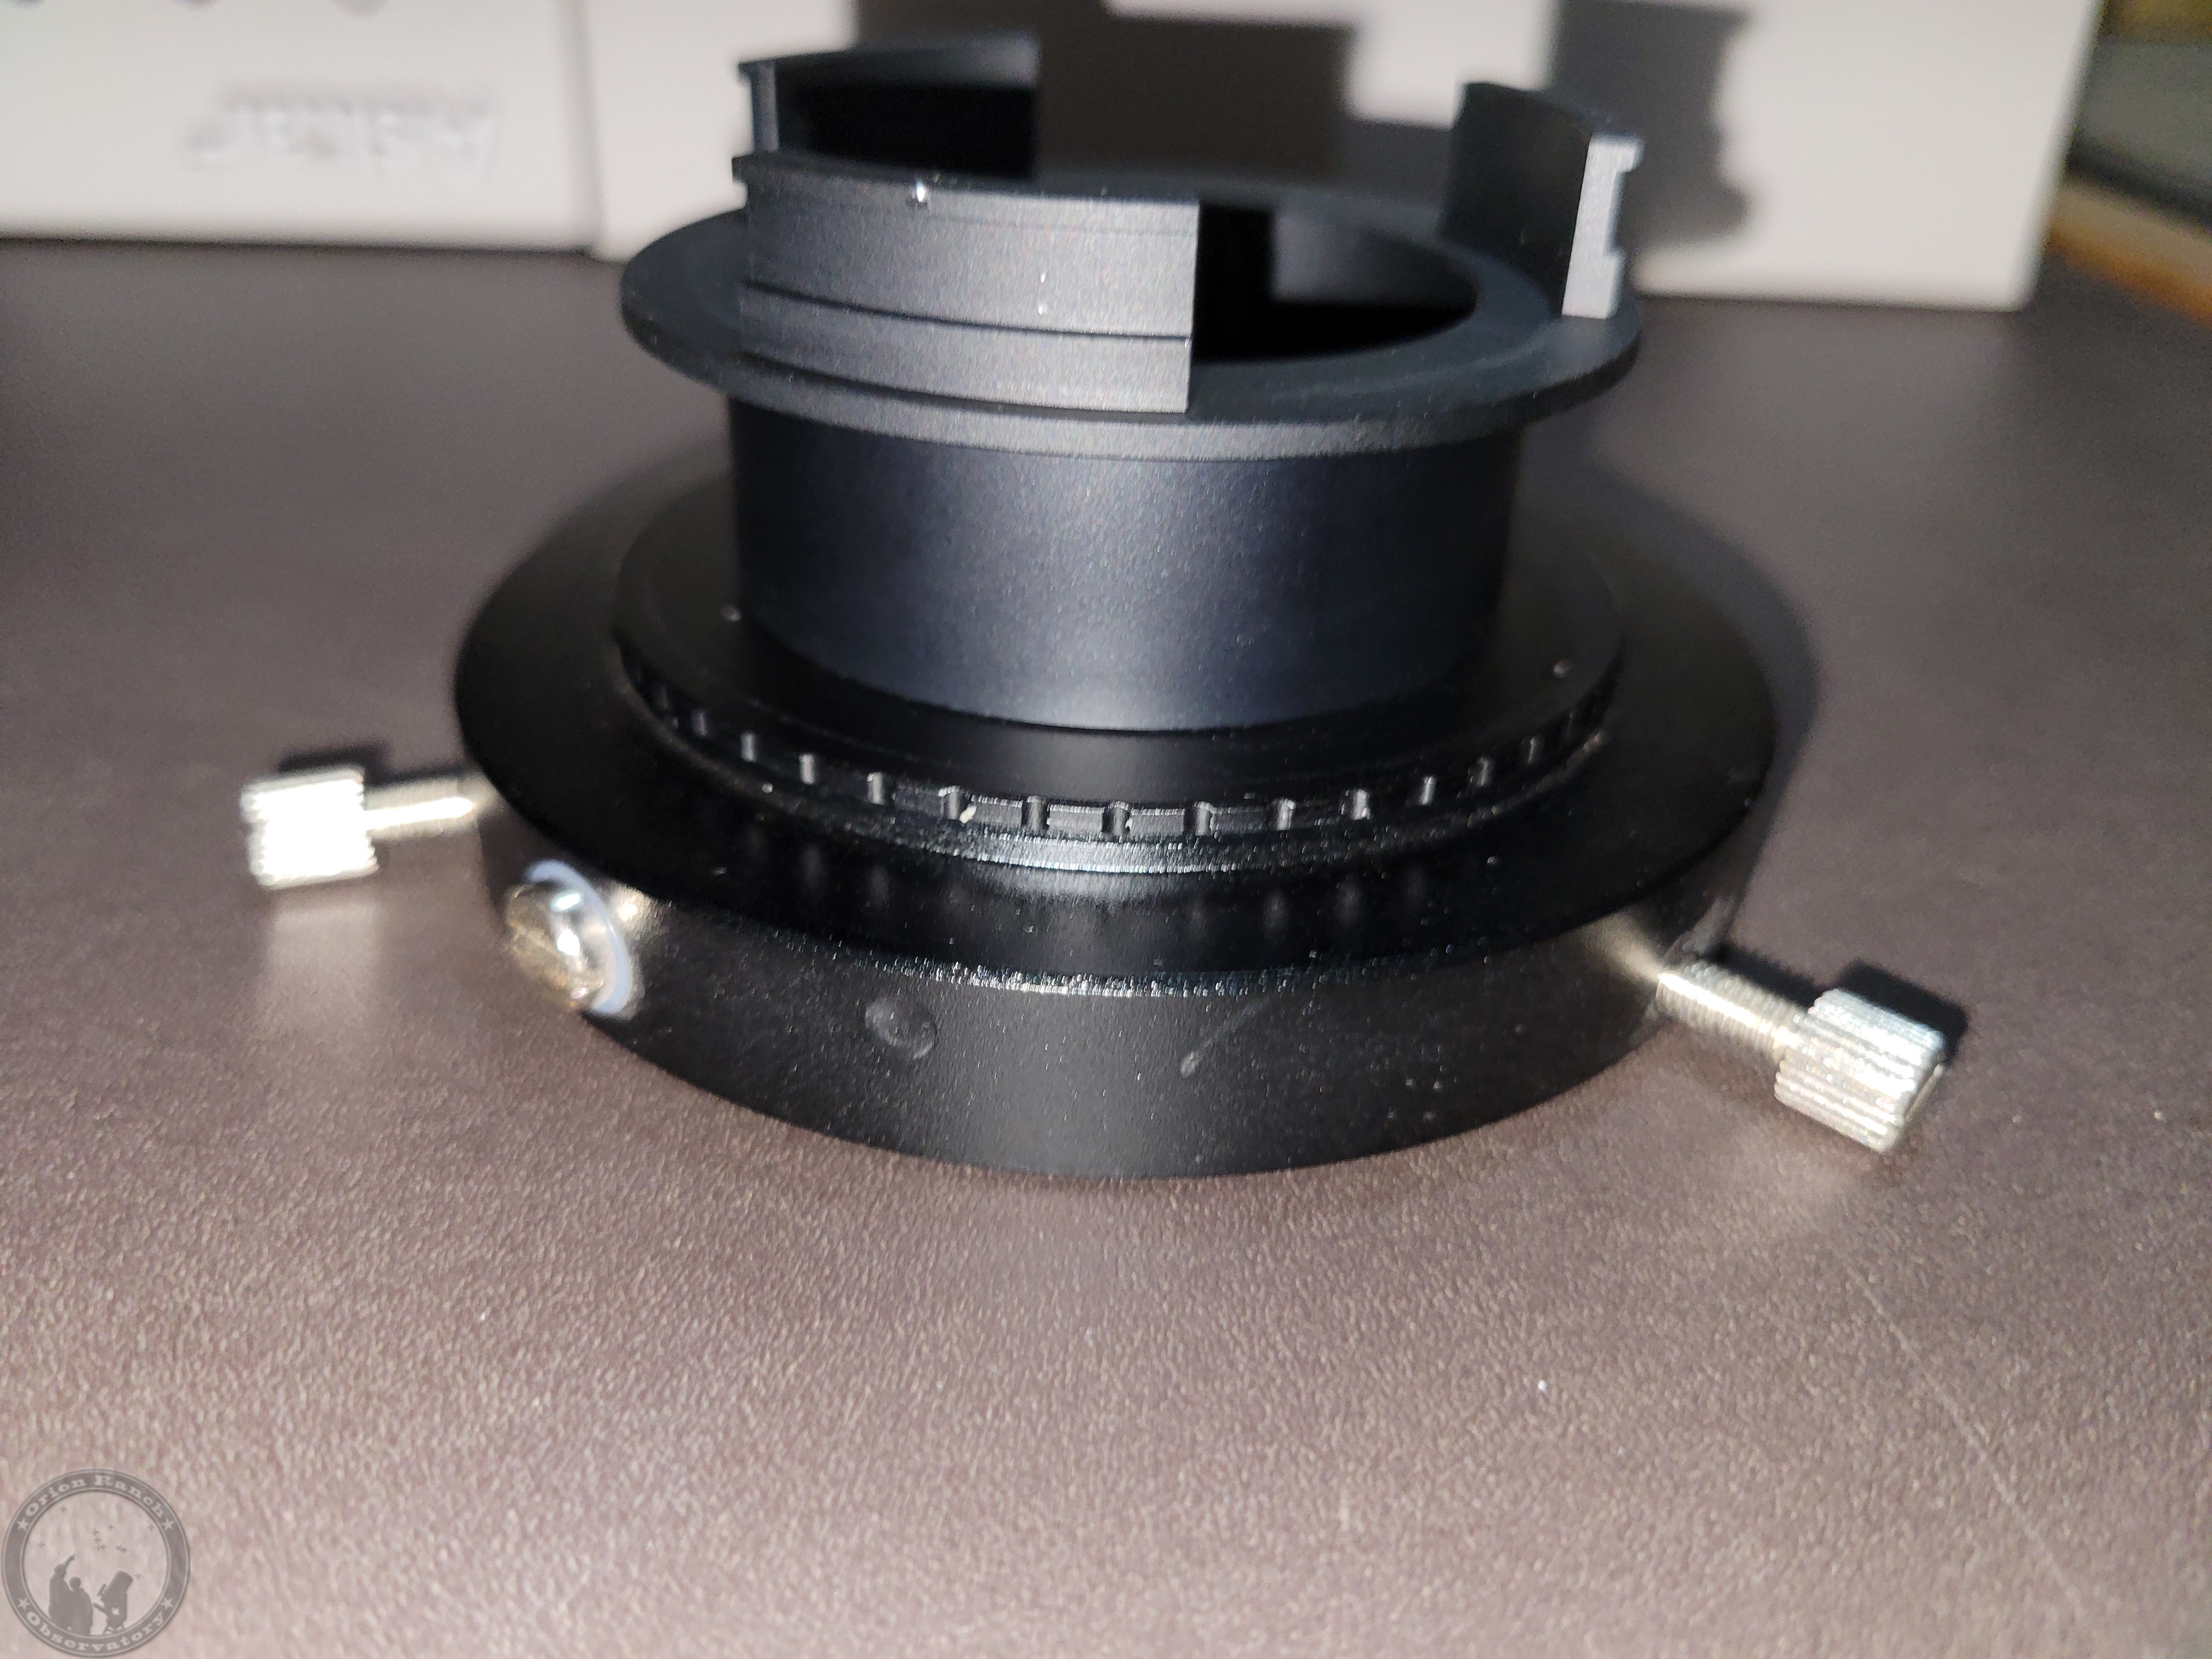
I finally had to add the camera rotation adapter which adds about 6 mm back to the camera path. Removing the protective window off the guide camera let me get it close enough to get both cameras in focus at the same time. I’m not thrilled about that, and don’t know how much moisture and dust may eventually infiltrate the guide camera, but that was the only way to get things to work. However, things worked out well and with the altered orientation, the pick-off prism no longer blocks the imaging sensor.
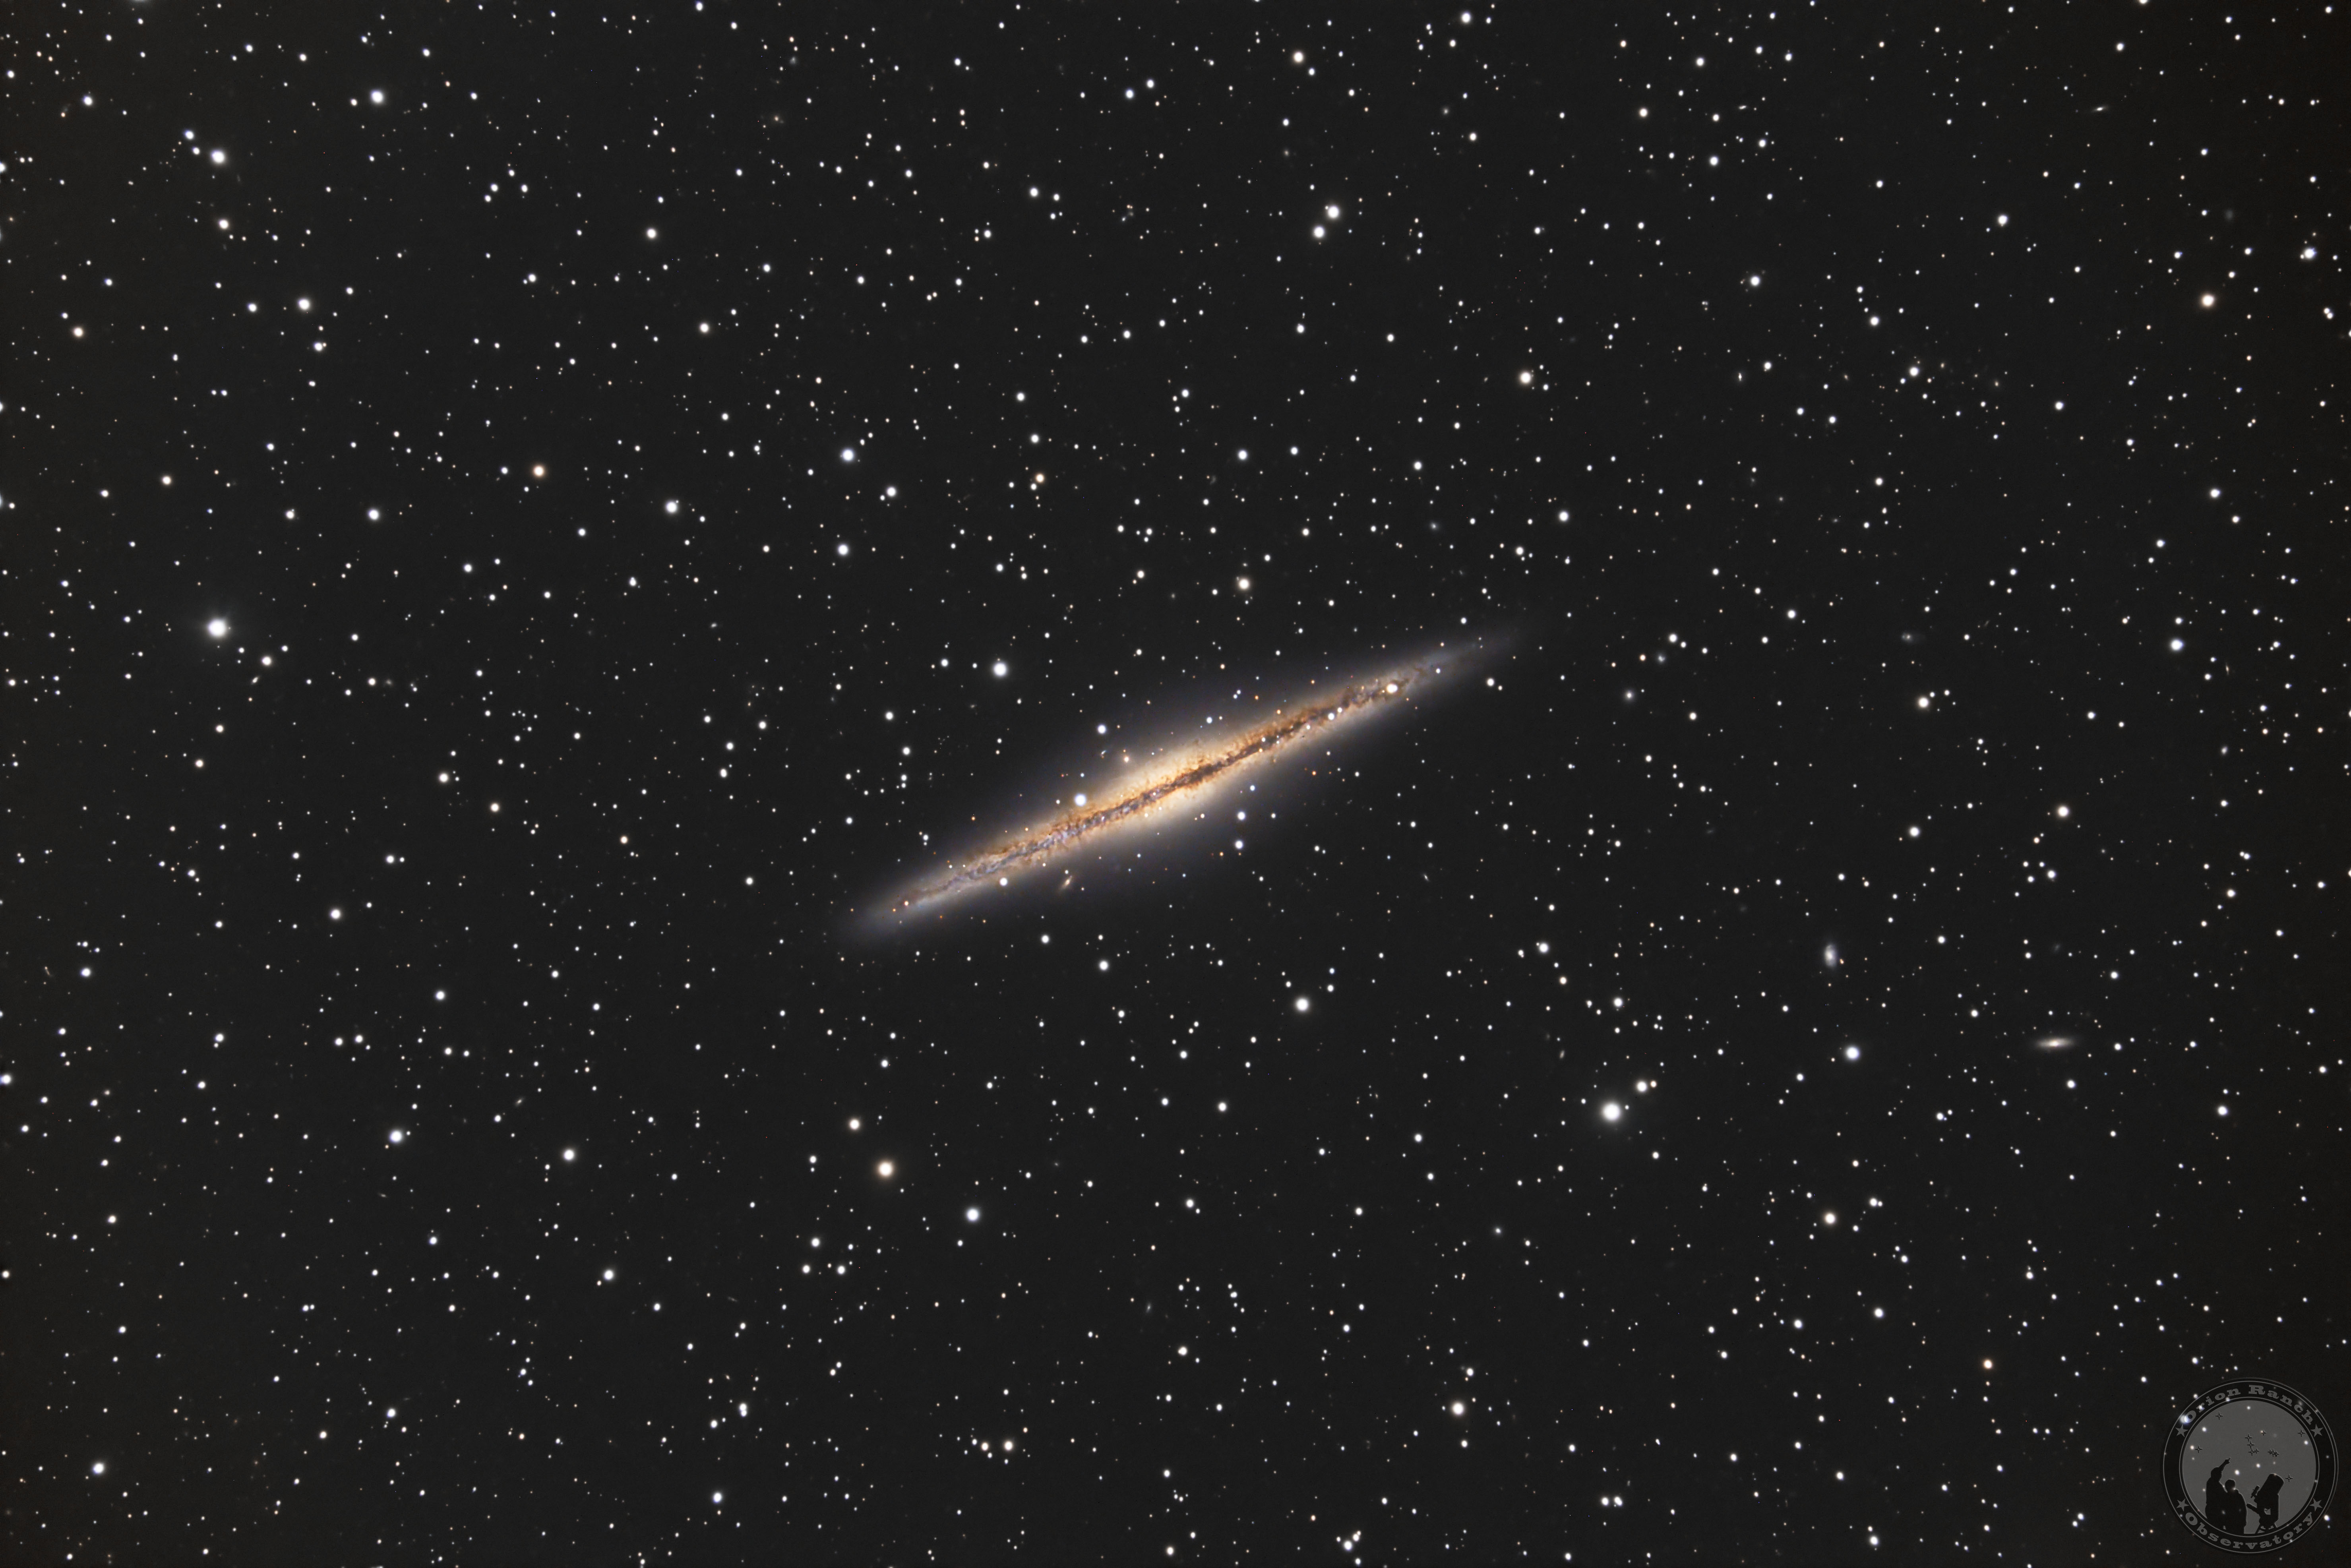
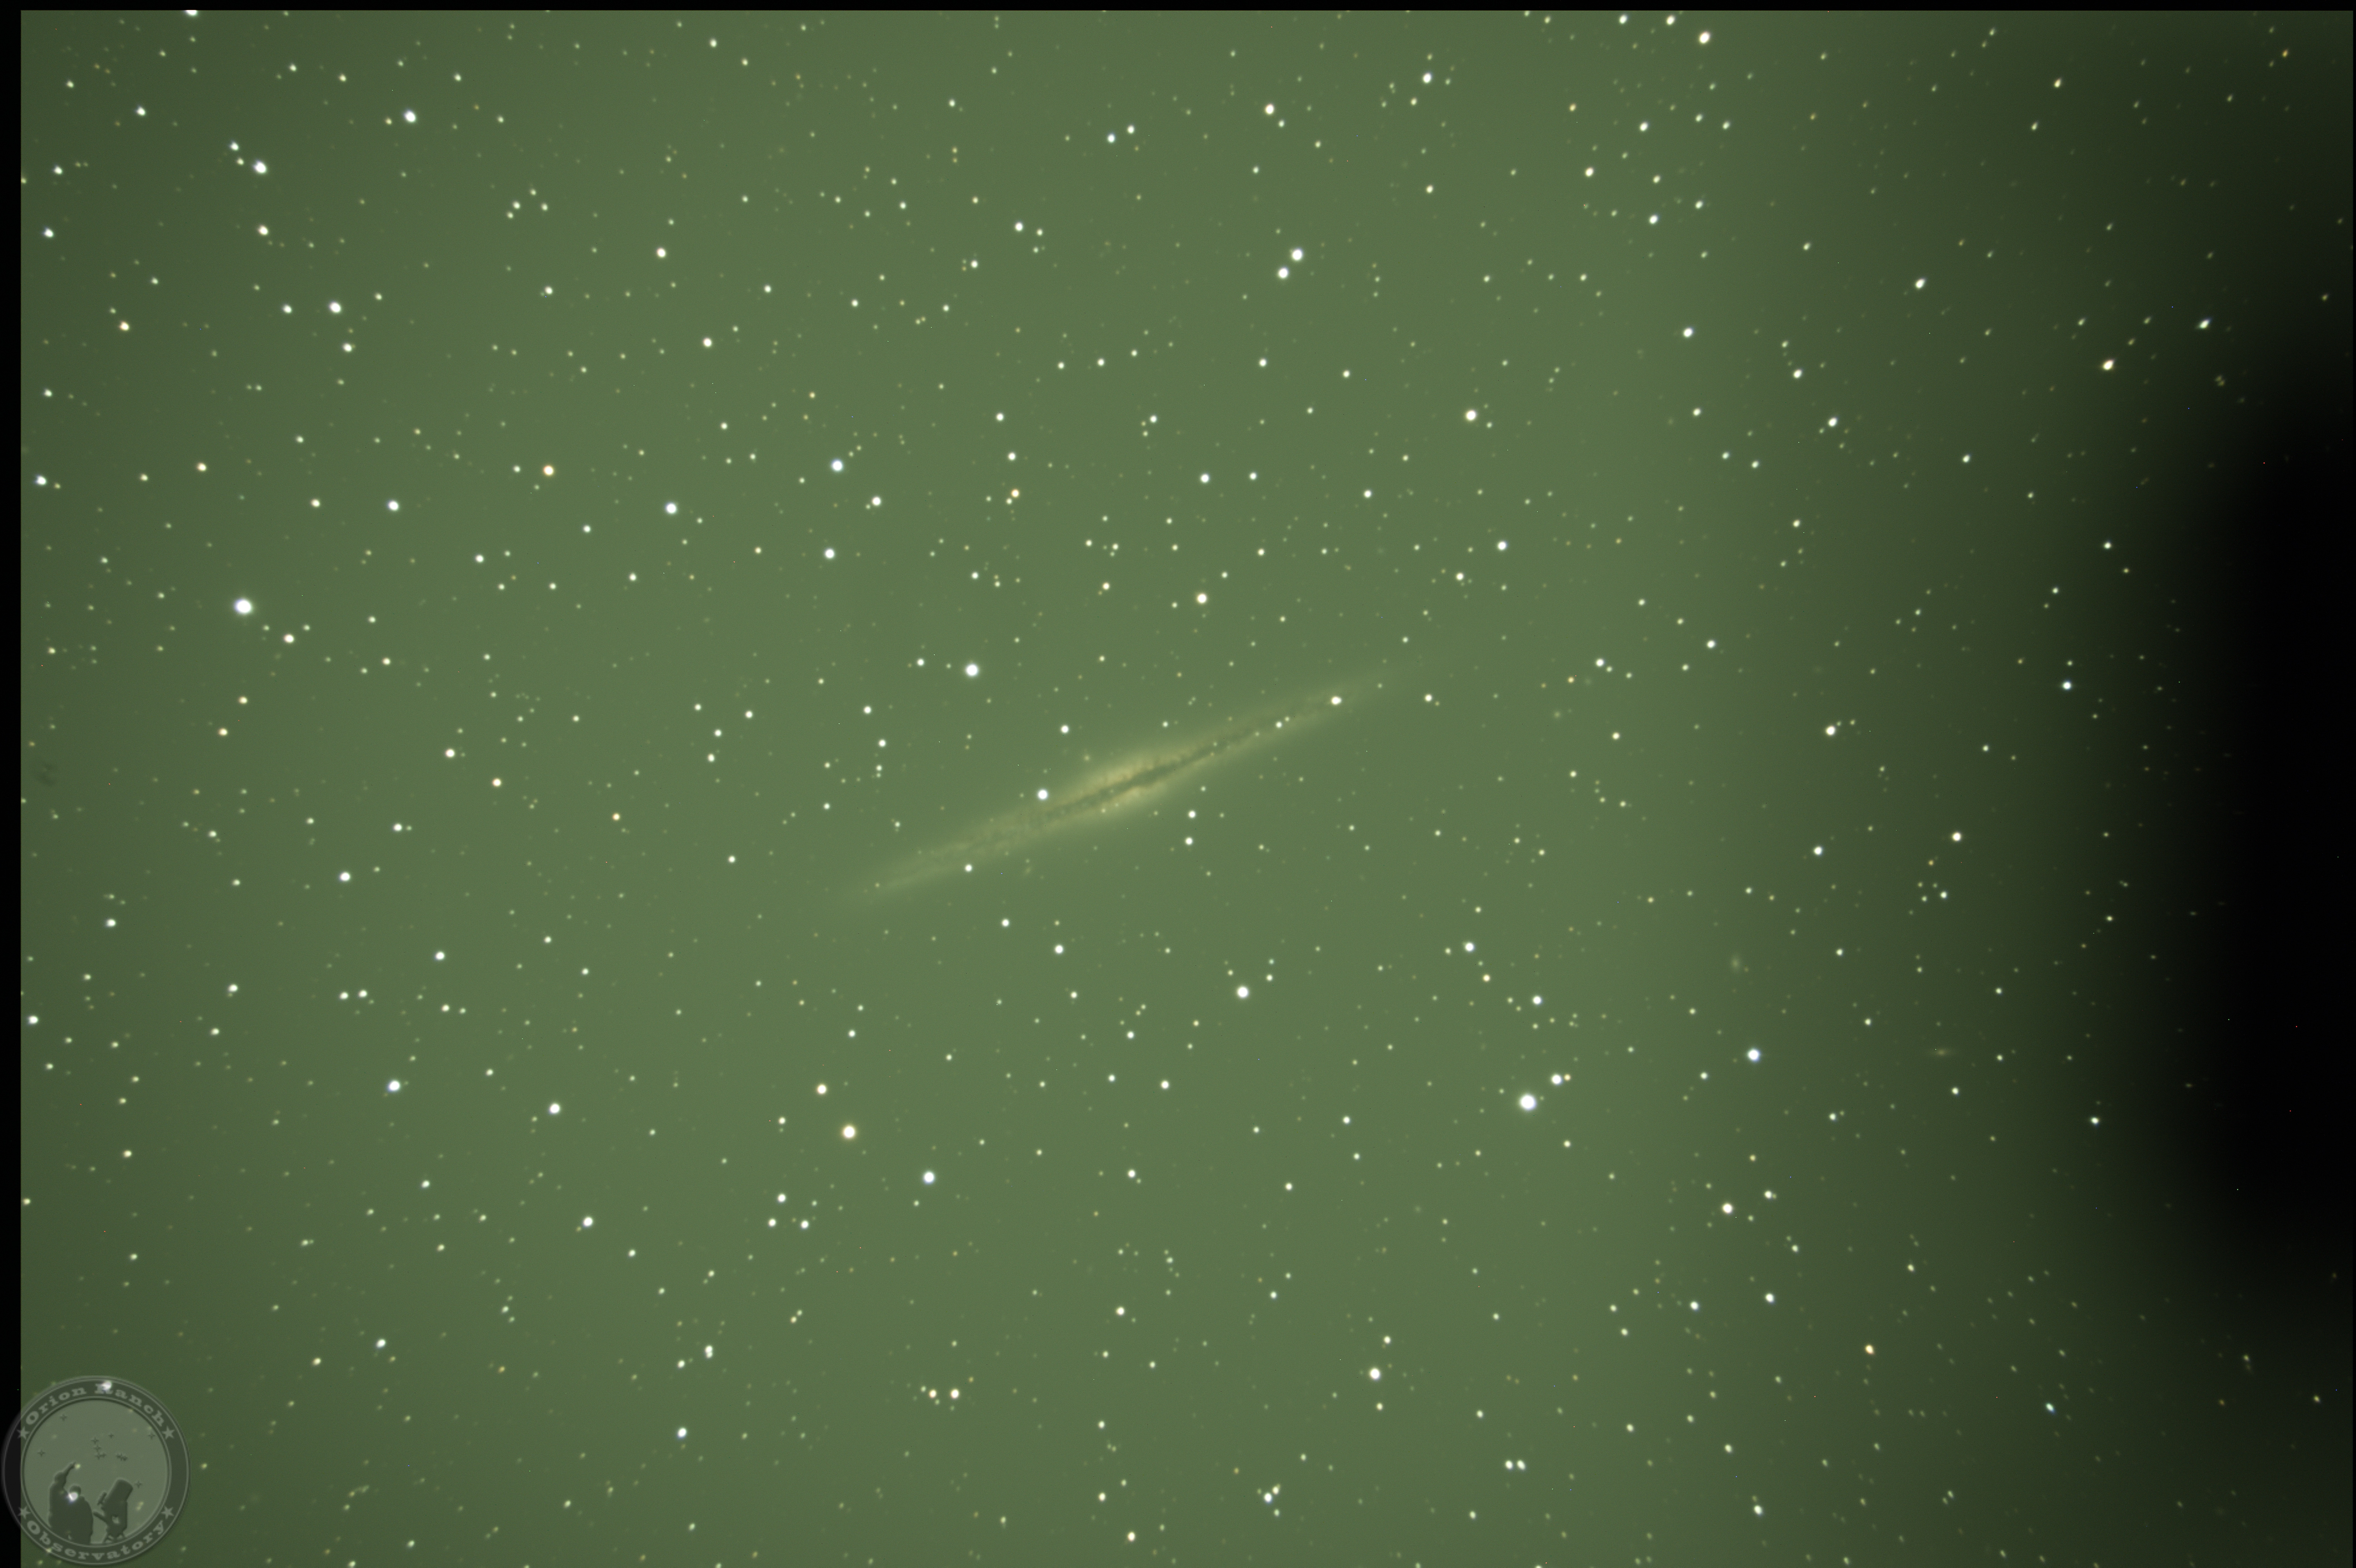
After adjusting the primary focus mirror and setting the Crayford about as short as possible while maintaining a few mm of adjustment, I get nice round stars to the edge of the field of view and tiny pinpoint stars on the guide camera. Guiding is actually so good that I’ll probably have to start dithering the images to average out the few hot and dead pixels I have on the camera. I probably need to create a new dark library to minimize those, but the results turned out pretty well. There’s still more vignetting around the widest edges of the images, probably due to narrow throat of the SCT adapter. I still want to find a 3.3″ adapter for the focuser, but I’m reluctant to invest in a much more expensive focuser to get the wider opening. Below is my finished process of NGC 891. Turned out pretty good, if I do say so myself.


 Enchanted Rock