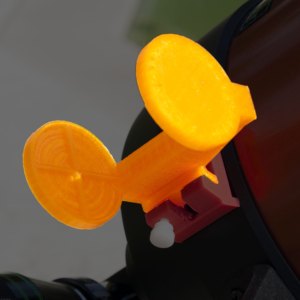
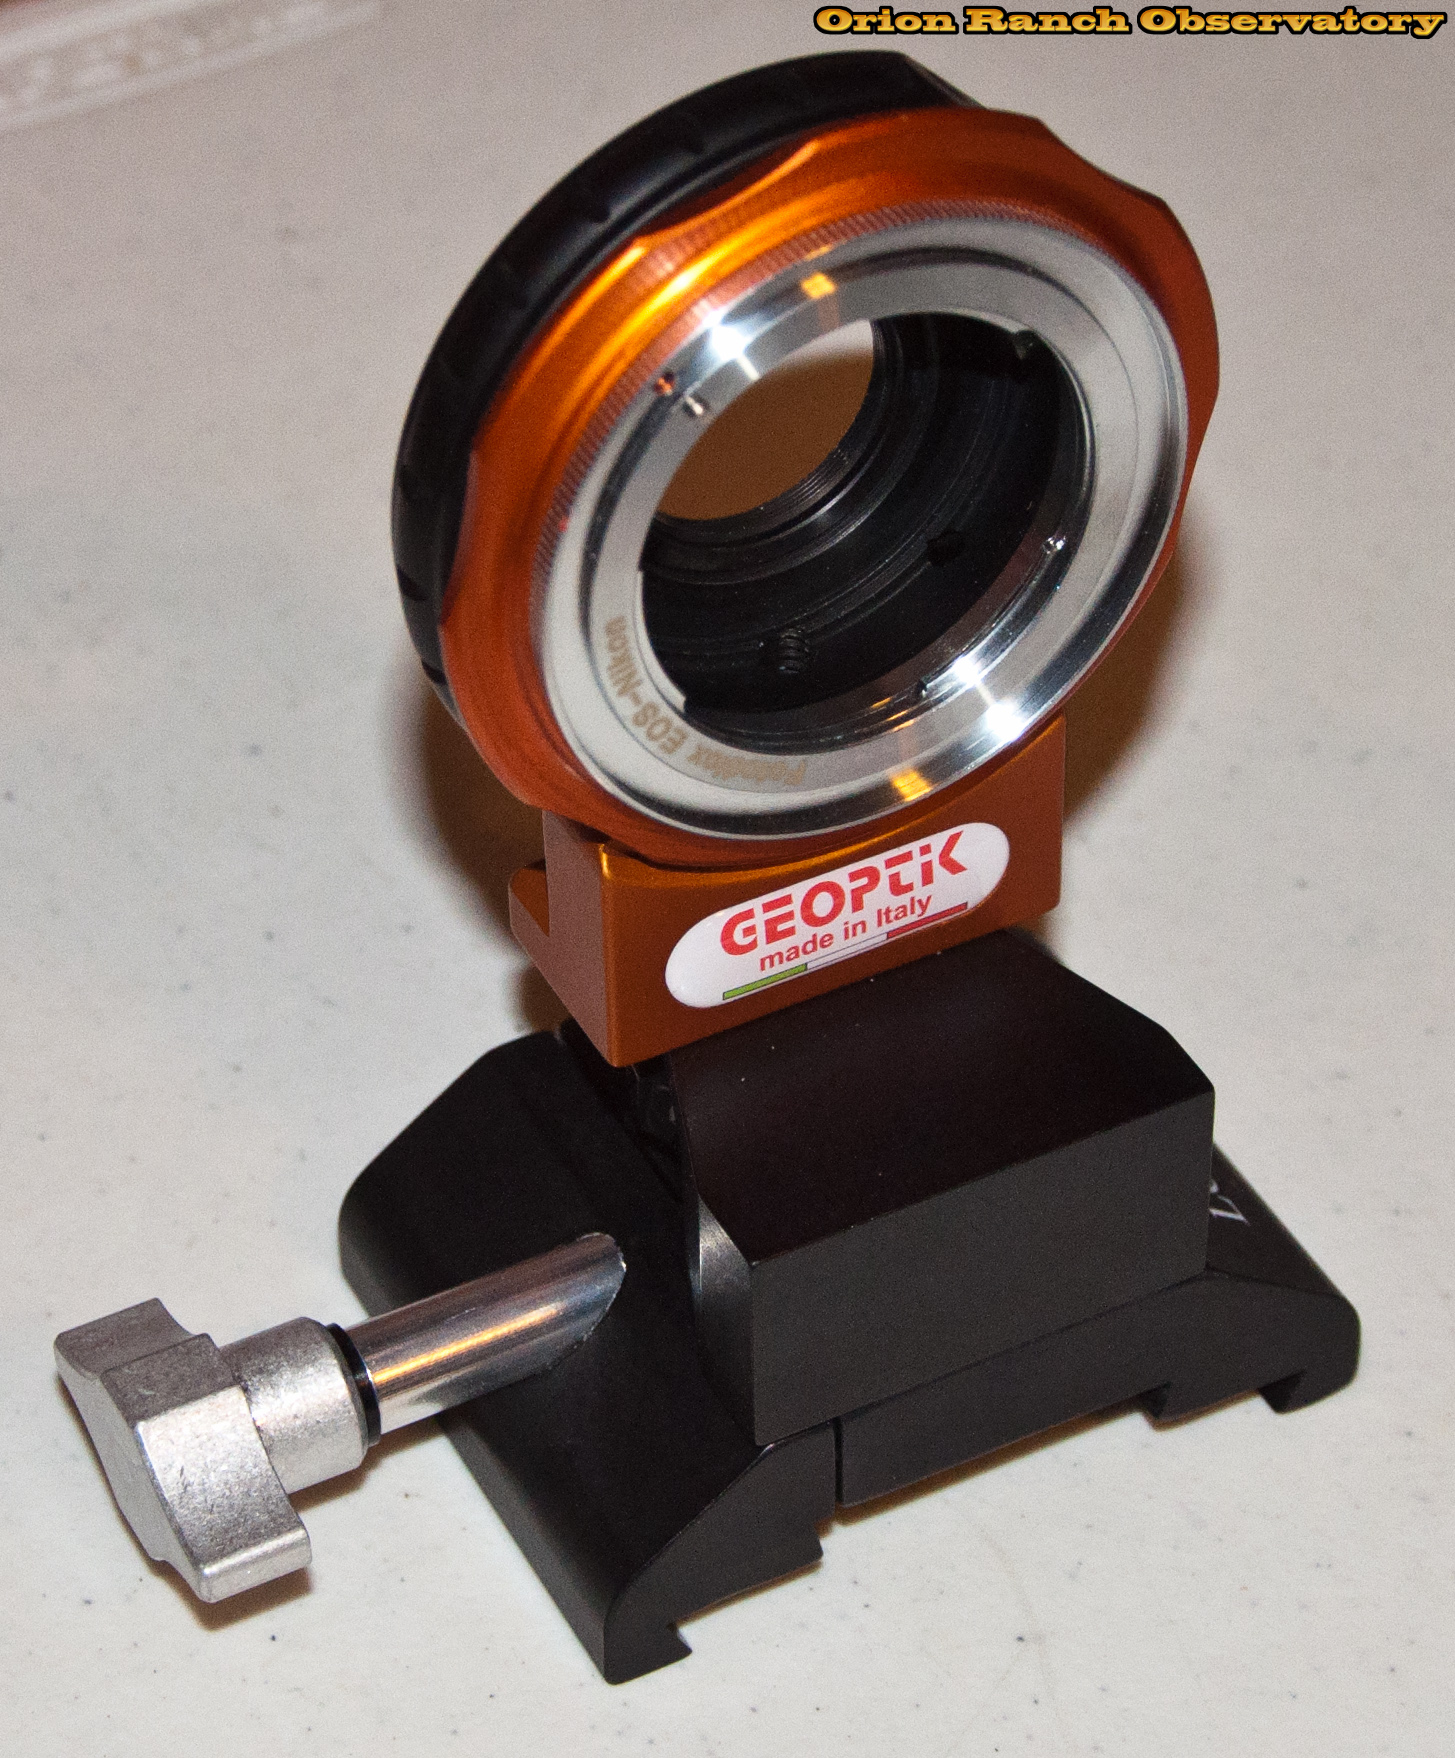
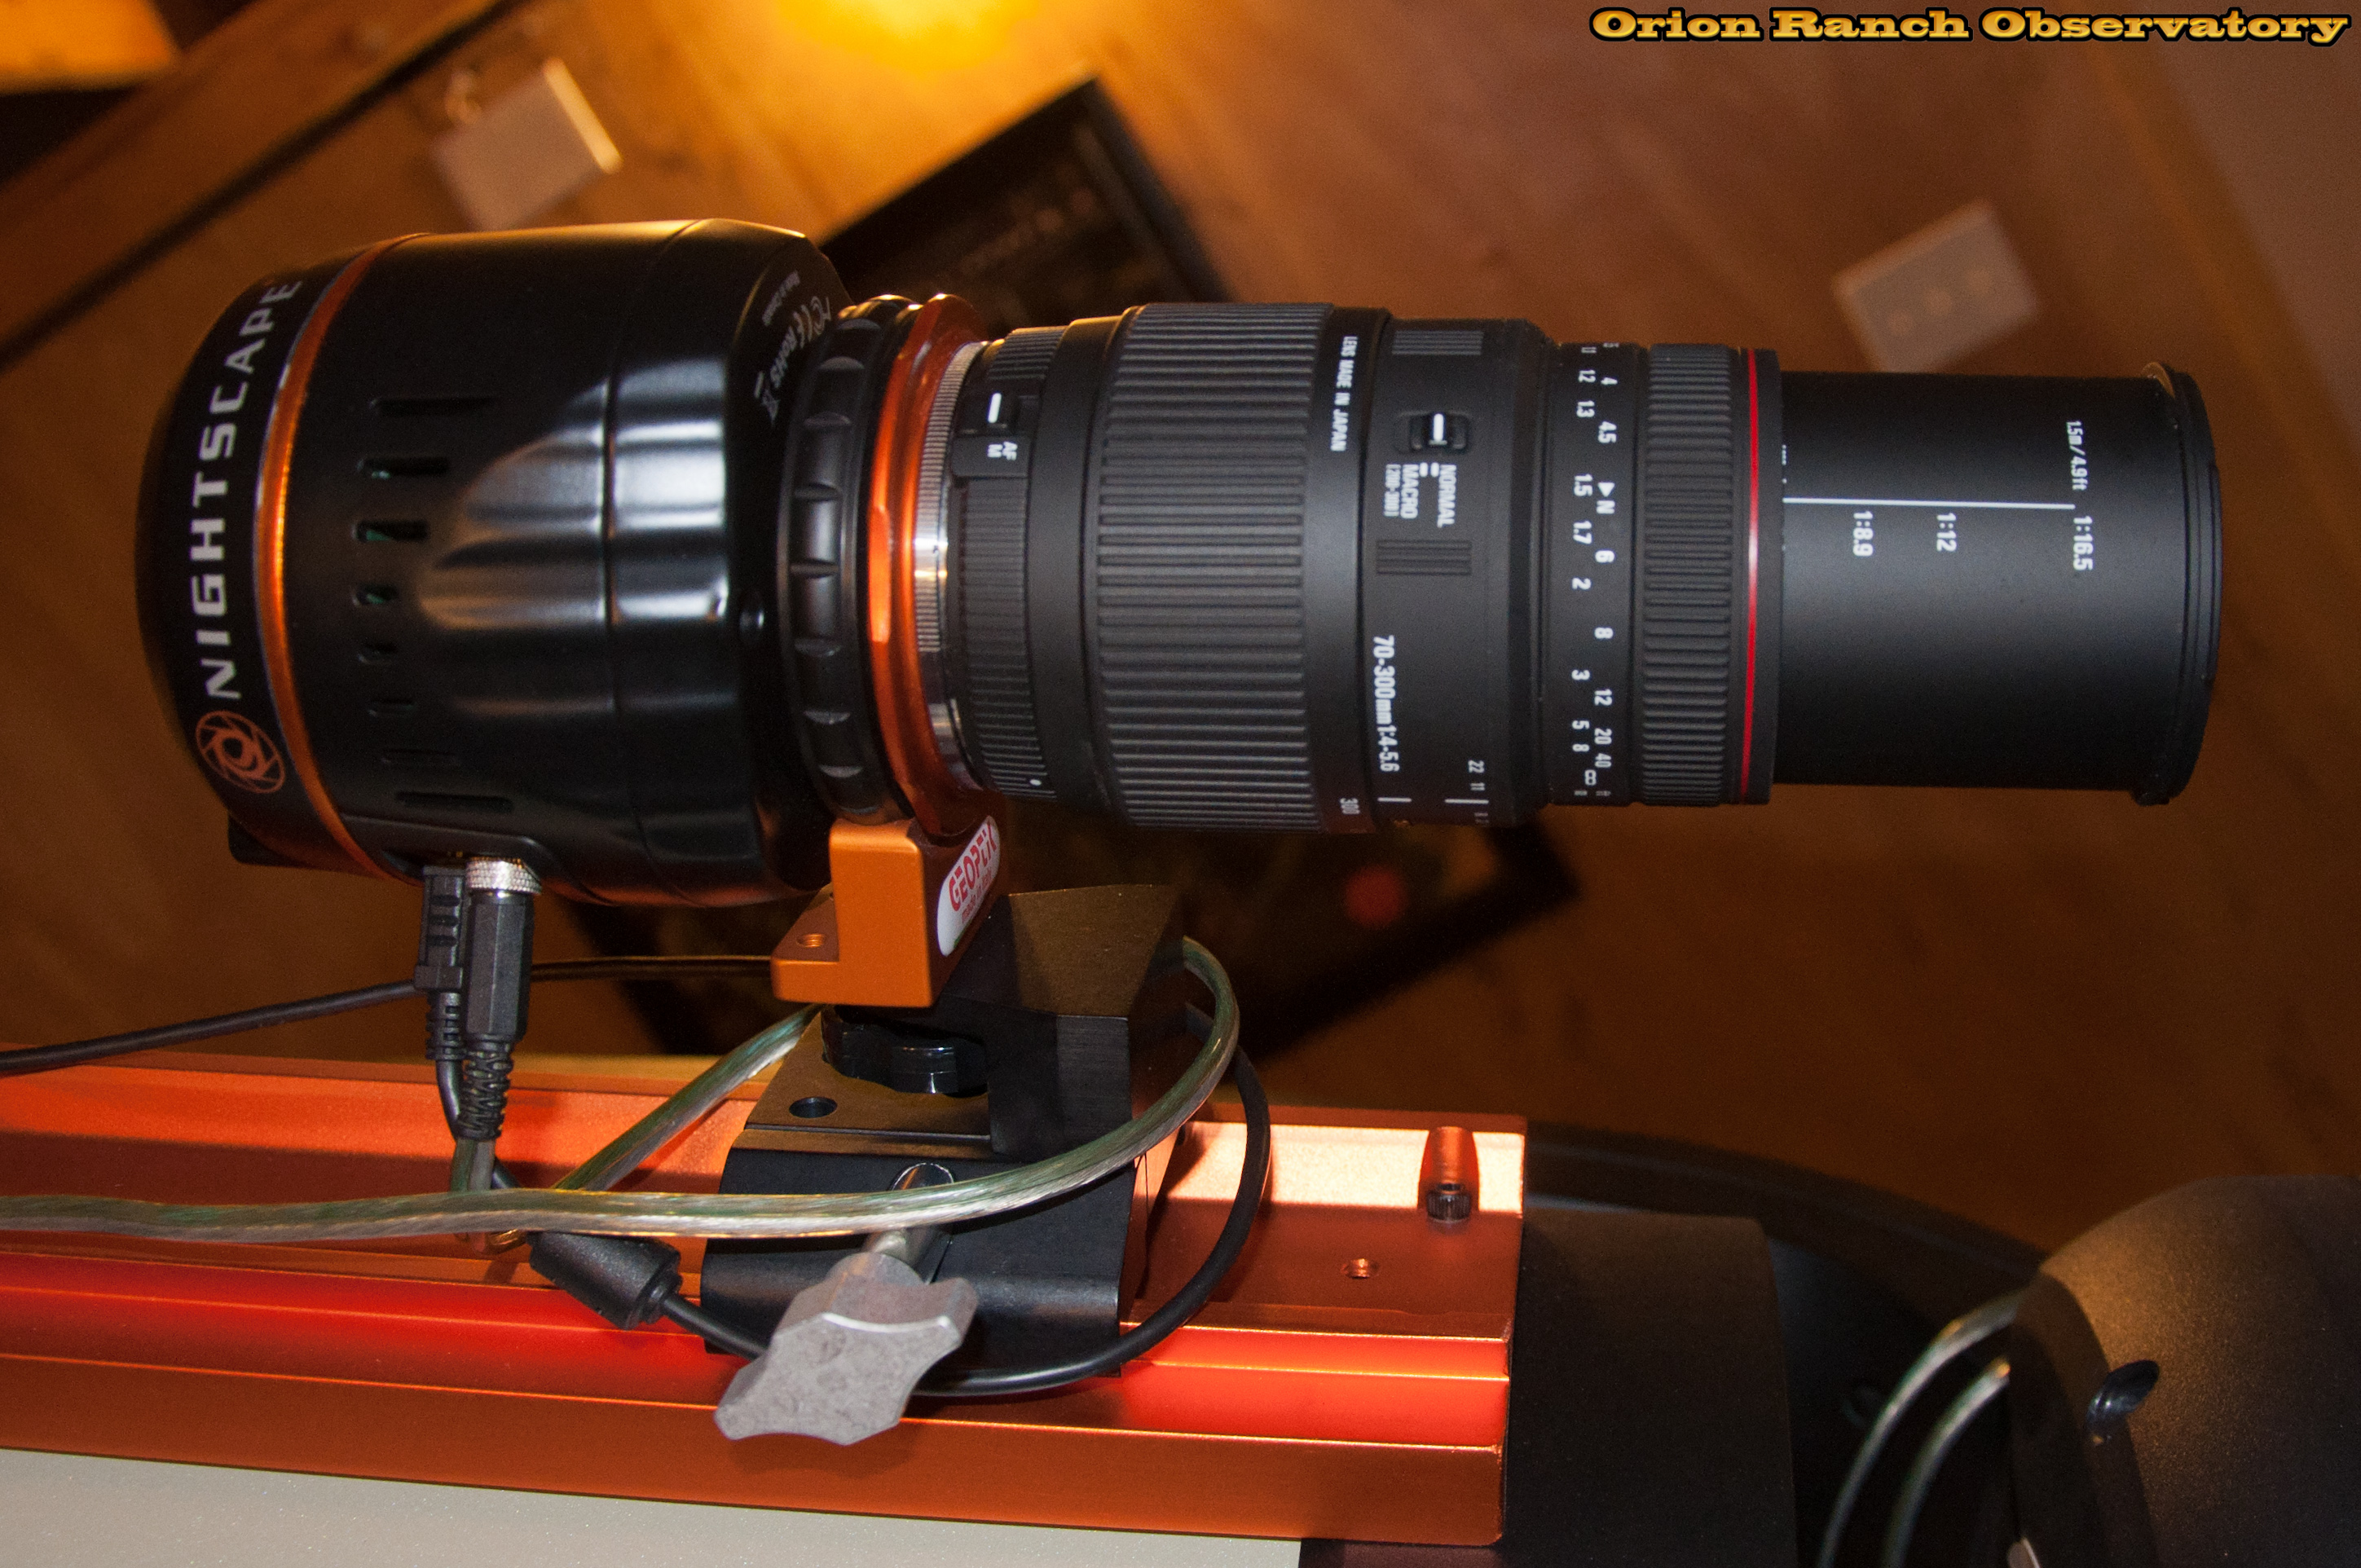
So I got my Geoptik lens adapter and Losmandy camera mount in a couple of weeks ago. We’ve been under cloudy skies pretty much constantly, so I haven’t had much opportunity to put this to use, but I’ve post some pictures of the setup. It looks pretty nice, and the orange anodizing should go well with my Celestron gear, although the Edge HD doesn’t have much orange, other than the Losmandy rail itself. It’s amusing that there aren’t really any instructions with the adapter, just labeled pictures and a bunch of material safety stuff in Italian! Initially I was worried that the Canon flange didn’t lock tightly like it does on the camera, but that’s the purpose of the orange flange. It’s a big lock nut that you screw down to hold the lens in place. The silver ring on the front is the Nikon to Canon adapter I’d bought to use my Nikon lenses on my modded 450D. I never got around to doing that, and now that I managed to brick the camera working on a cold finger mod, this is Plan B. The Geoptik also comes with a threaded insert in the throat of the T adapter (that I’ll remove) to hold a 1.25″ filter, and the Canon version is also internally threaded for a 2″ filter. I didn’t see that information before ordering, but turns out to be a bit of a bonus since all OPT had was the Canon and I’ll likely only be using my Nikon lenses!
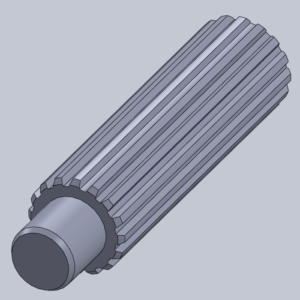
The Losmandy adapter looks pretty nice too. I normally go with ADM for these types of mounts, but the Losmandy was the same price with the dual V/L clamp, and looked a bit nicer with the rounded edges, etc.
As usual, follow the links to the gallery for more pictures.

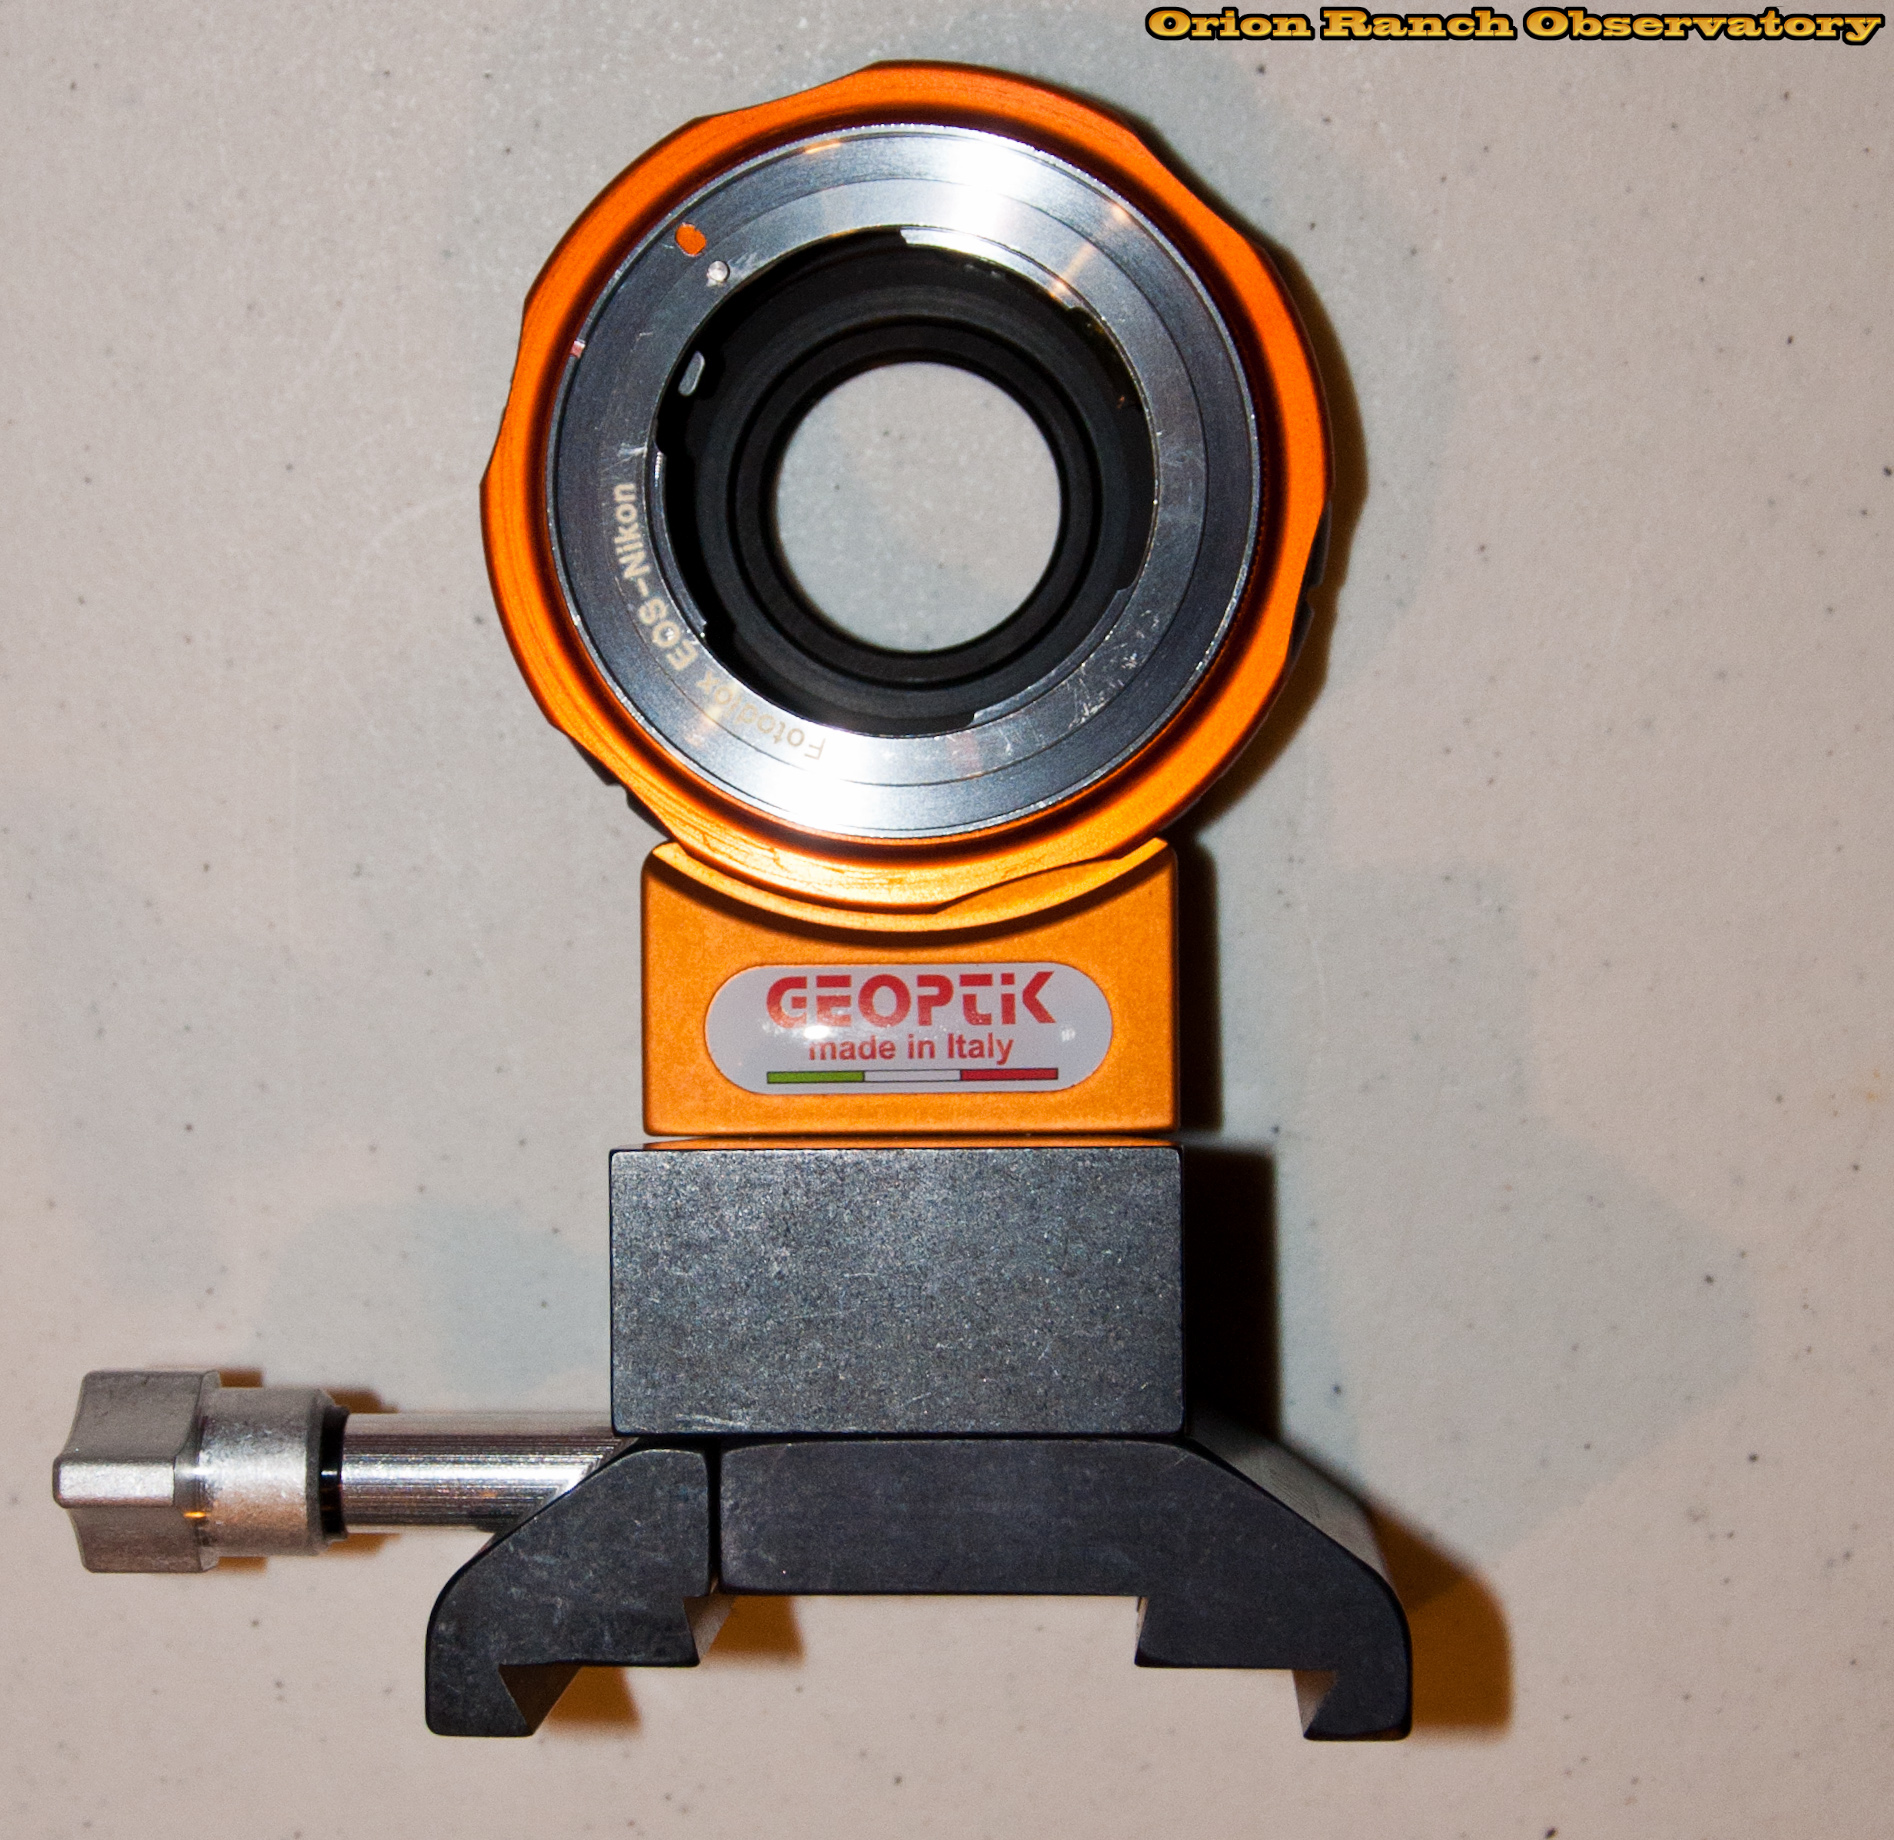
Note the 1.25″ filter insert. The flat is for an optional guide/finder scope mount.

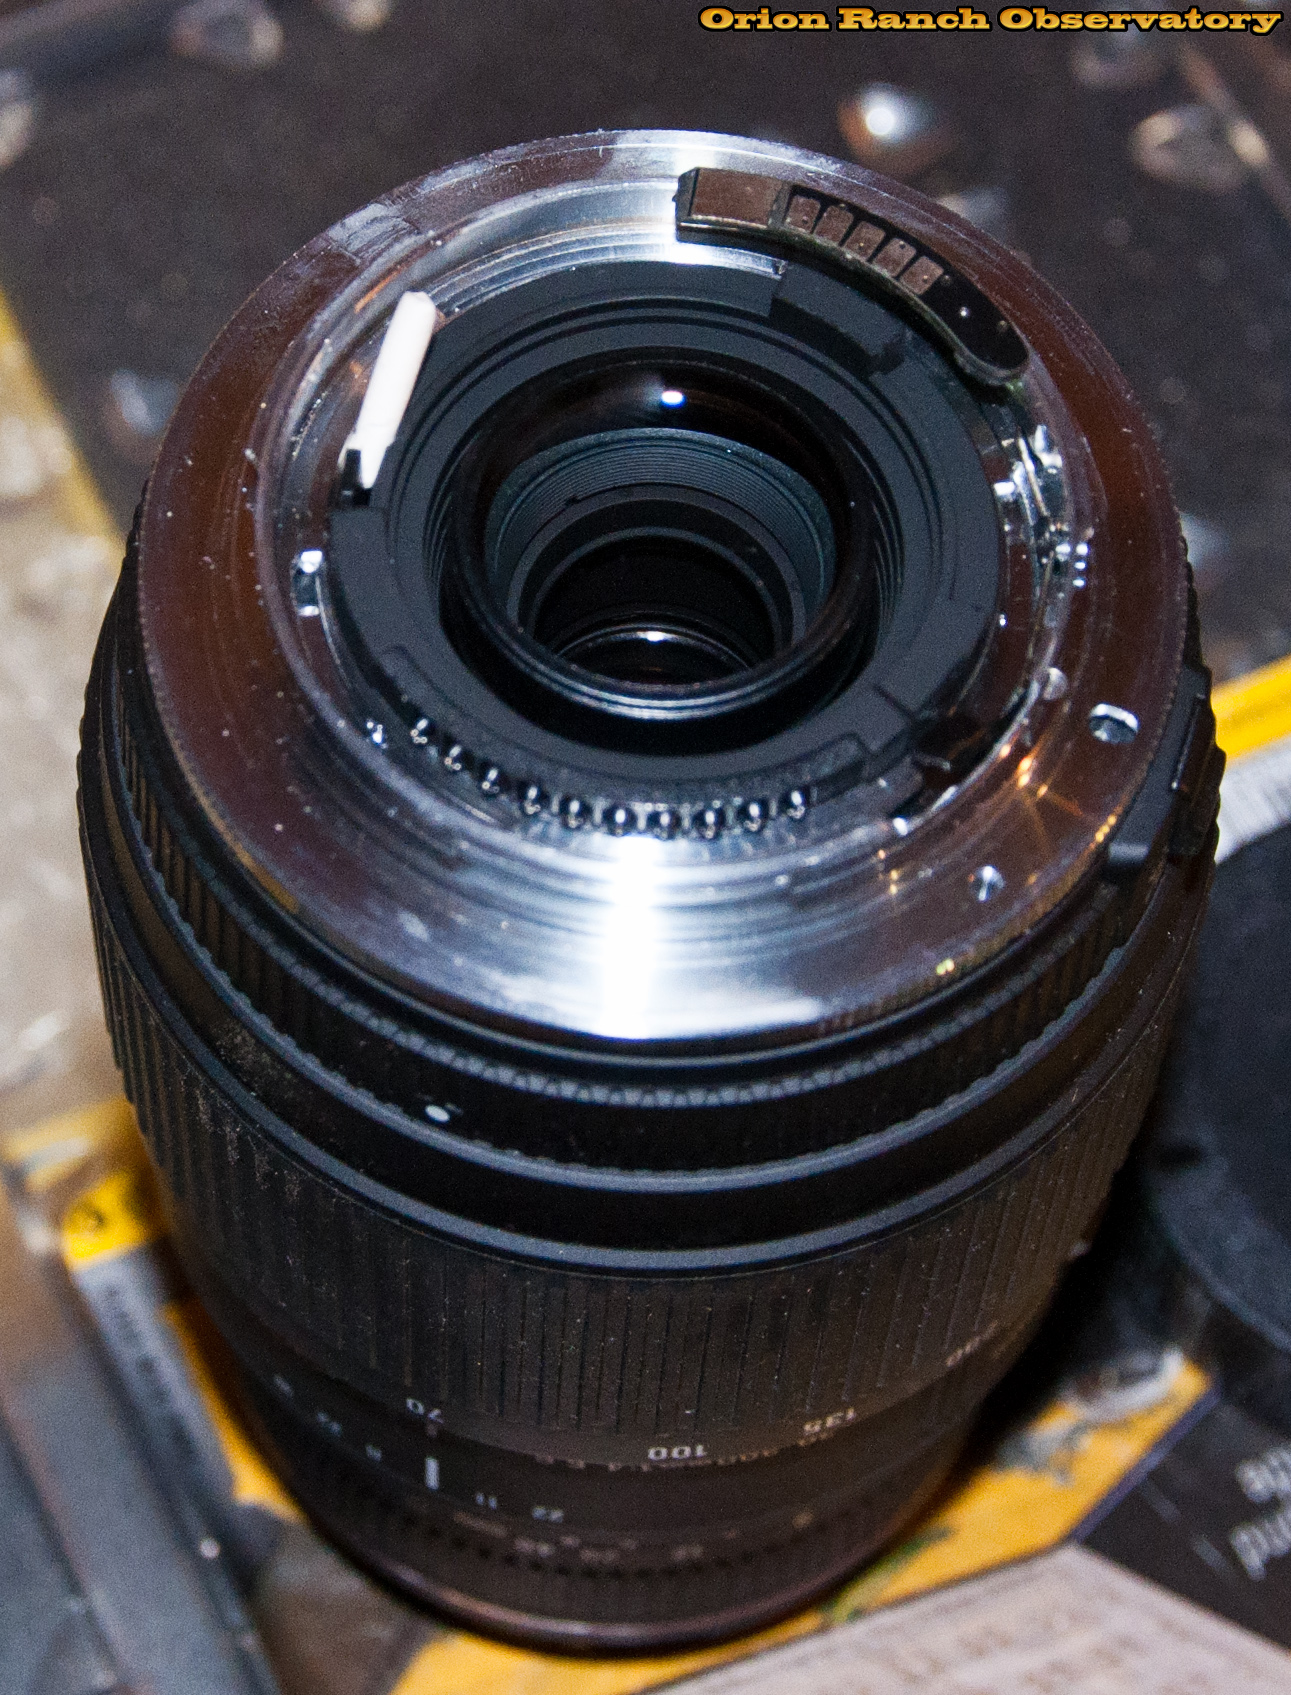
Here’s a shot down the throat with the adapters removed. If you look in the throat of the T-ring, you’ll see a threaded section for the 1.25″ adapter, as well as what appears to be a thread or two at a transition right before the screw holes for mounting the base. I’m assuming that’s the 2″ filter thread that the documentation referred to.


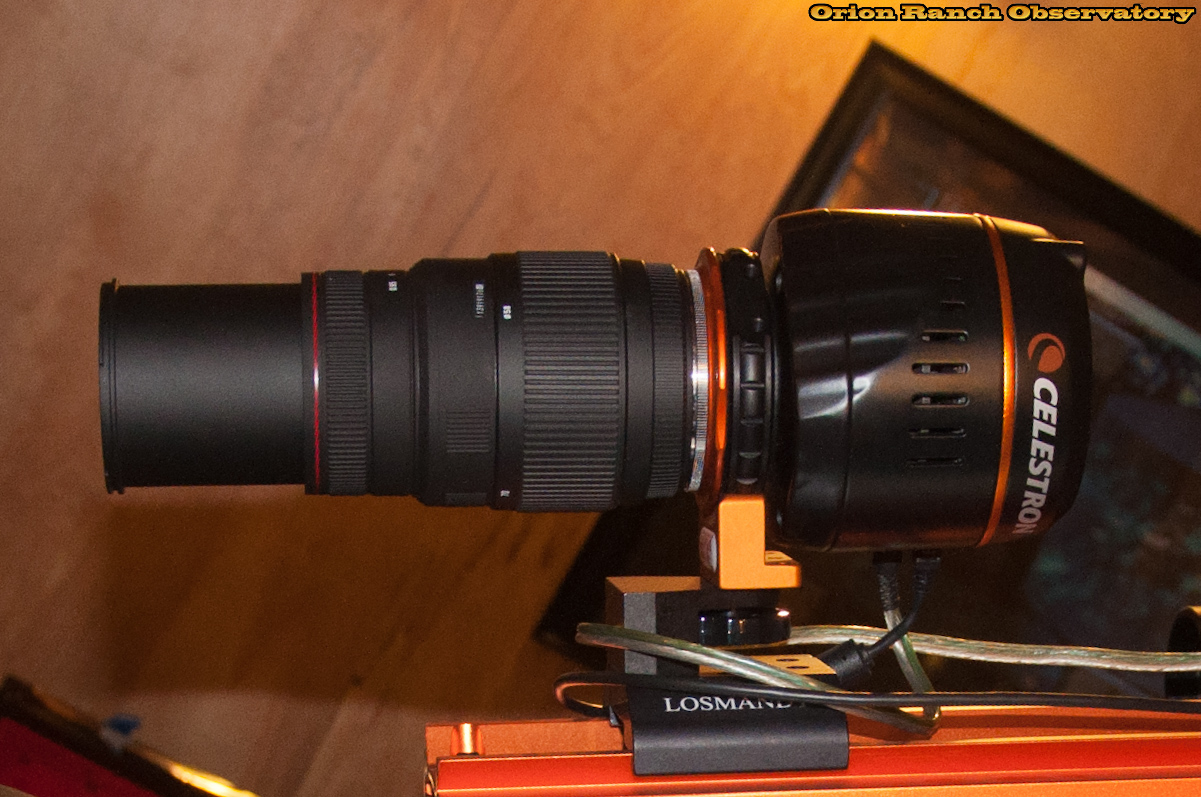
Here are a few pictures of my setup with the Celestron Nightscape and my Sigma 70-300 mm Nikon mount lens attached to the adapters. Here’s at 70 mm.
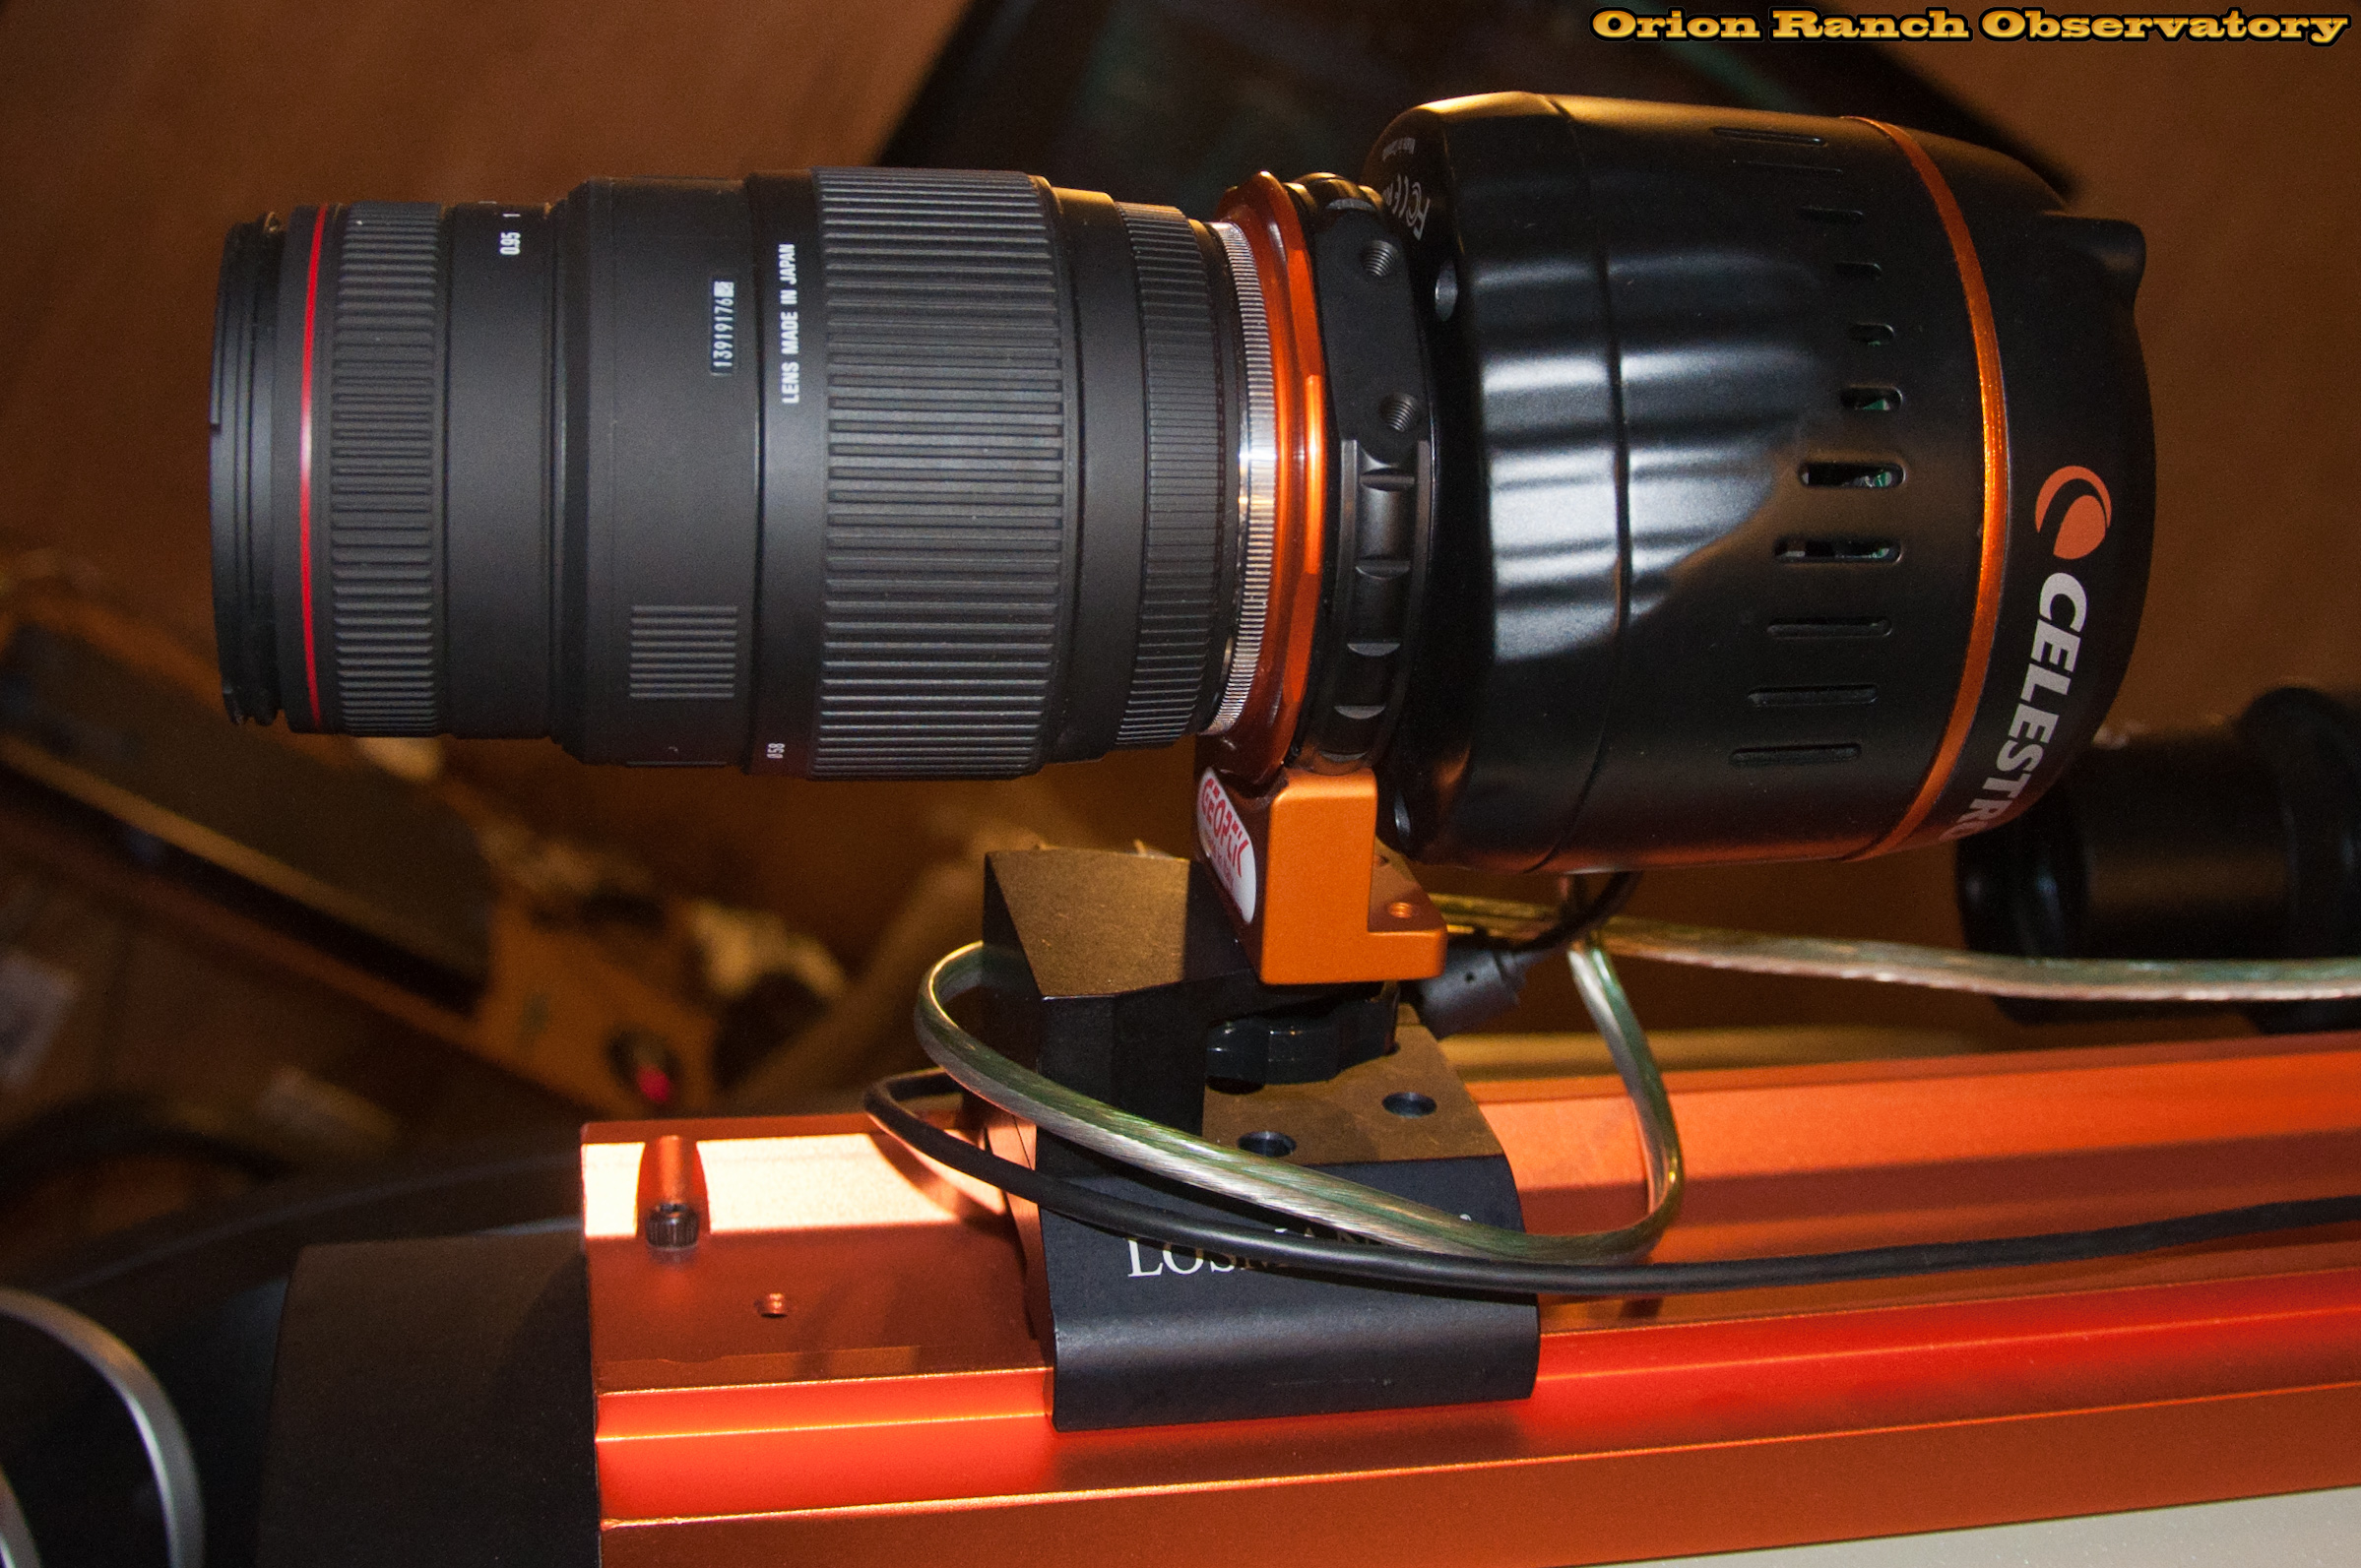
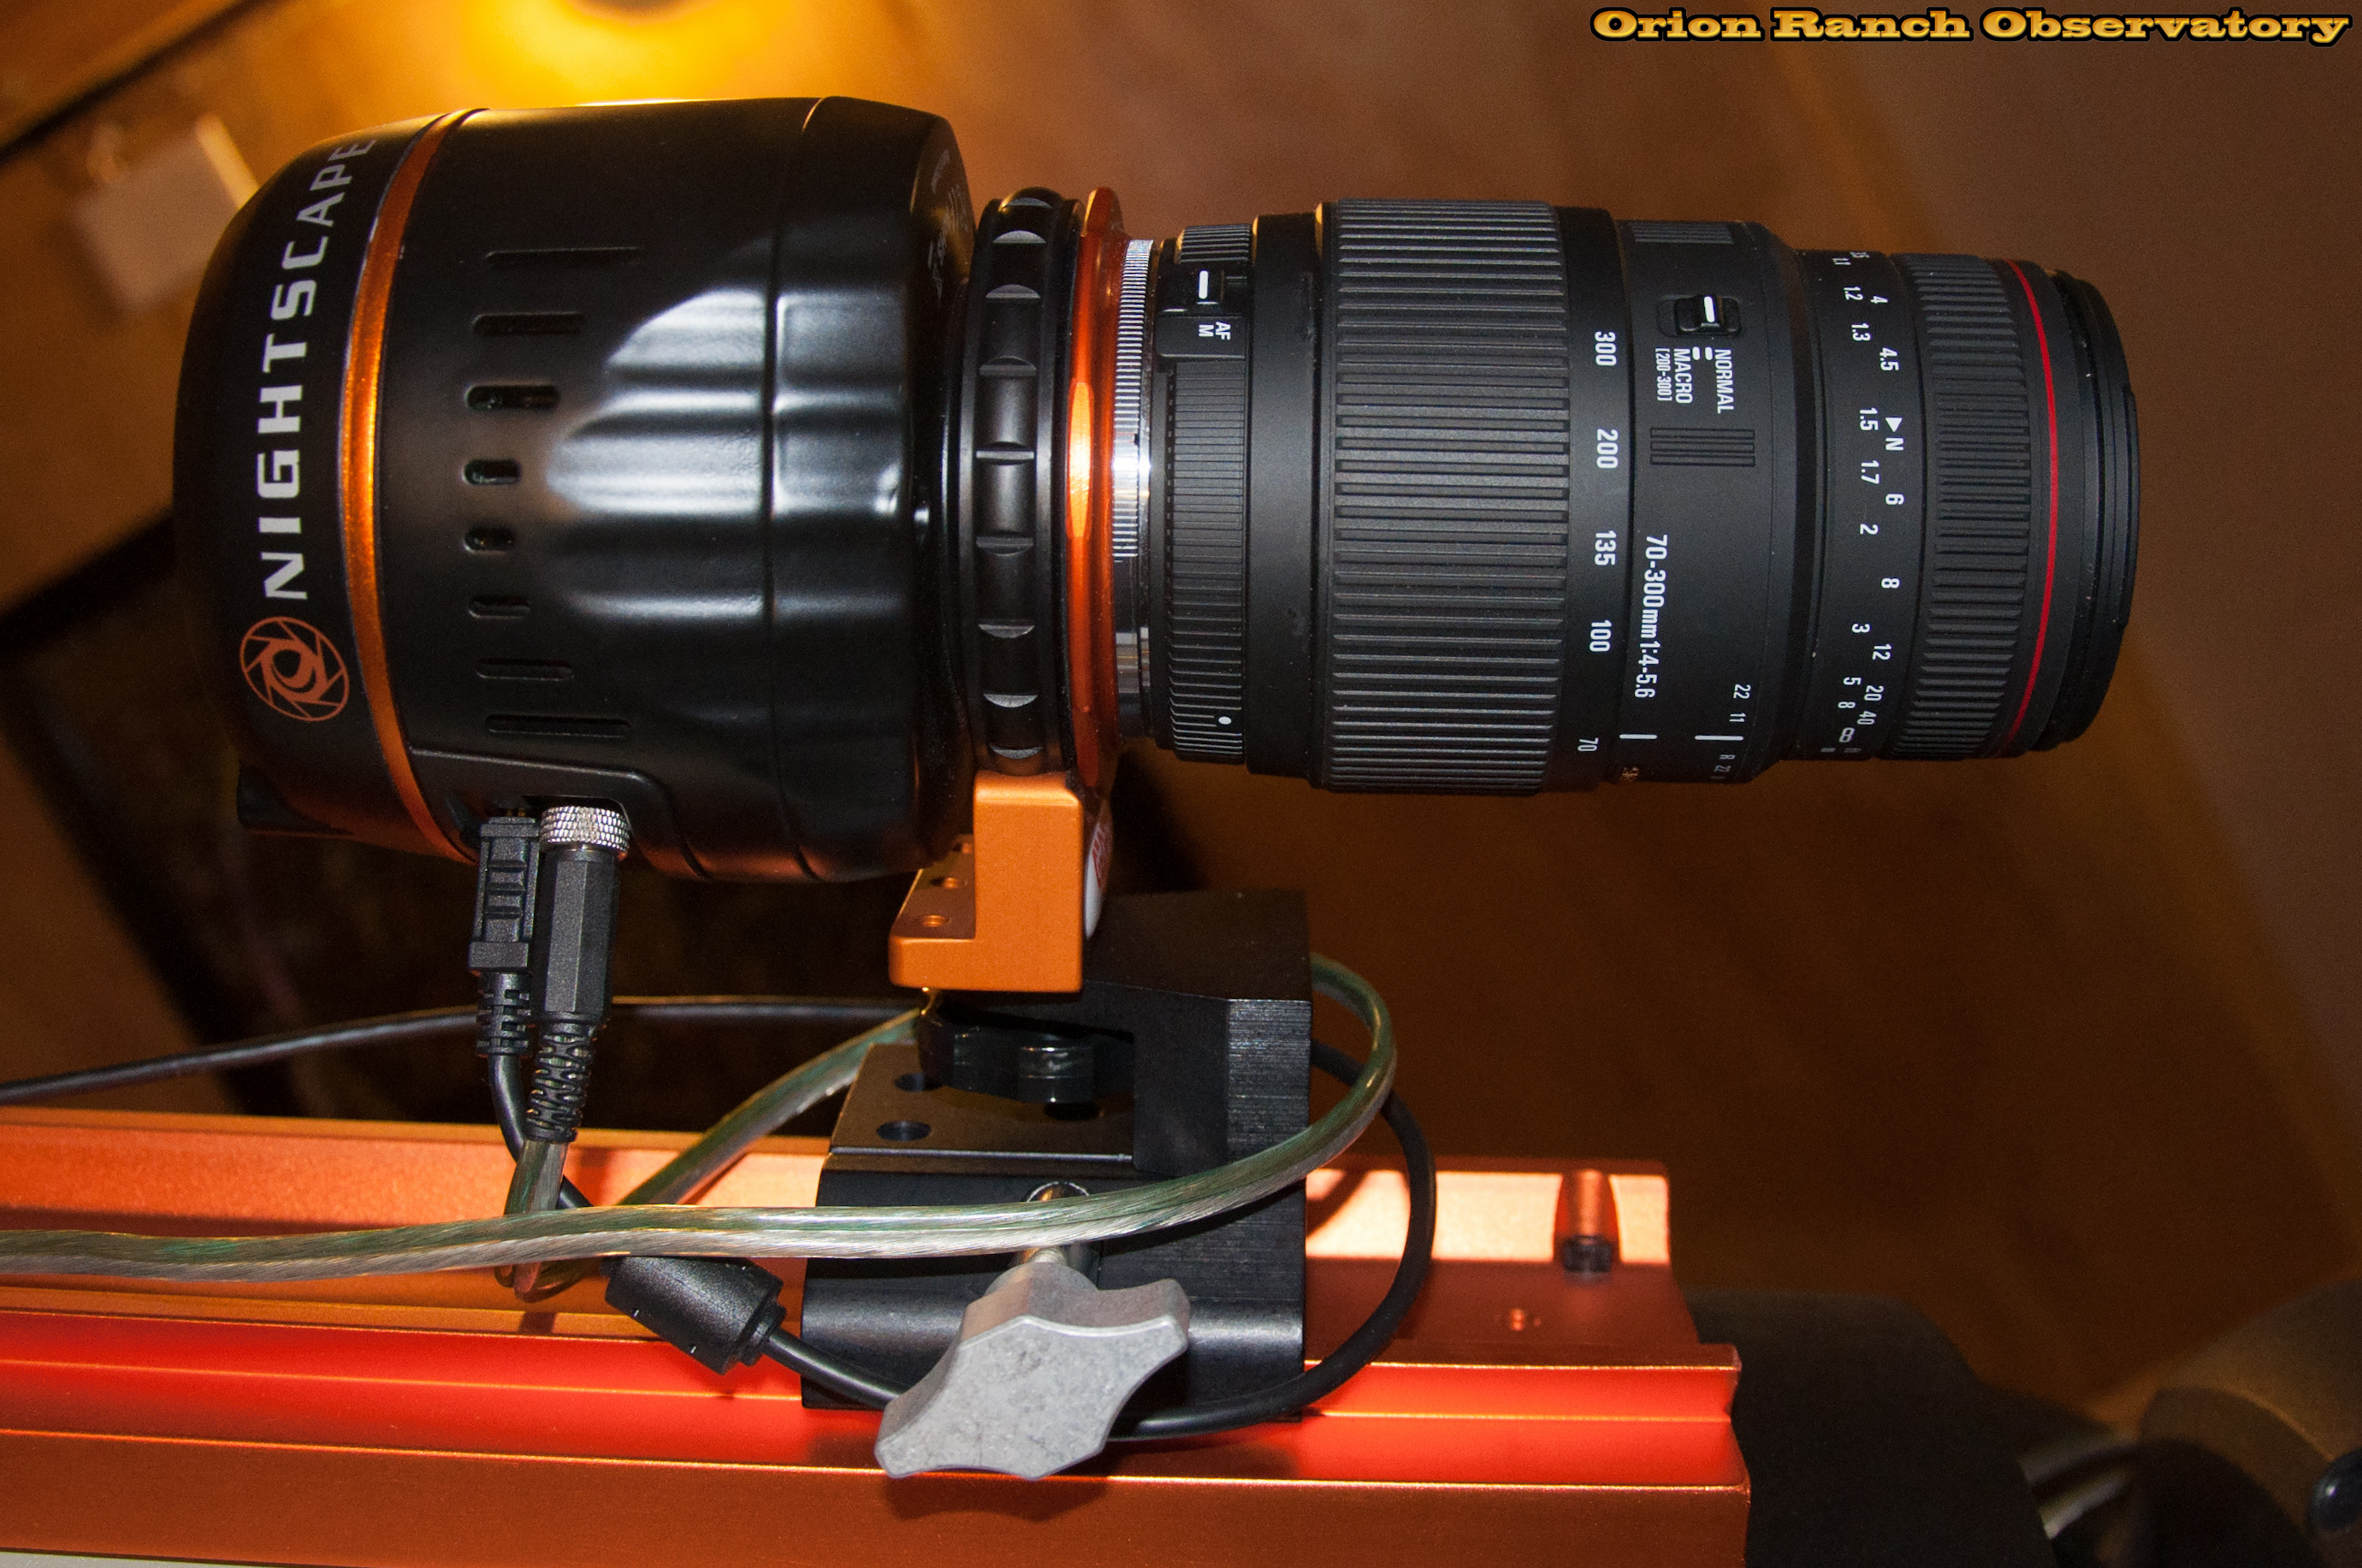
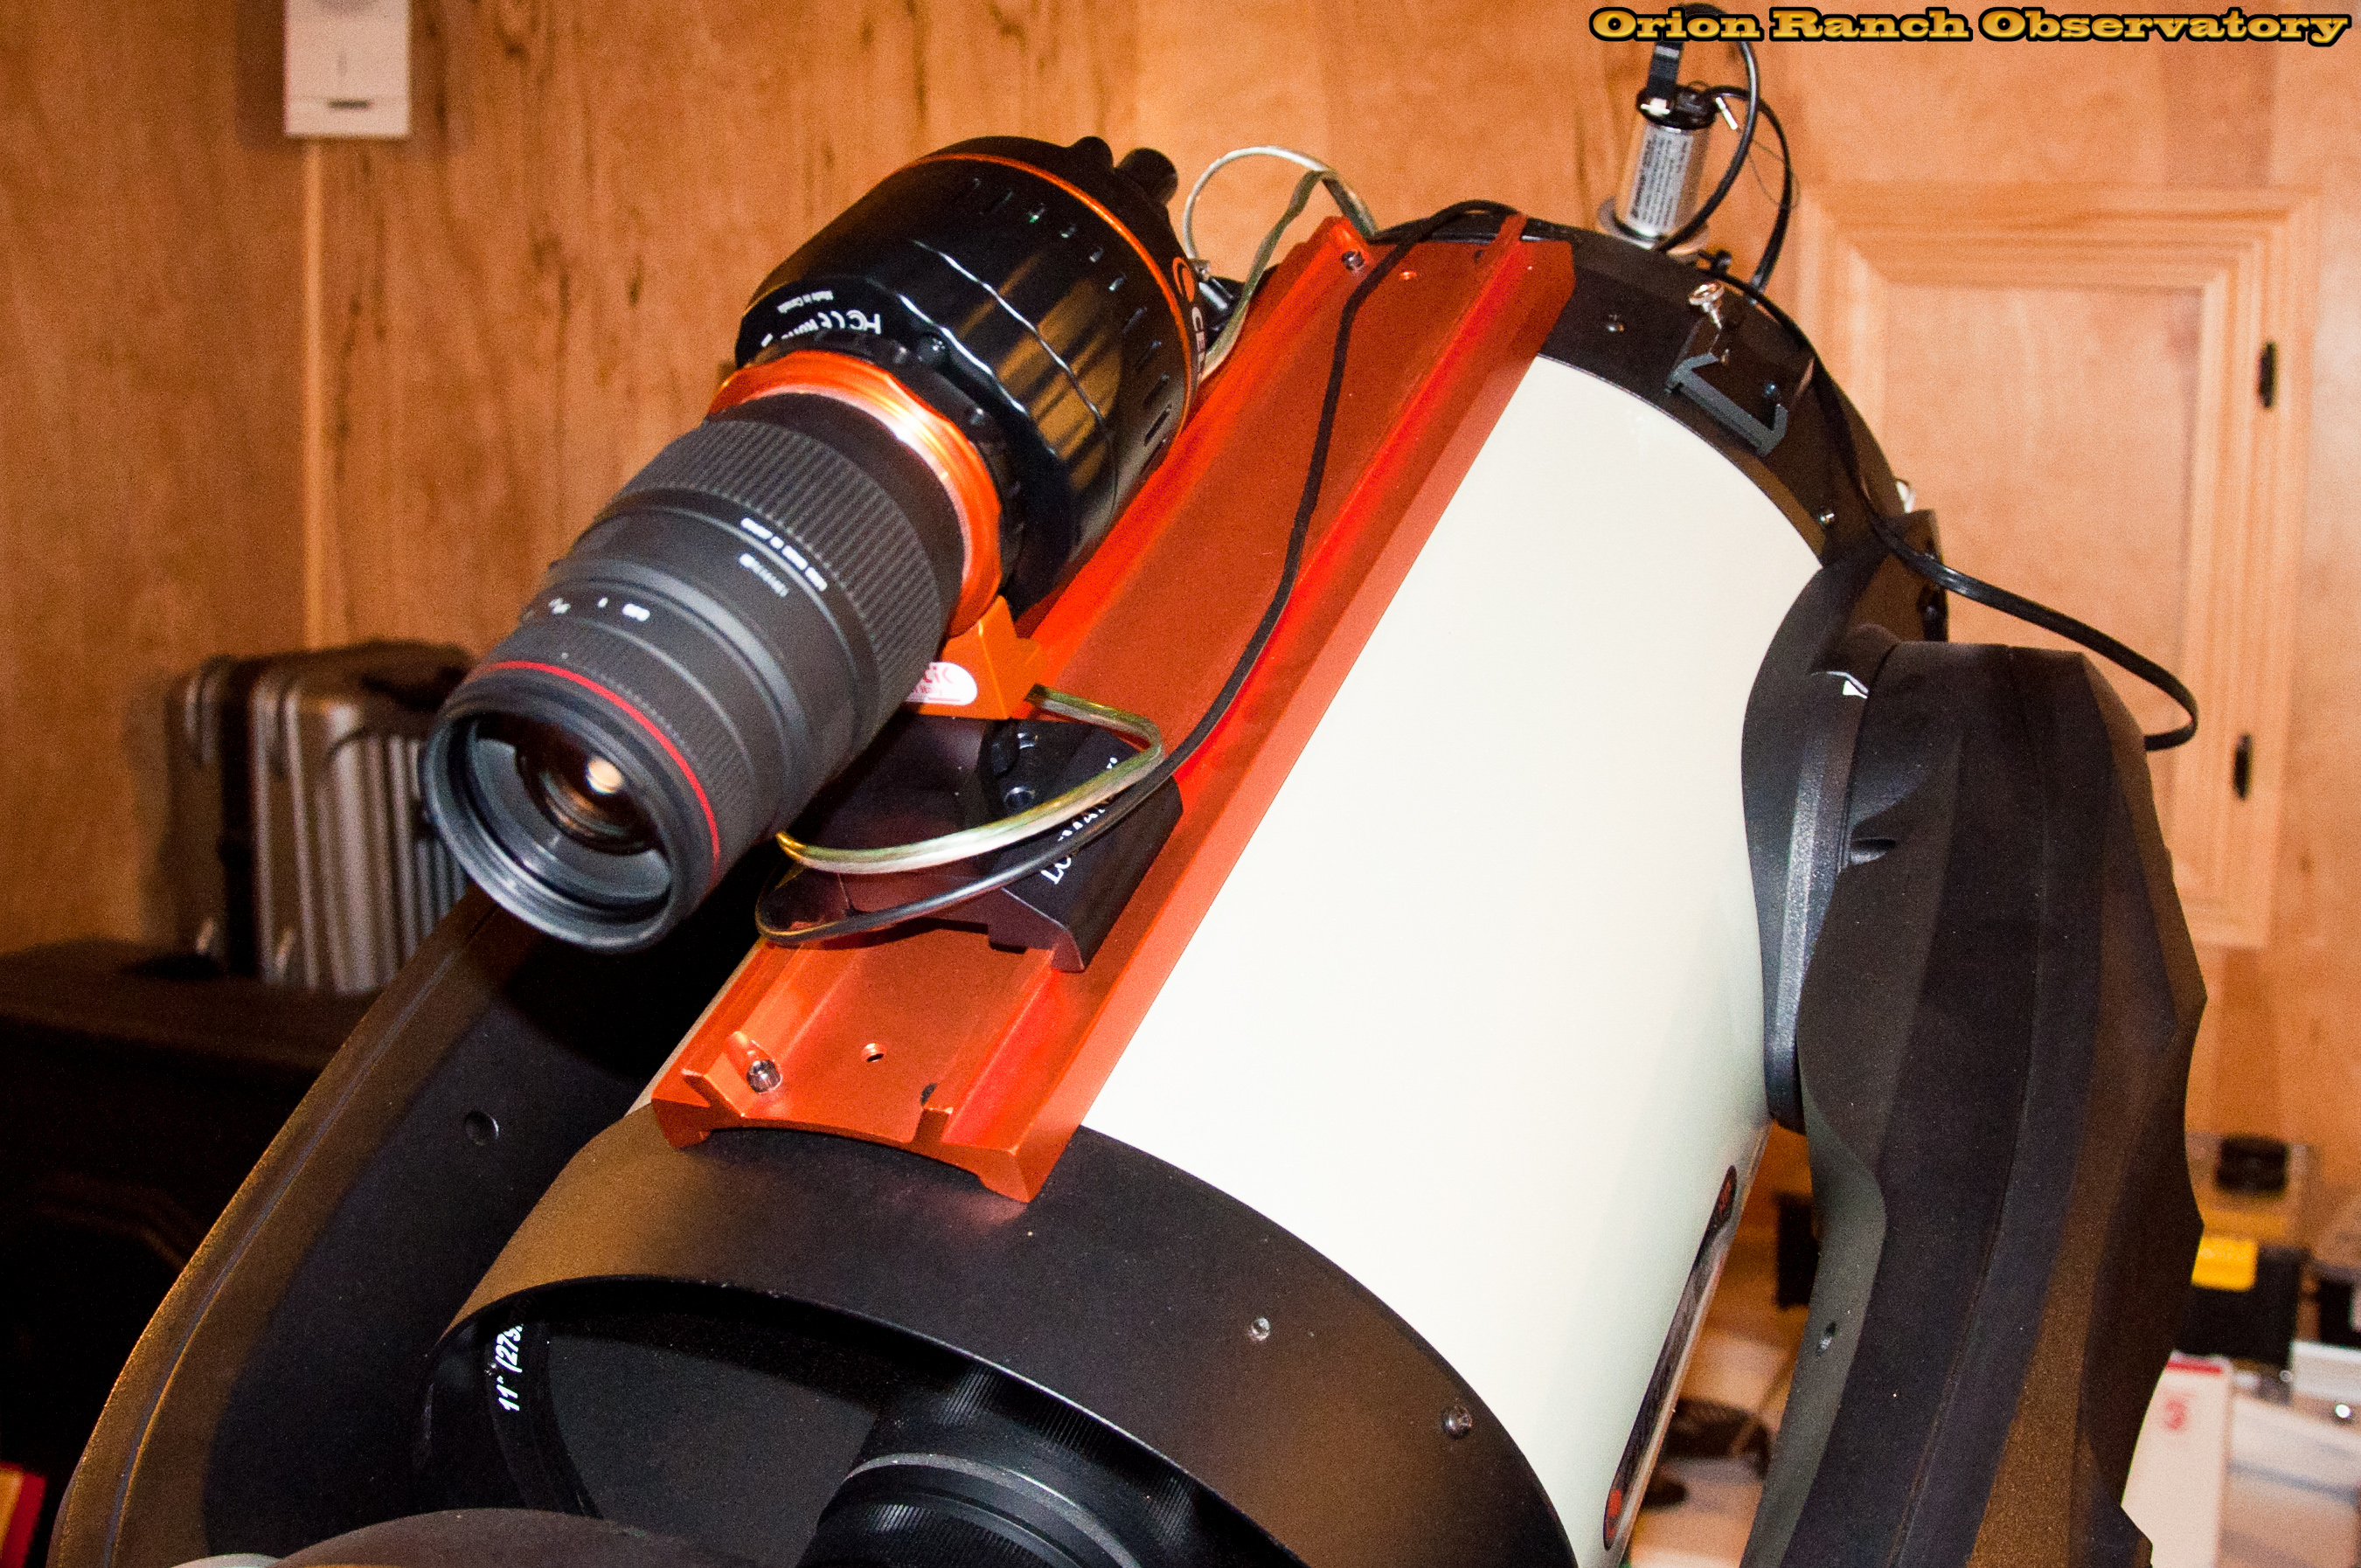
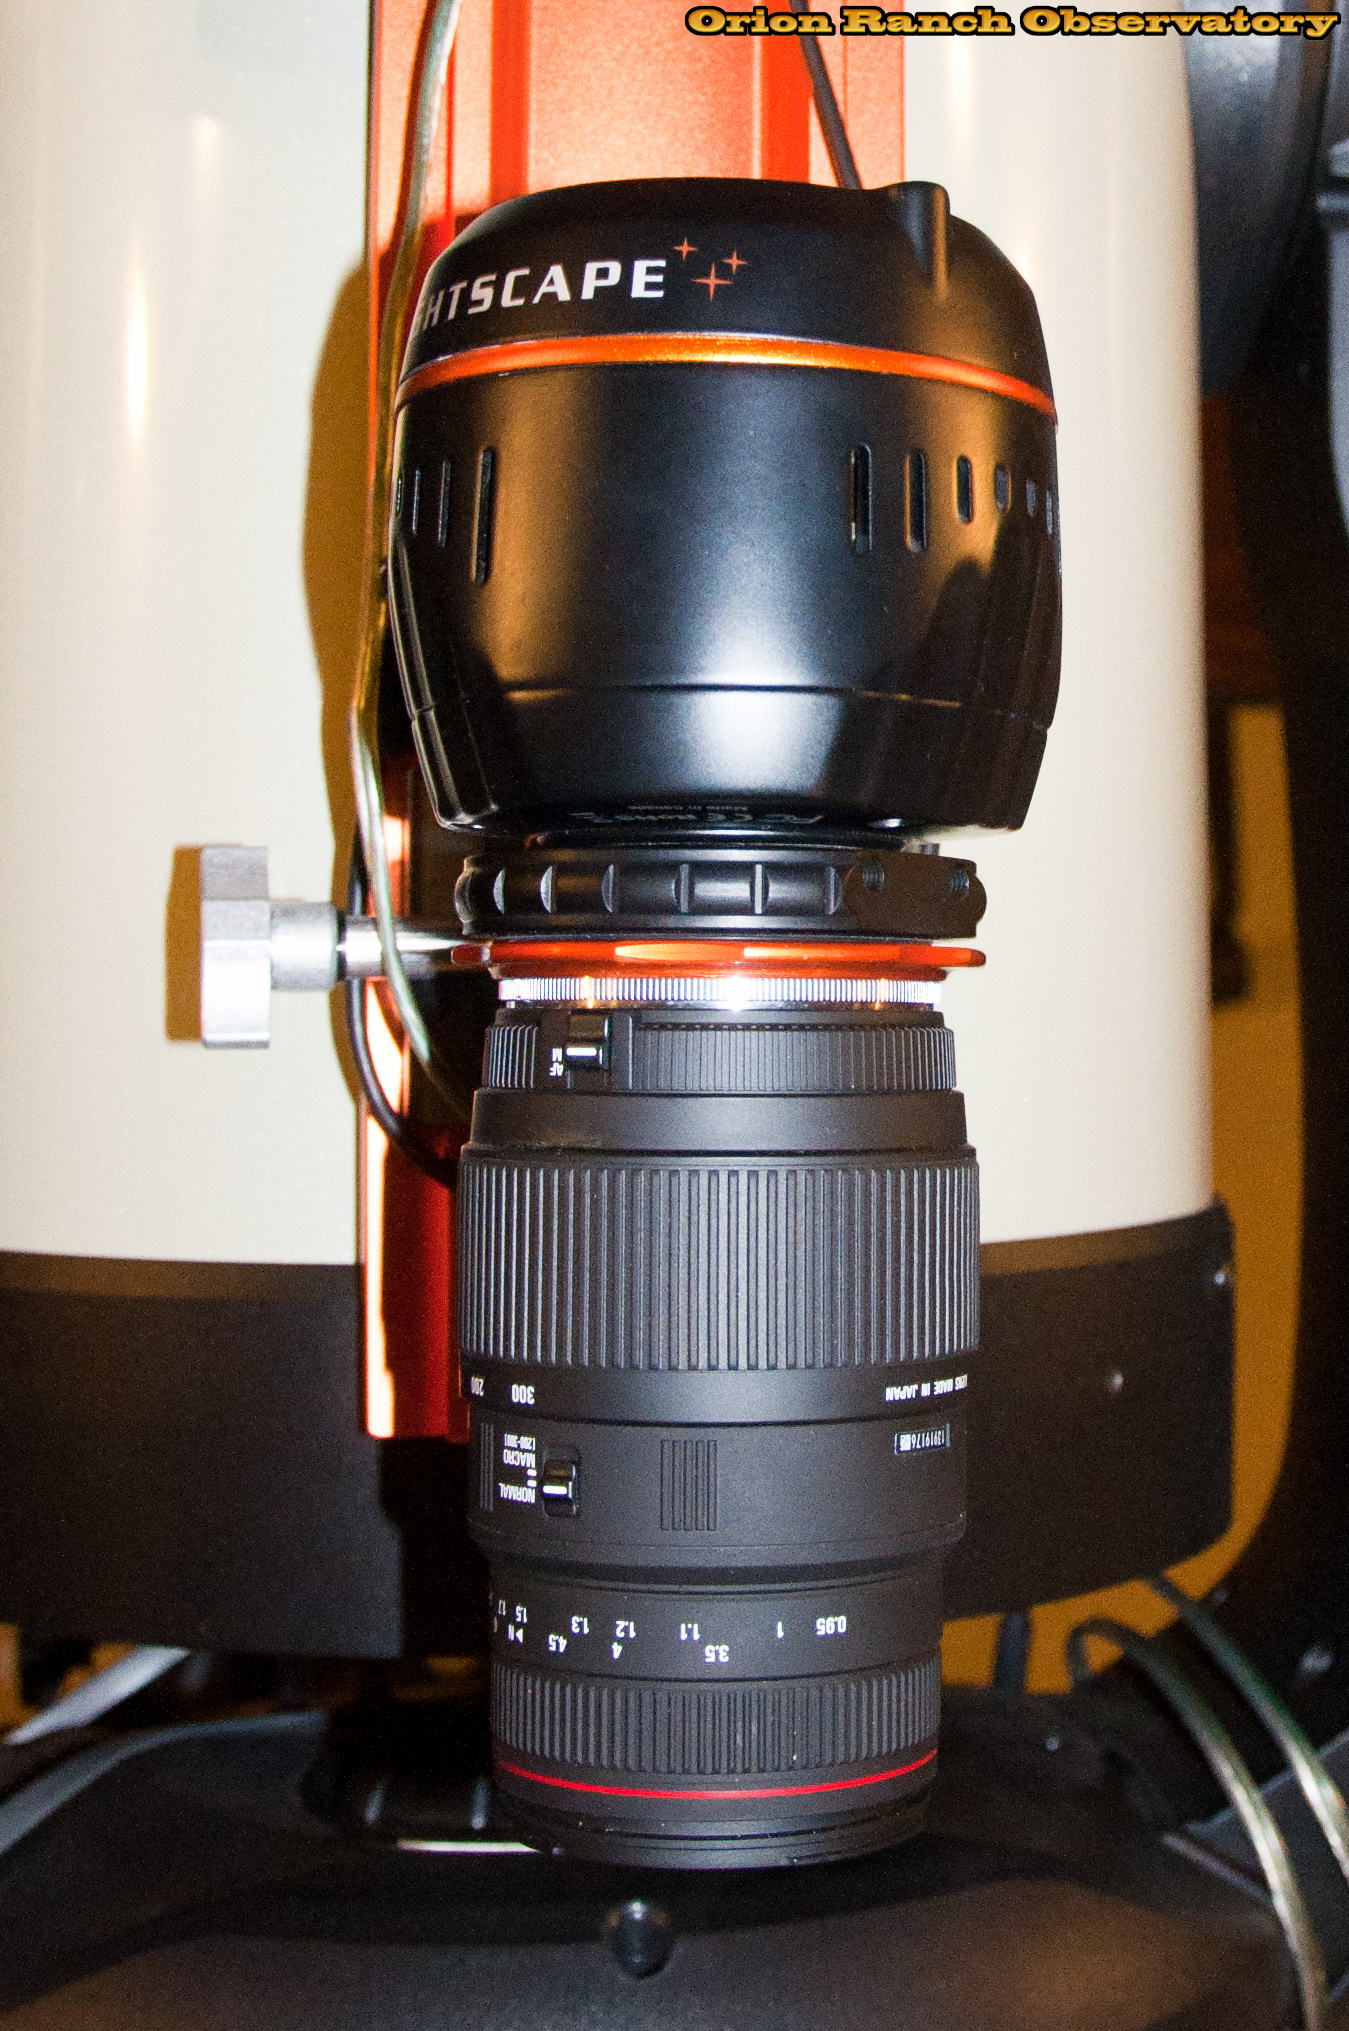
Then at 300 mm.
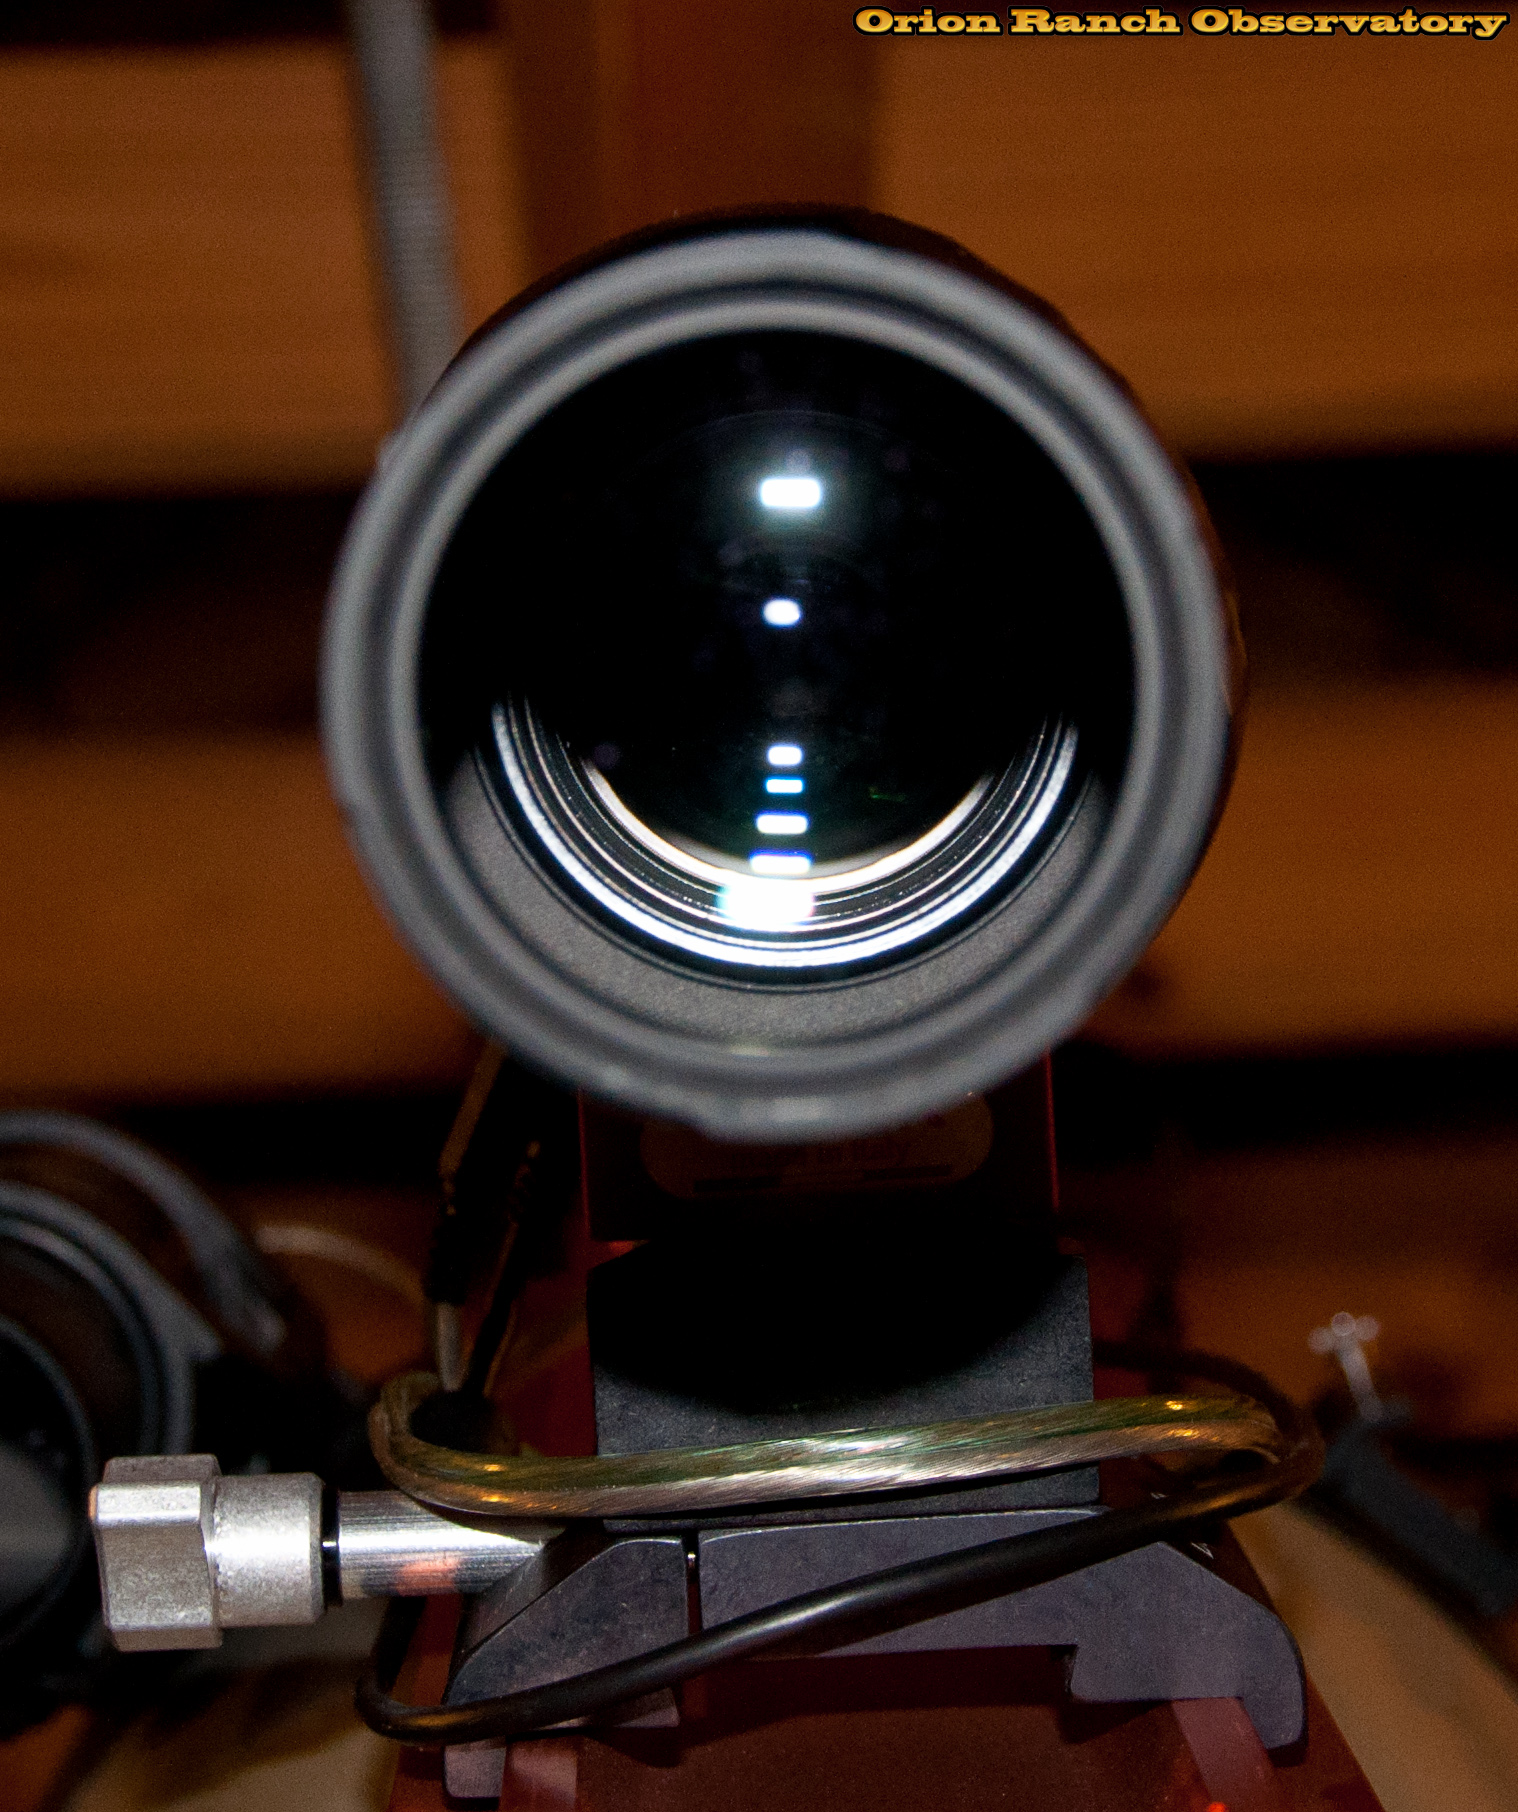
Oops, Houston, we have a problem. The default aperture of the lens is fully closed. So much for light gathering power, but it’s really easy to get to focus!

The temporary solution is to plug the aperture lever fully open with a piece of Q-tip until I can get the Nikon to Canon adapter with an aperture control on it. However, this brings up the first limitation of the adapter as-is, which is if I used just a Nikon adapter, there’d be no way to control the aperture other than jamming something into it like this, which is not desirable for my expensive lenses! I can solve it with a suitable Nikon to Canon adapter, but if I go to use my Canon lens, this will crop up again.
At least now it’s wide open.
Which brings me to difficulty number two, which is not totally unexpected. I can reach focus at 300 mm ok (although it’s touchy) but I’m out of back focus to reach focus at 70 mm. I’ll have to get some spacers. Geoptik makes a variable T2 spacer for this to give you fine control over the spacing, but of course no one here in the US stocks it. It’s disappointing that they don’t just include it with the adapter.
The other thing I realized immediately when I assembled the camera is that there’s no adjustment included to allow rotating the camera to be upright (or whatever orientation you want). Thus, I’m stuck framing at the odd twisted location that it just happened to hit. Apparently Baader makes a spacer ring set I might try, although that changes my back focus too.
I haven’t had a decent night to actually try some imaging, but I’ll post something when I get it. At any rate, the adapter is generally nice looking and will do the job, but I’m a bit disappointed in some of the limitations I’ve found (not that any other solution would necessarily have been better). Still, for the price, I wish it did a bit more. I’m going to have to add another $100 or so to get it where it needs to be.
Since this doesn’t appear to exist elsewhere online, I’ve scanned and uploaded the pertinent pages of the Geoptik adapter manual.